Route Planner

Written by Jenn Southan
Updated at July 27th, 2024
Table of Contents
Tobi's Route Planner is a comprehensive tool that enables efficient planning and optimization of transportation routes.
Key features
Recurring Route Creation: You can create a recurring route for a specific fleet, account, or service area and add the preferred driver.
Intelligent Routing: Automatically generates optimized routes based on multiple factors, such as distance, traffic conditions, and specific client requirements, such as seating needs and exclusions.
Multi-Stop Planning: Allows for creating complex routes with multiple stops, ensuring efficient scheduling and minimizing travel time.
Real-Time Updates: This feature provides live updates on route progress, allowing users to make informed decisions and proactively address deviations or delays.
Route Planner Tips
Below are four helpful categories with step-by-step instructions for additional guidance.
Create a Recurring Route
Step 1: Go to "Operations > Route Planner."
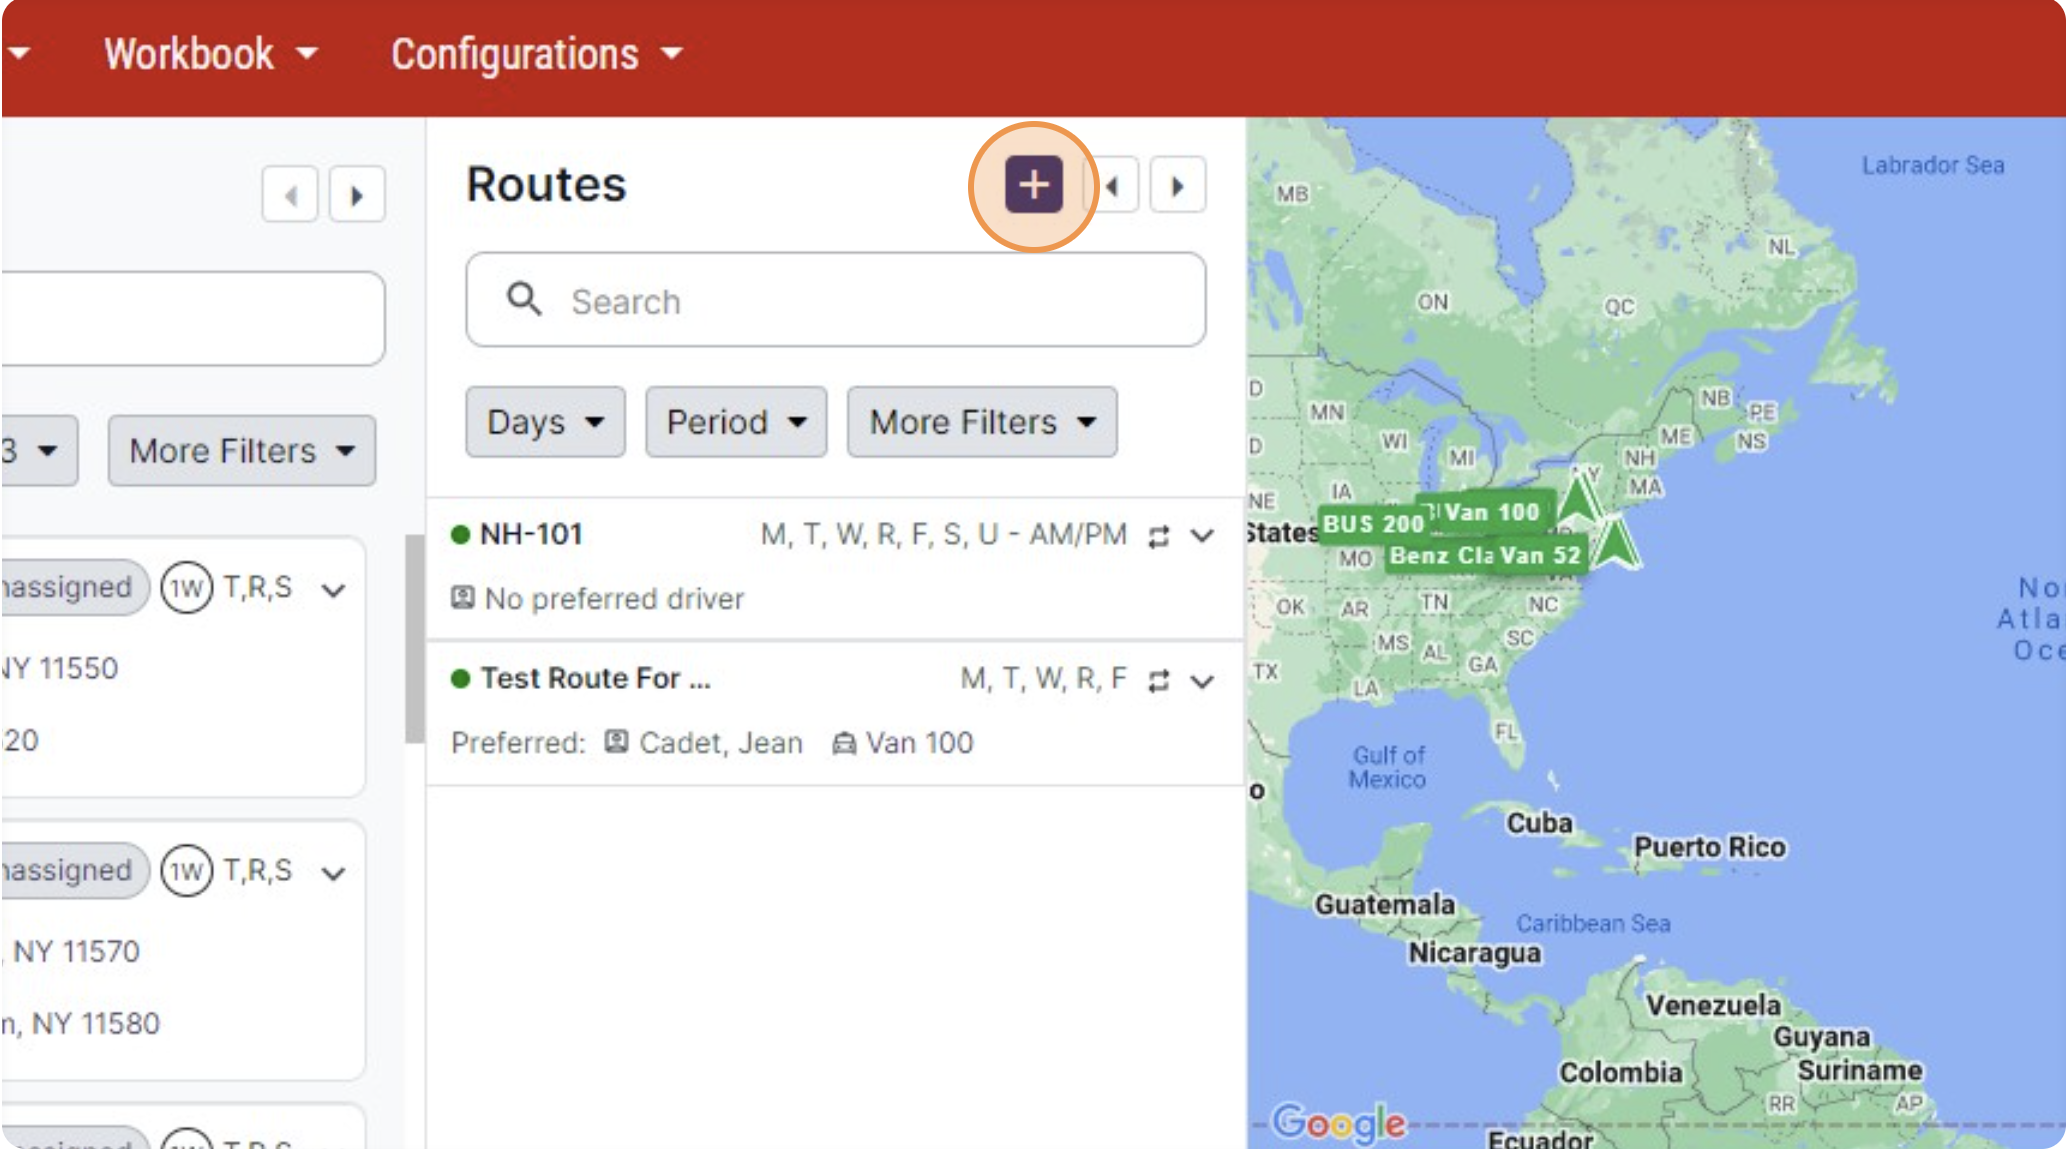
Step 2: In the “Route” pane, click the “+” icon.
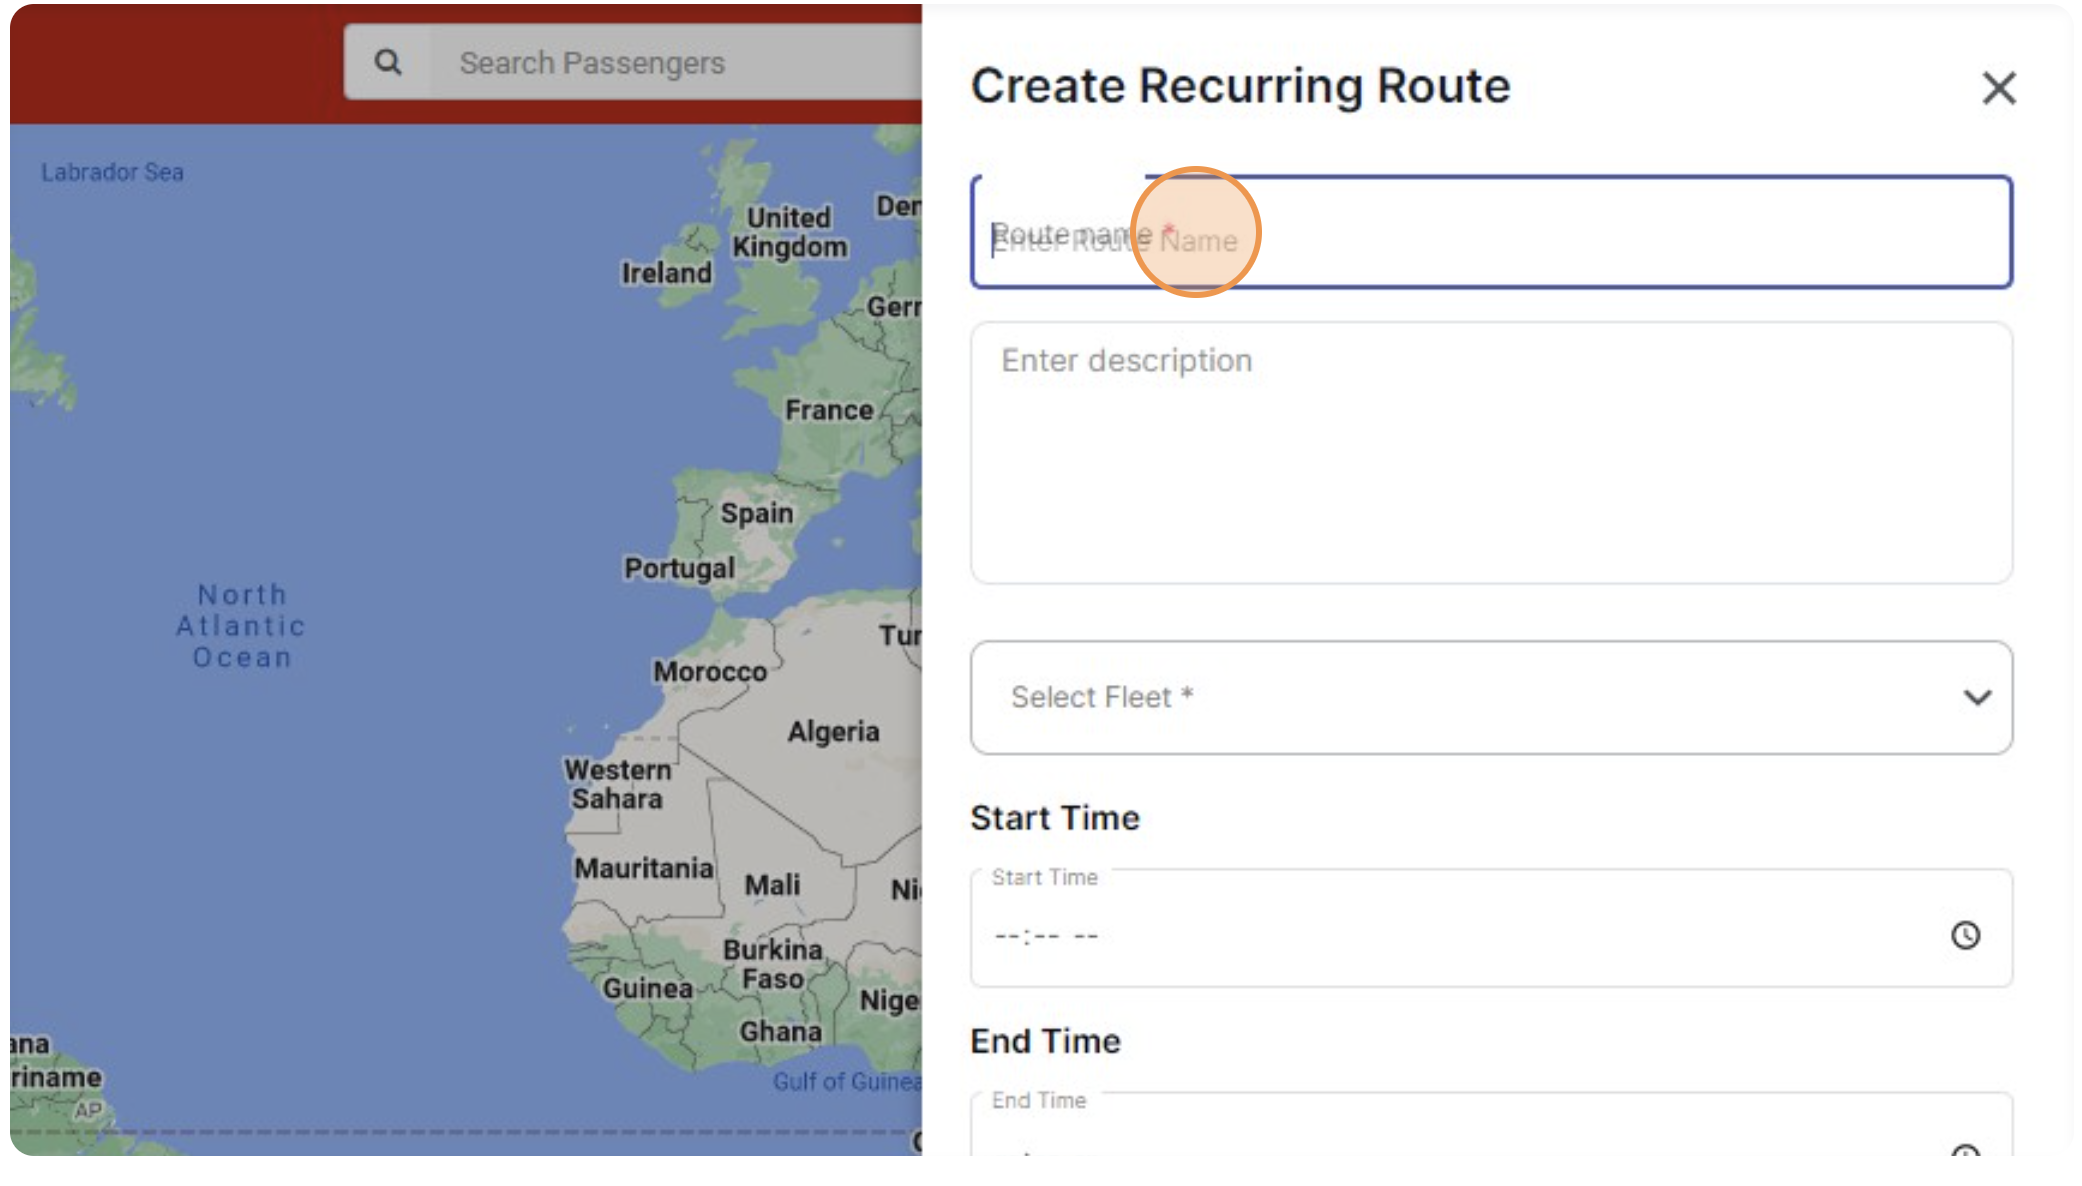
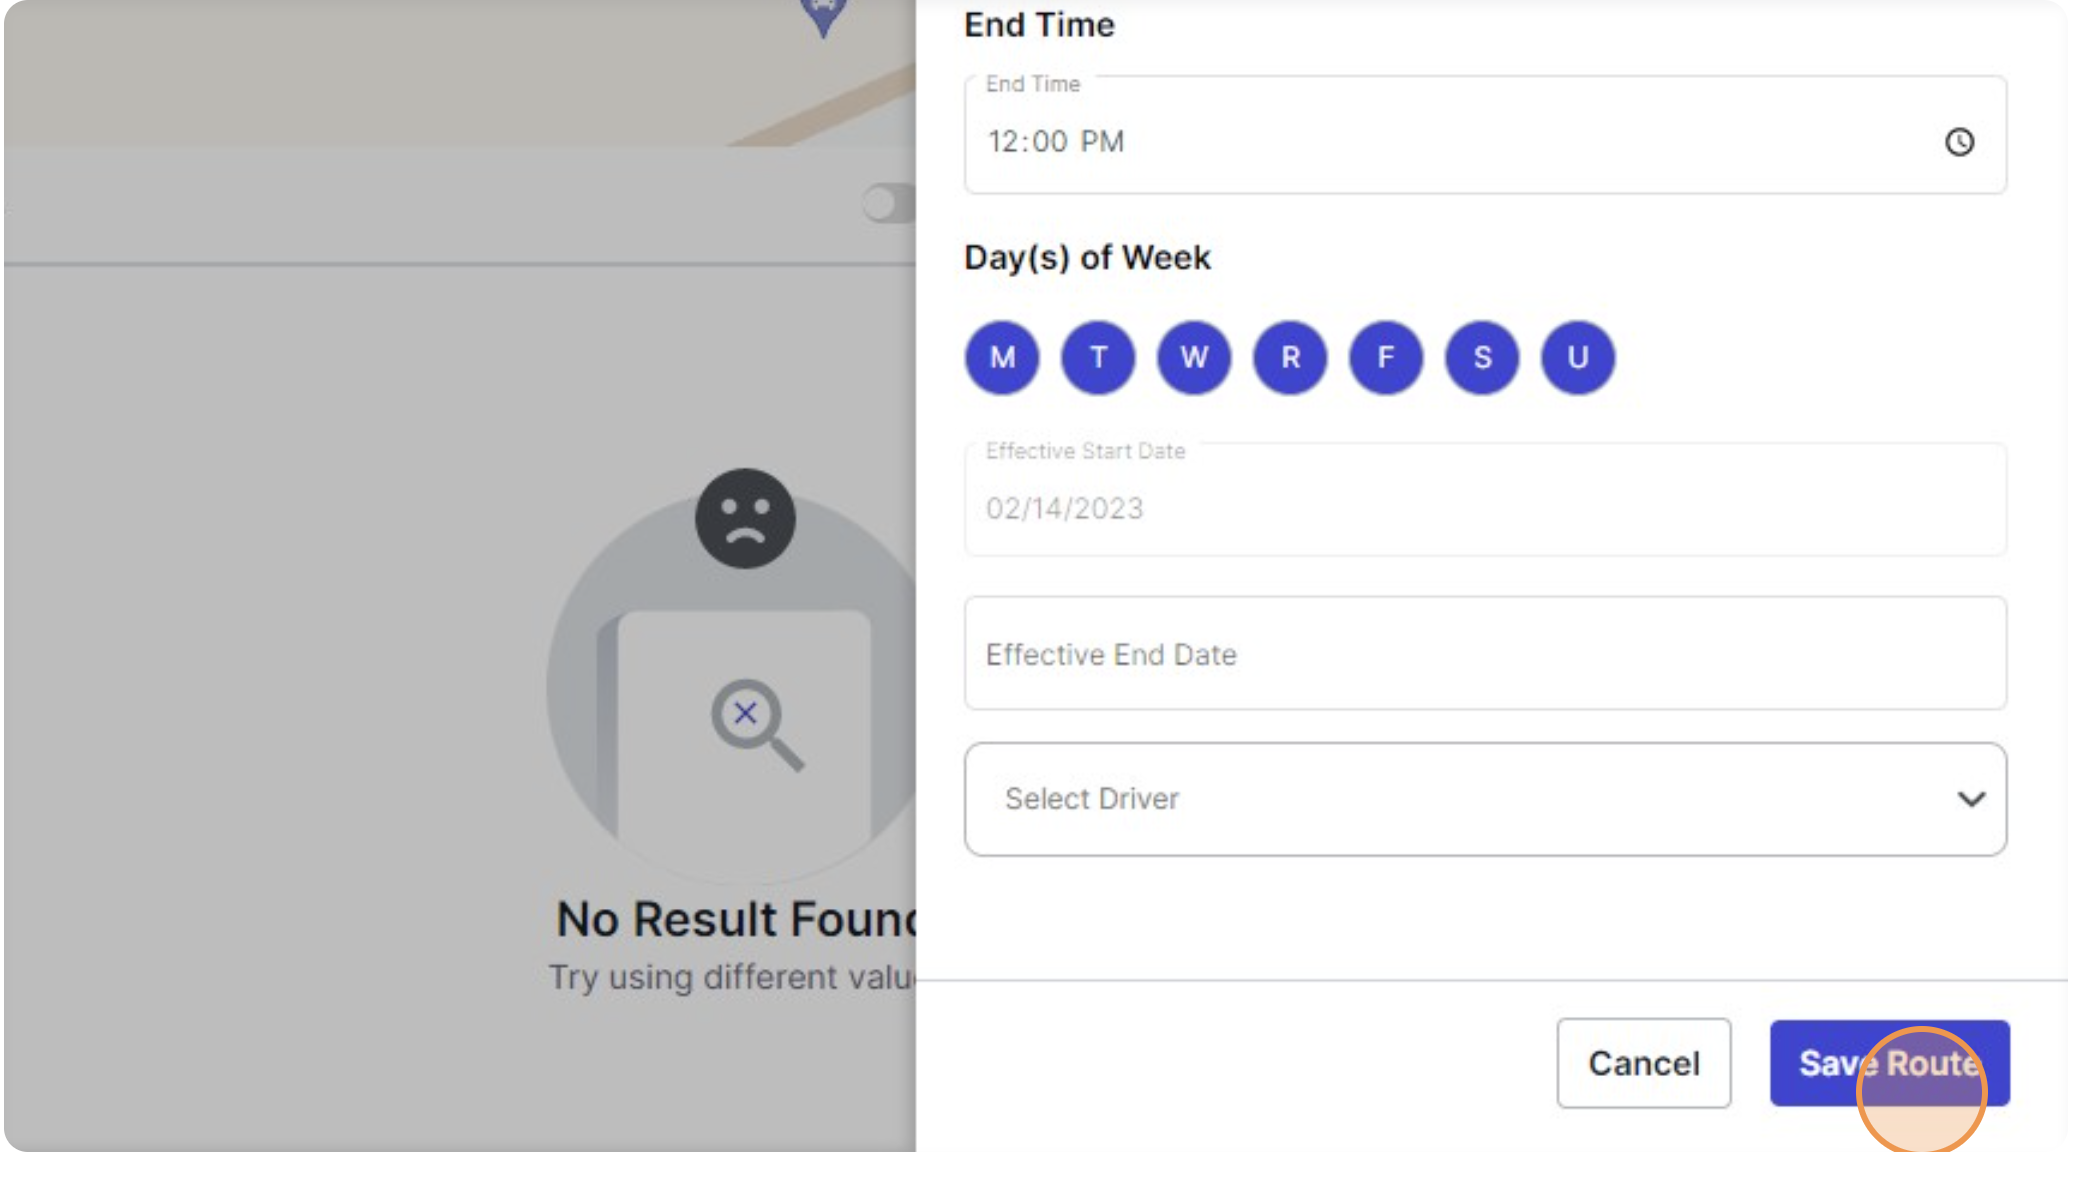
Step 3: Add details such as name, description, fleet, start and end time, and preferred driver.
Step 4: Select days to repeat for the recurring route (you must have at least one repeated day).
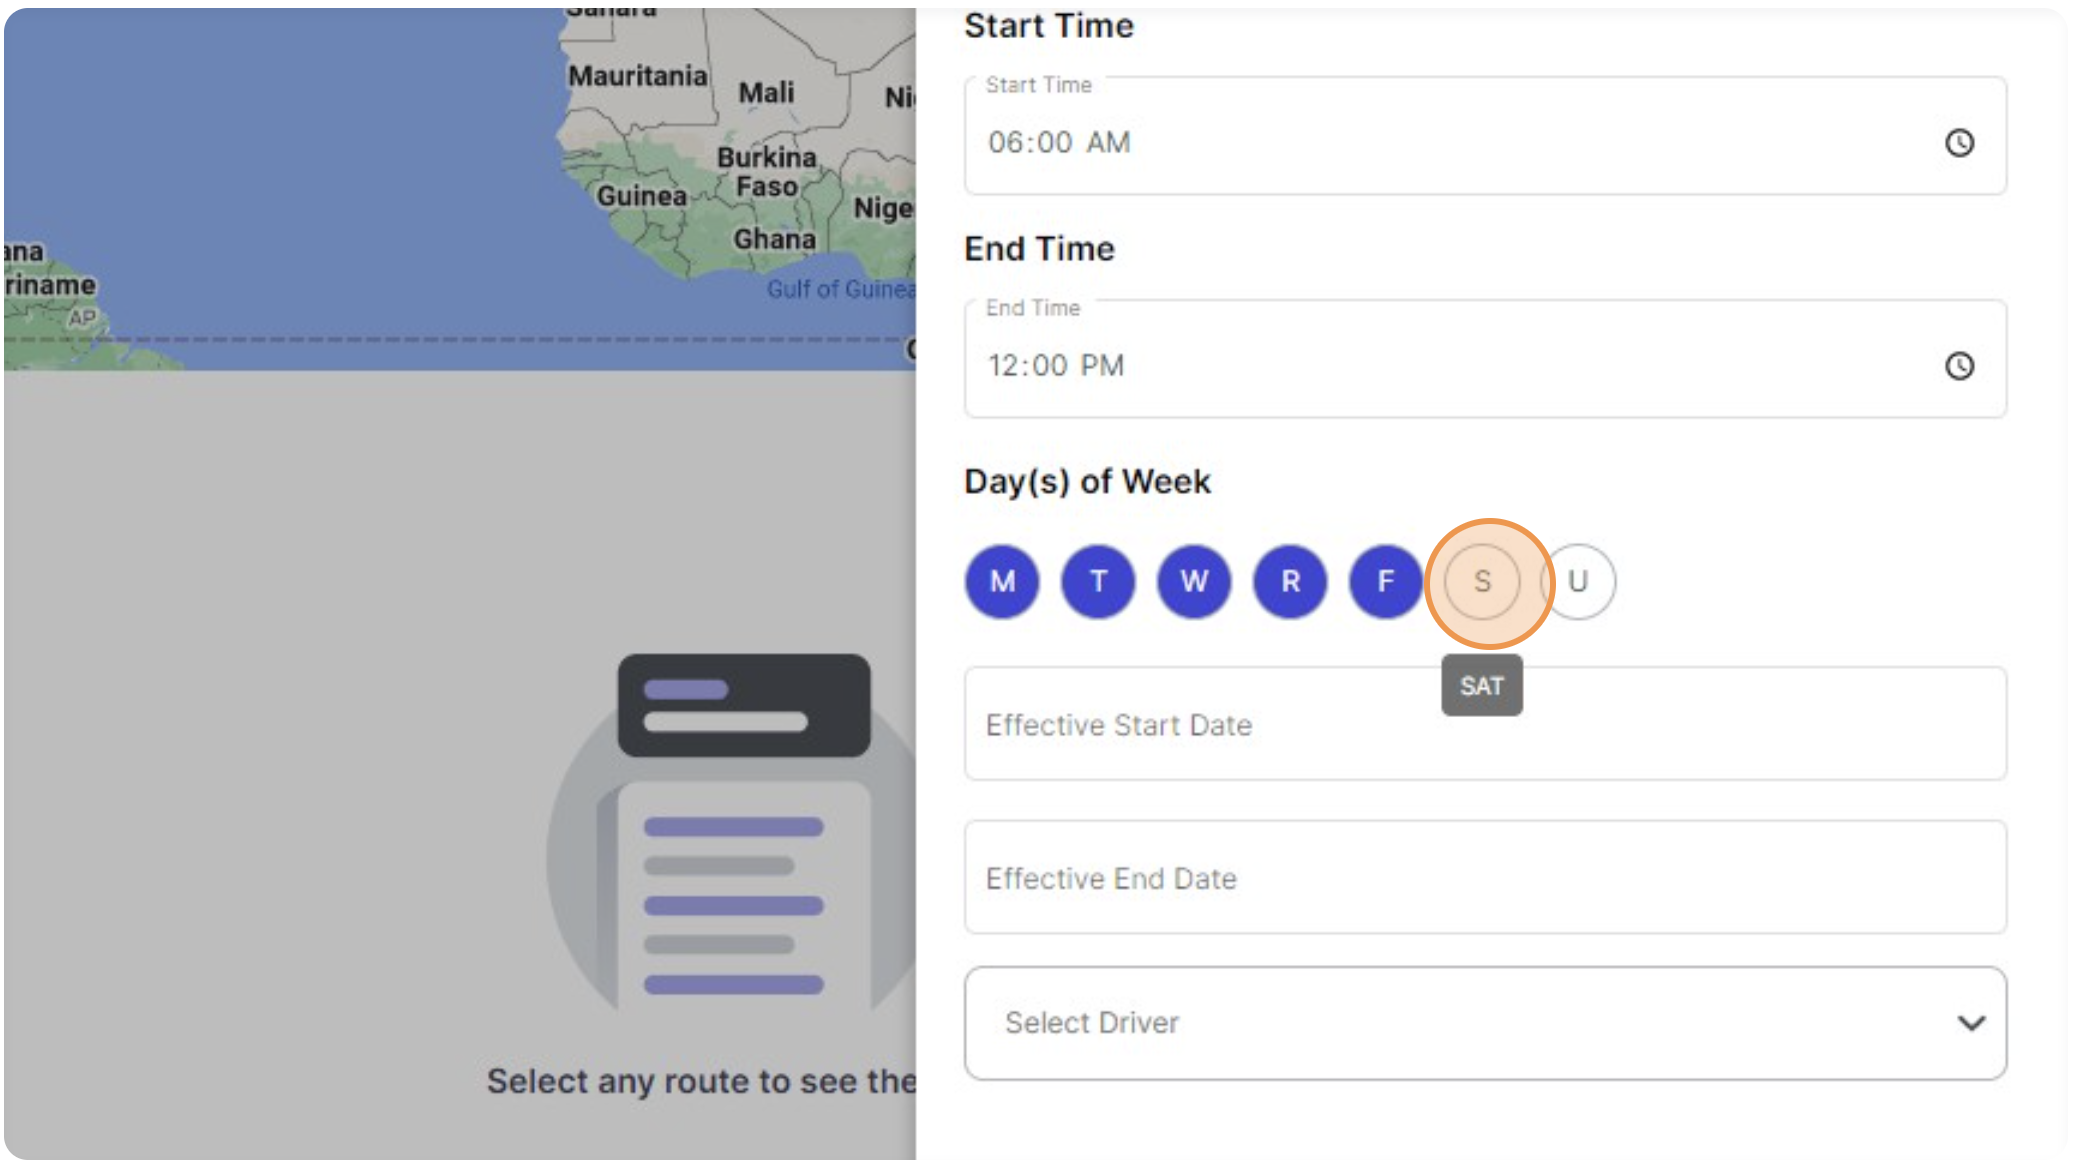
Step 5: Click “Save Route.”
Tag Trips to a Recurring Route
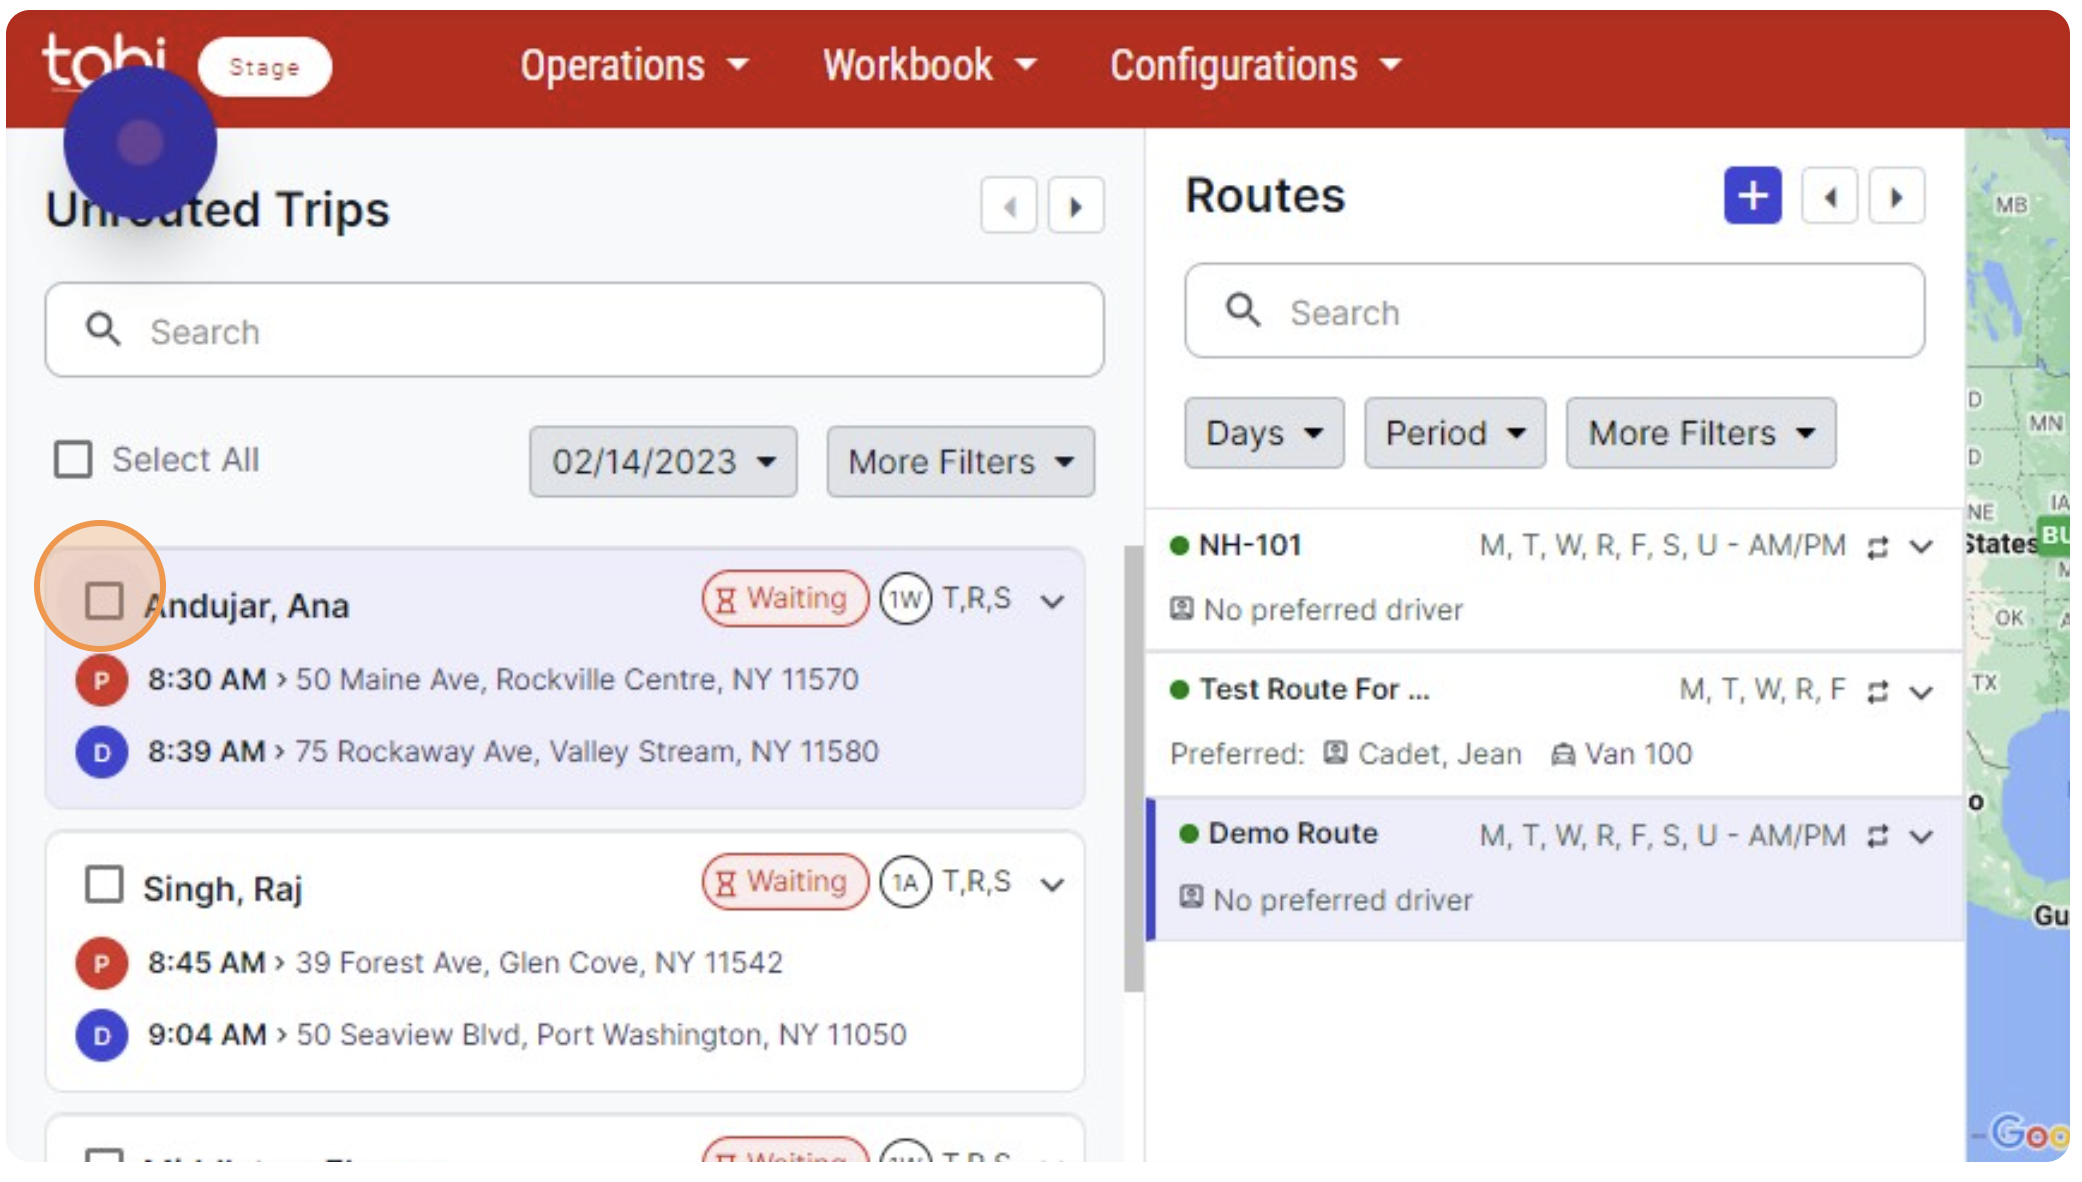
Step 1: Go to “Operations > Route Planner.”
Step 2: Select the recurring route from the “Routes” pane. It will filter the unrouted trips, which can be tagged in the selected recurring route.
Step 3: Click “Add to Route.”
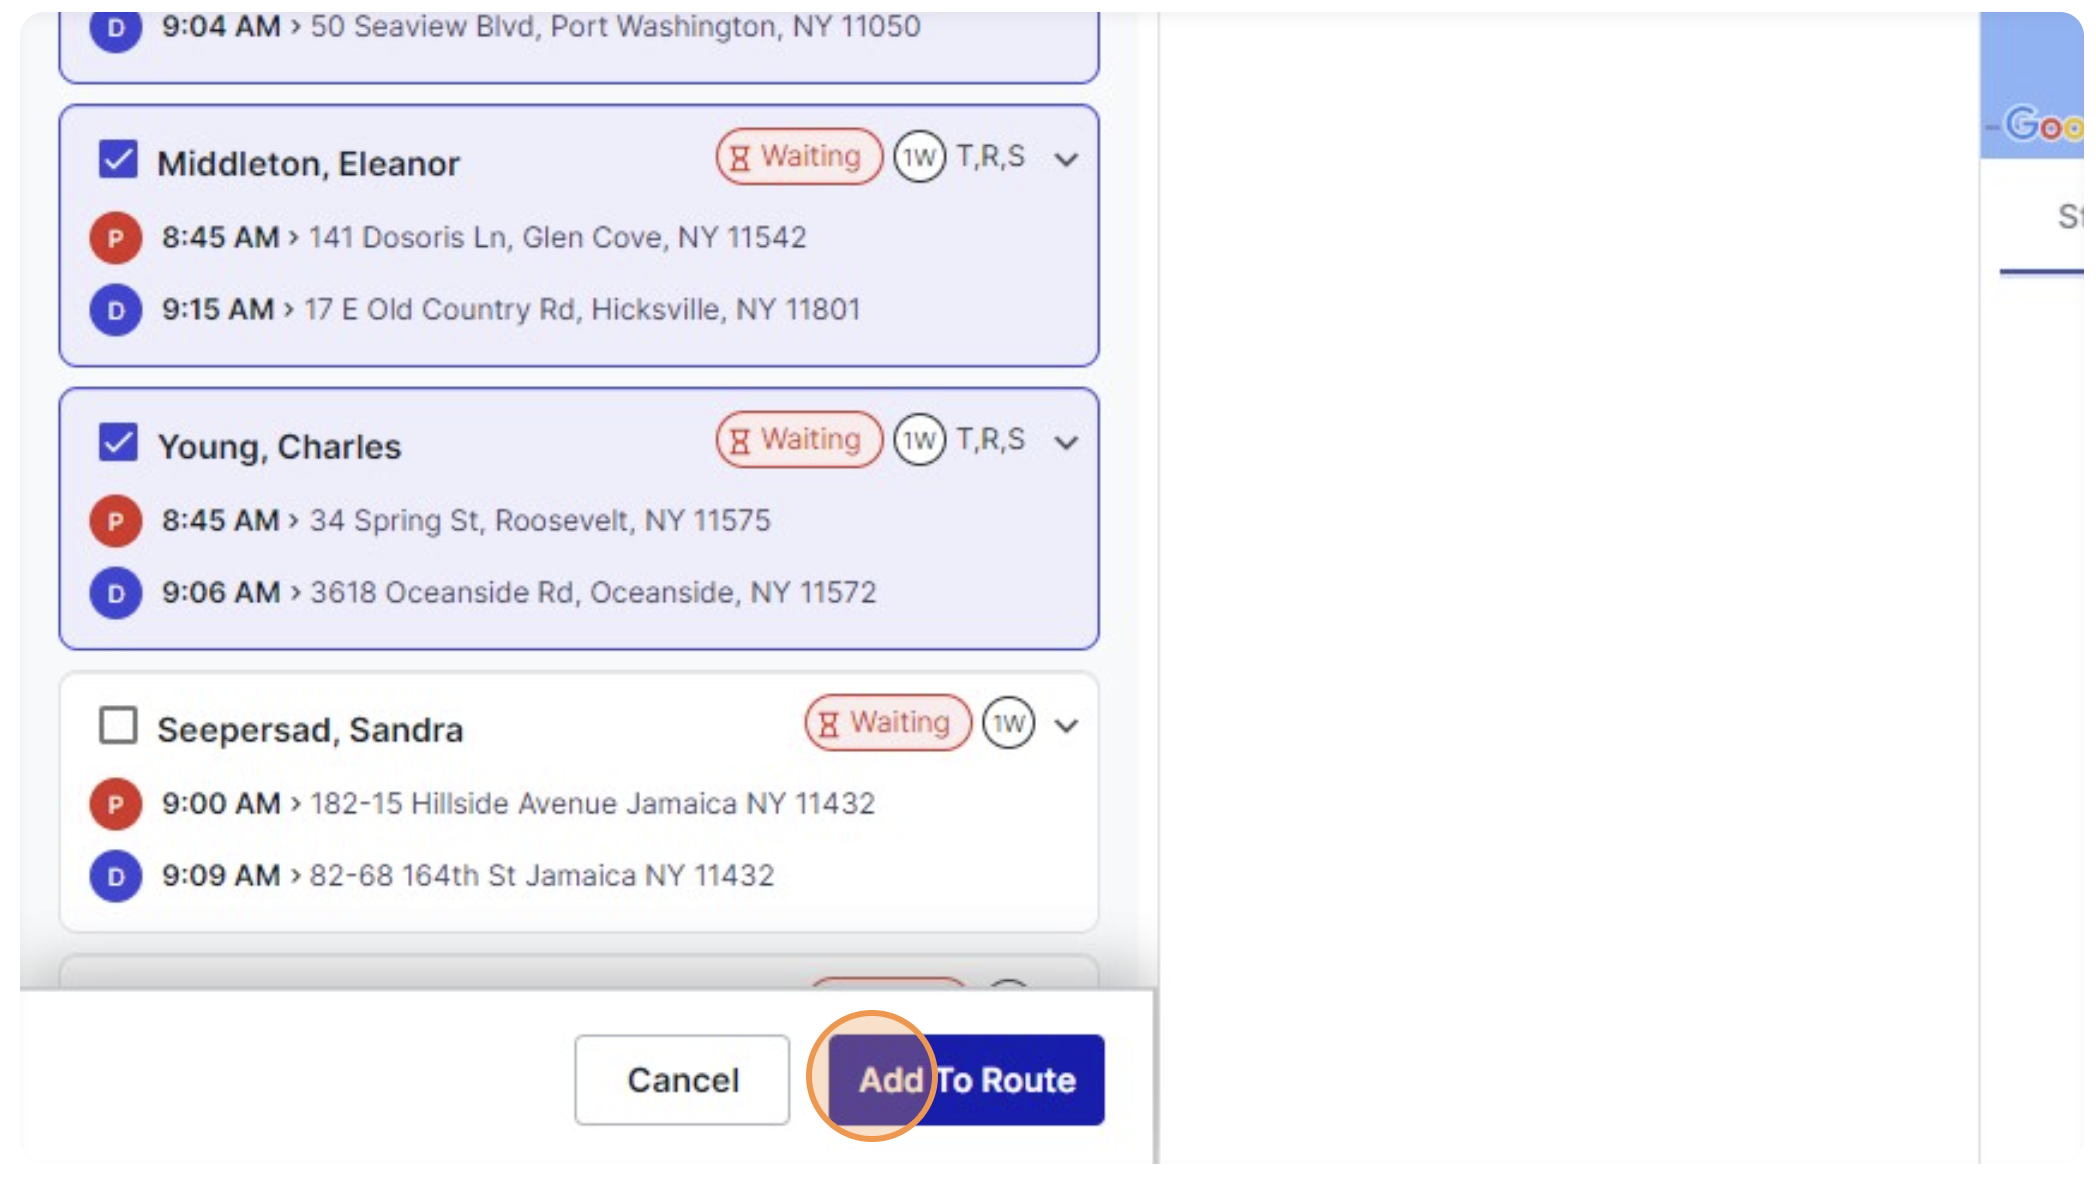
Step 4: The selected trips will be added to the route. Click "Save" to complete the route creation.
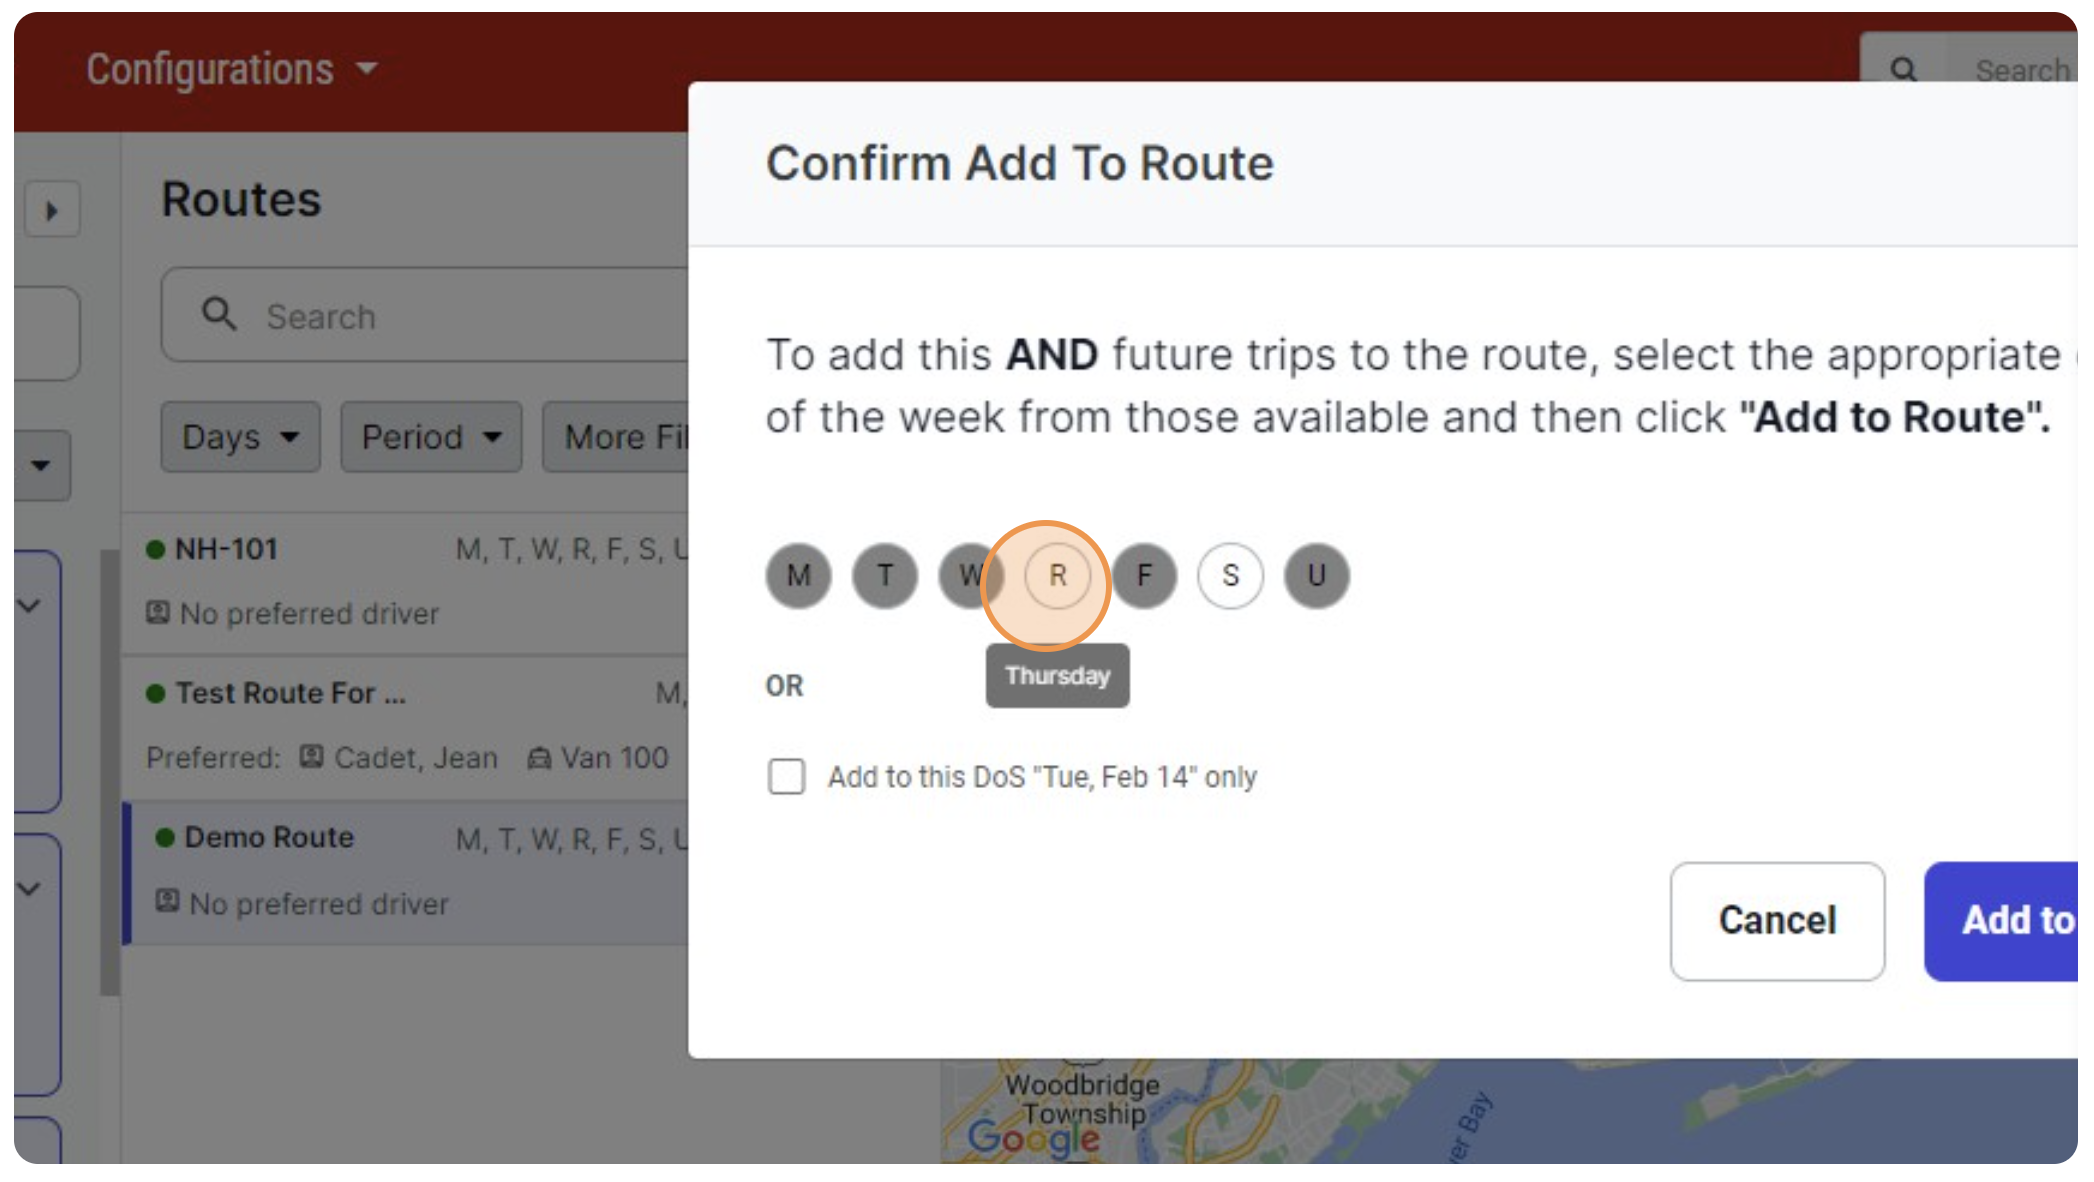
Step 5: Select the days you wish to repeat this route. This route can only be repeated on the mutual days between the recurring route and trips.
Step 6: Click “Add to Route.”
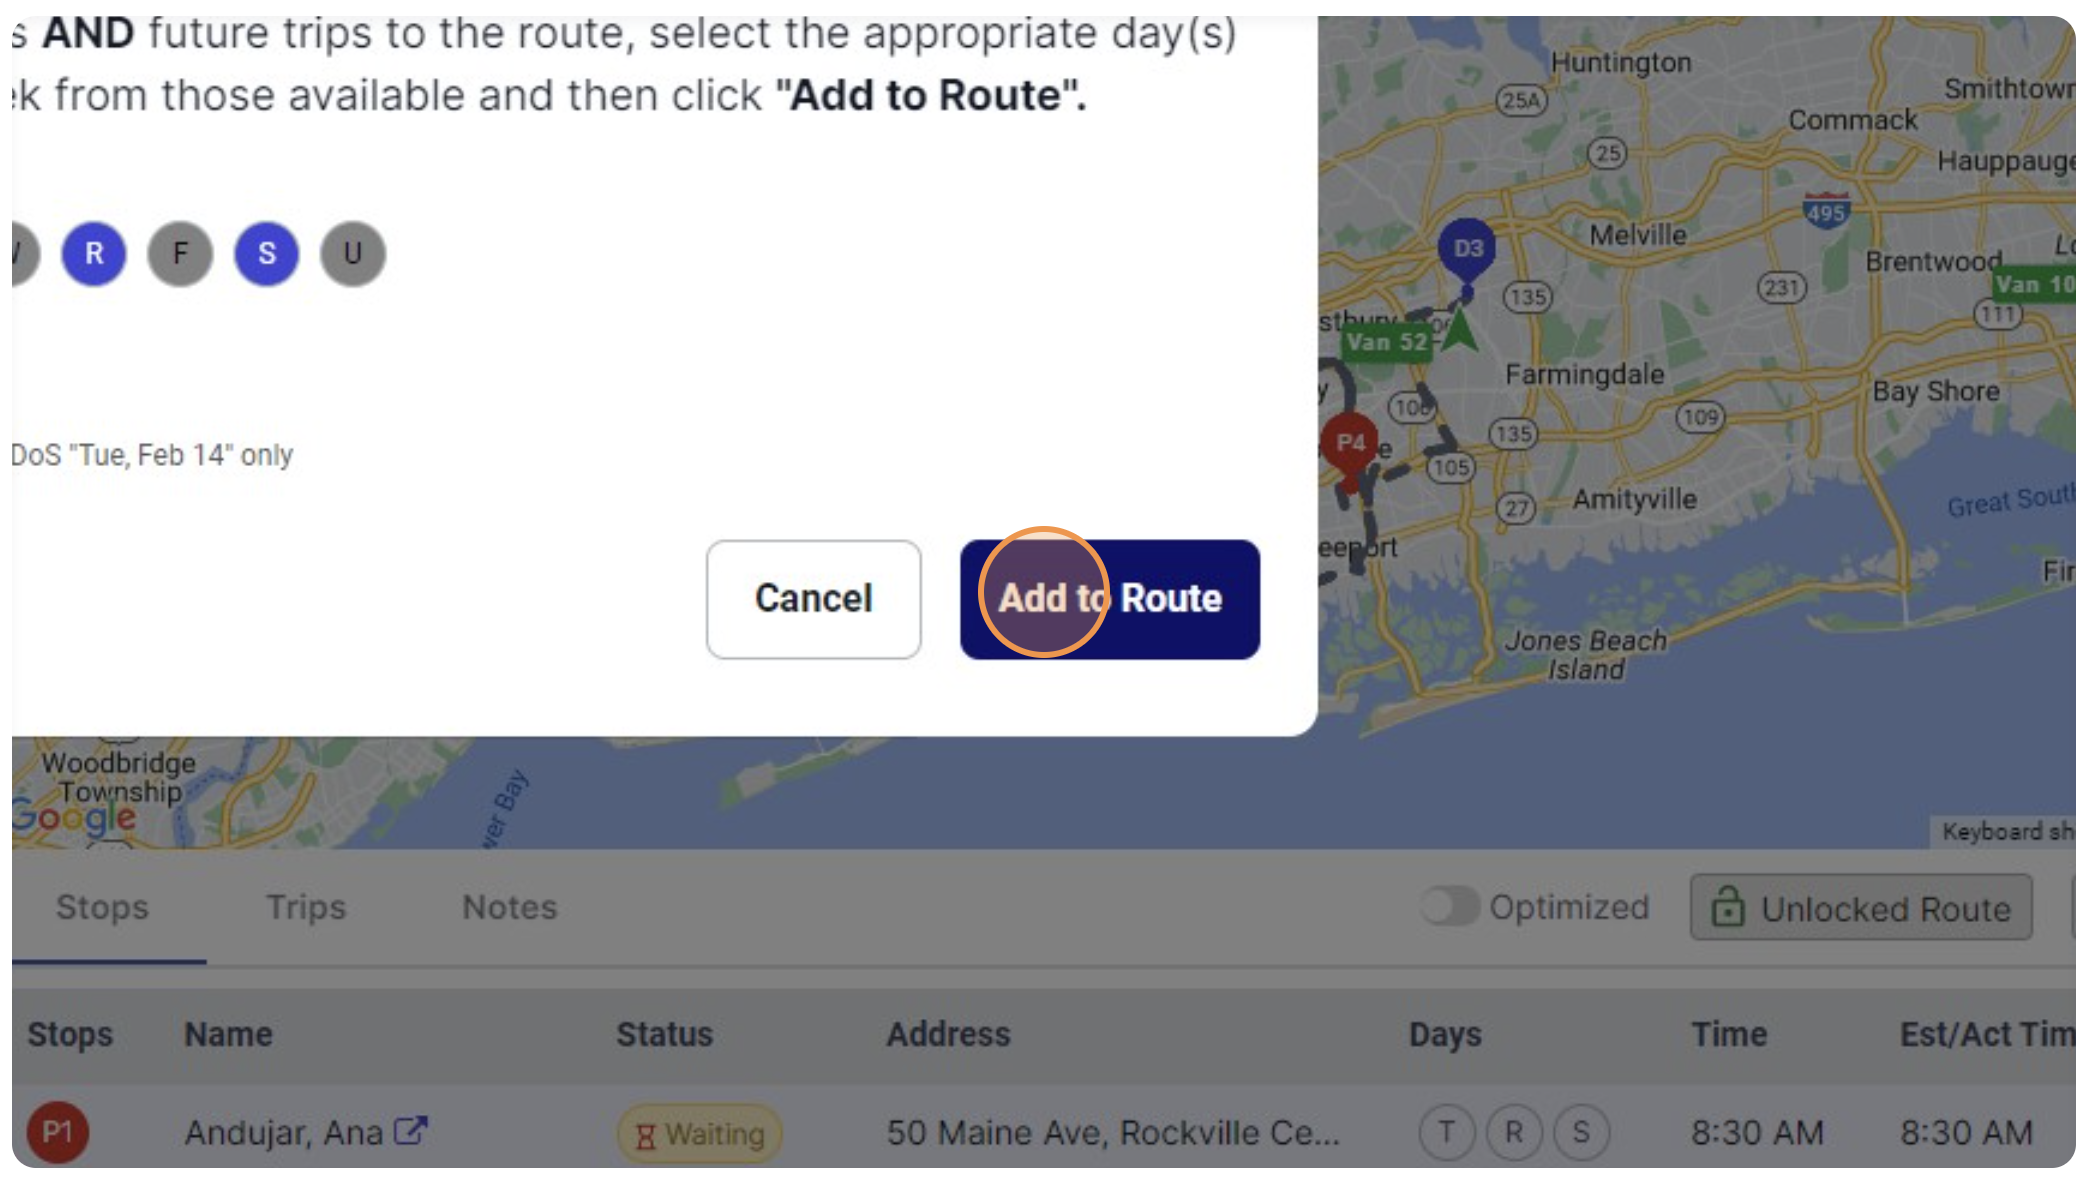
Step 7: The route is successfully created.
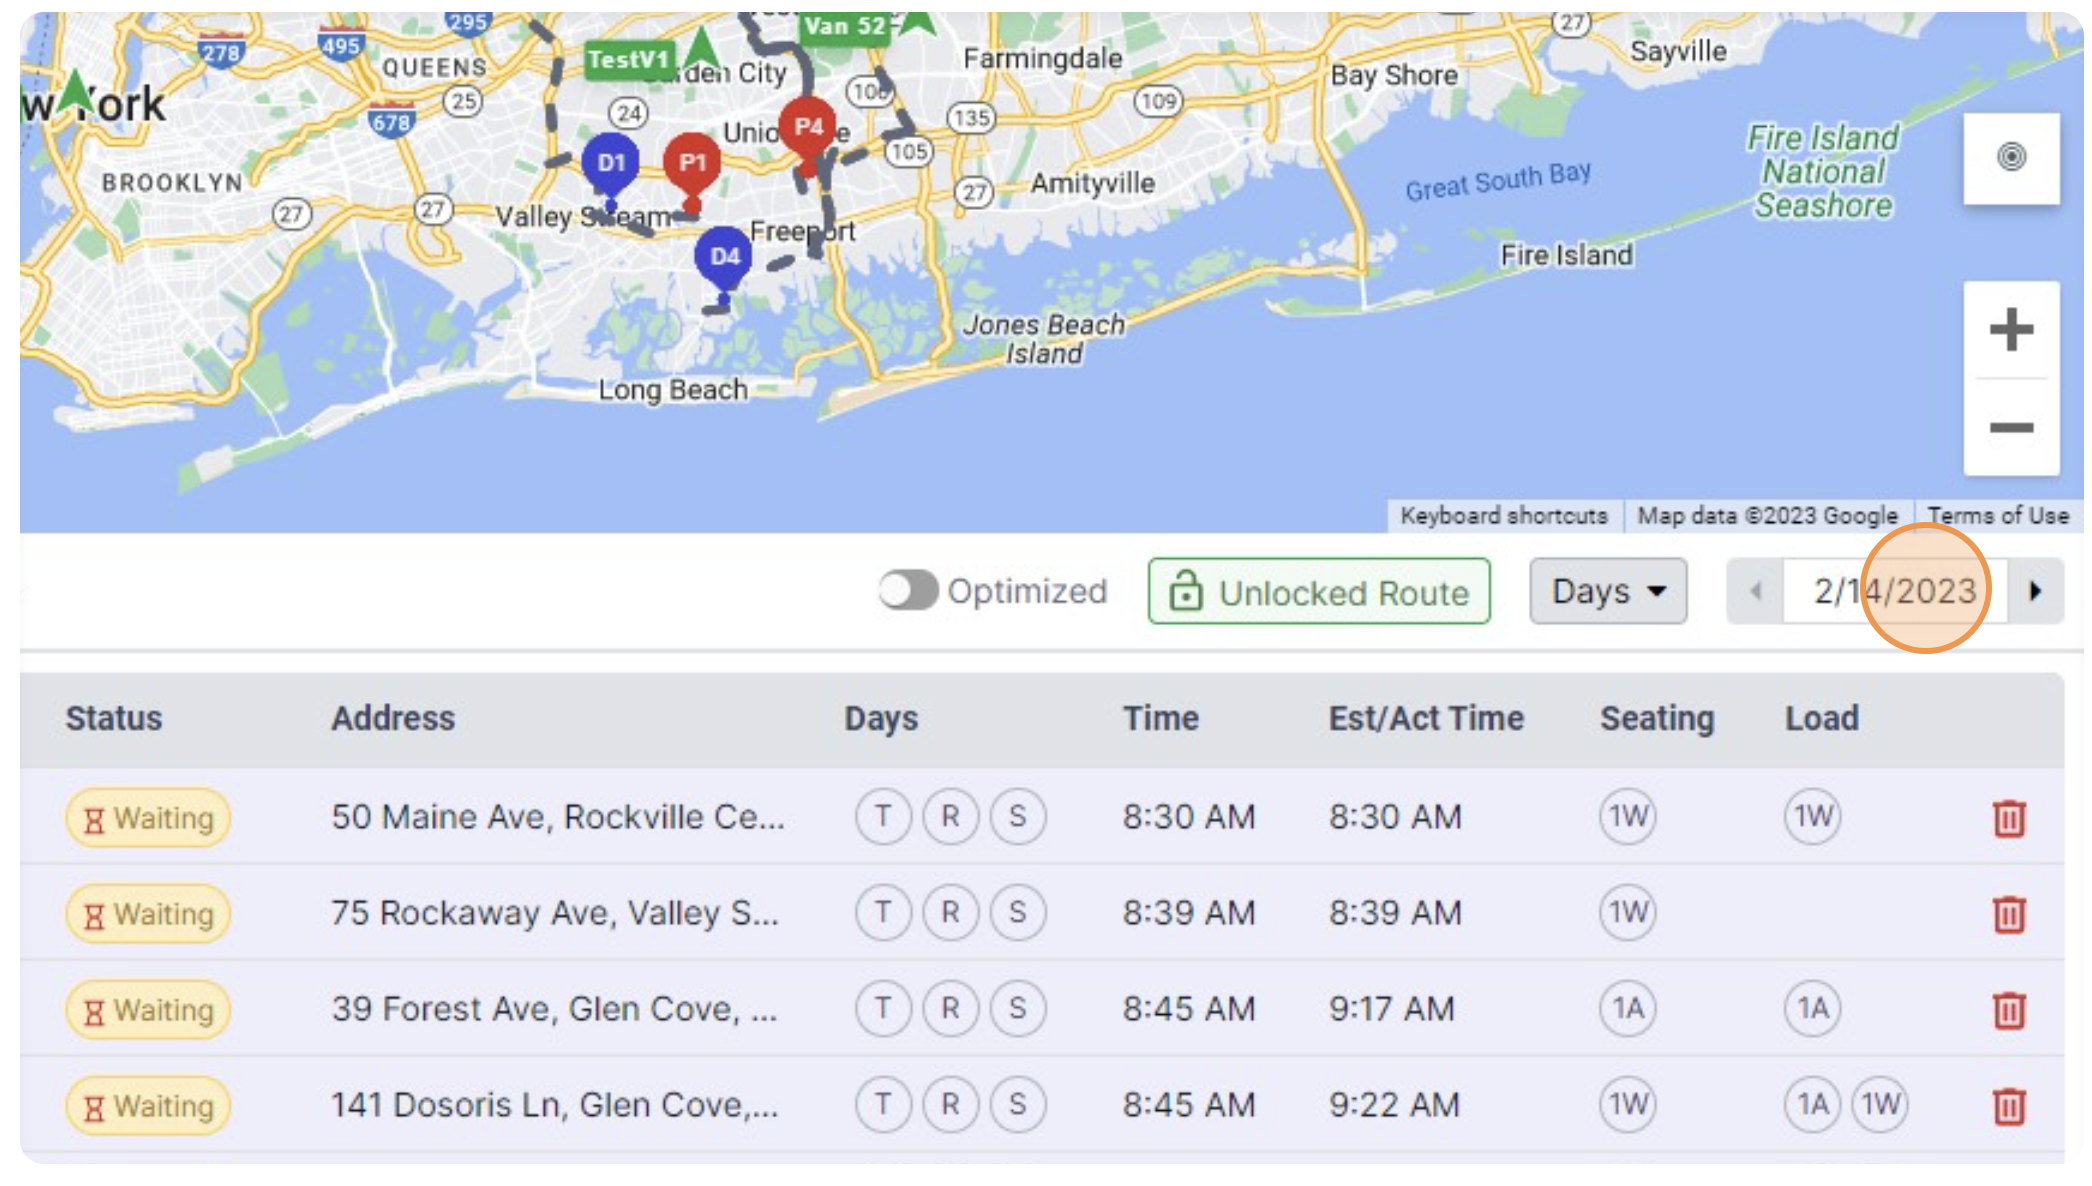
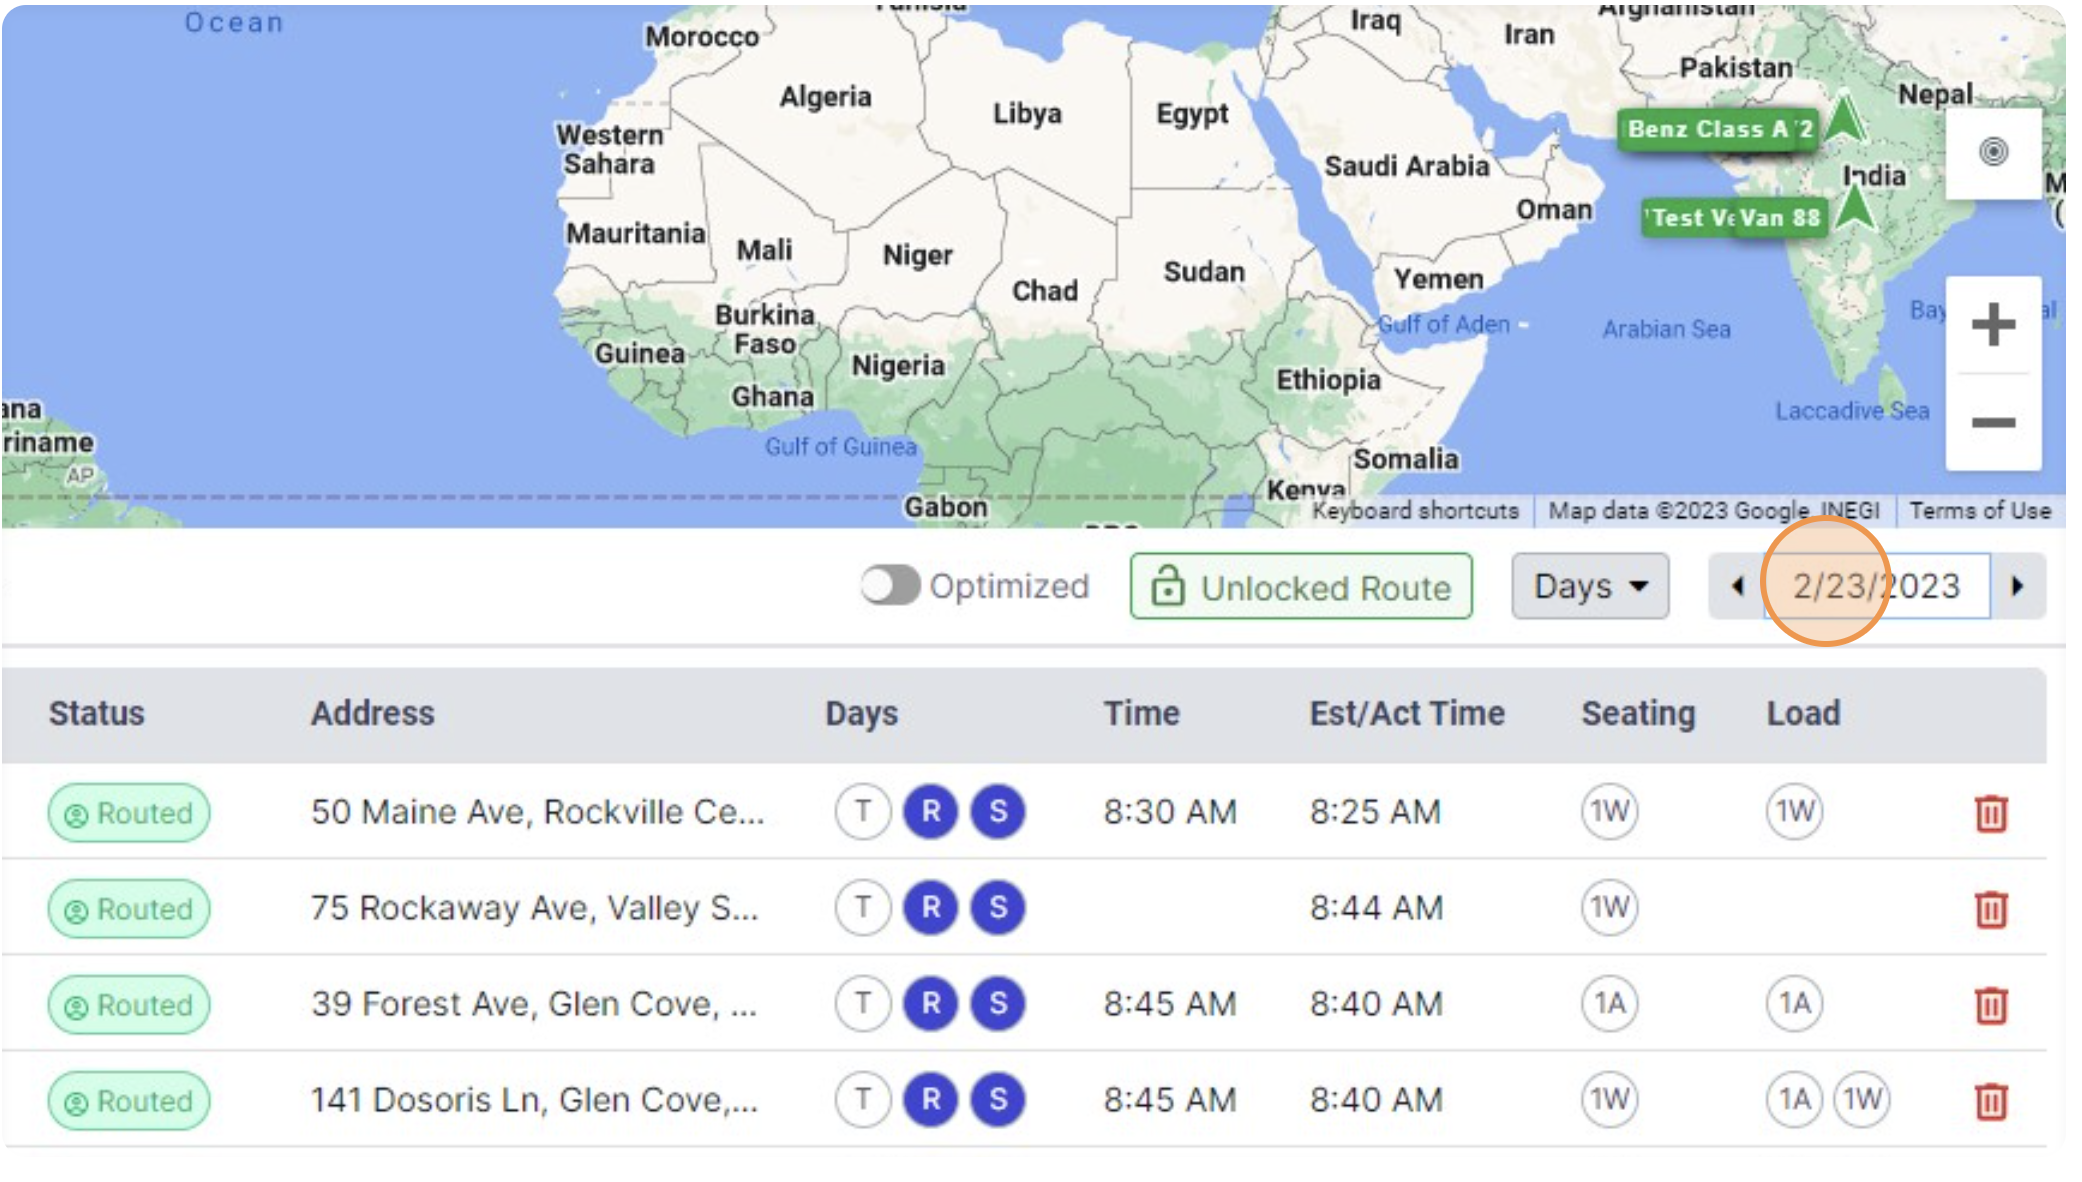
Step 8: The date picker will show you the selected itineraries for the recurring route.
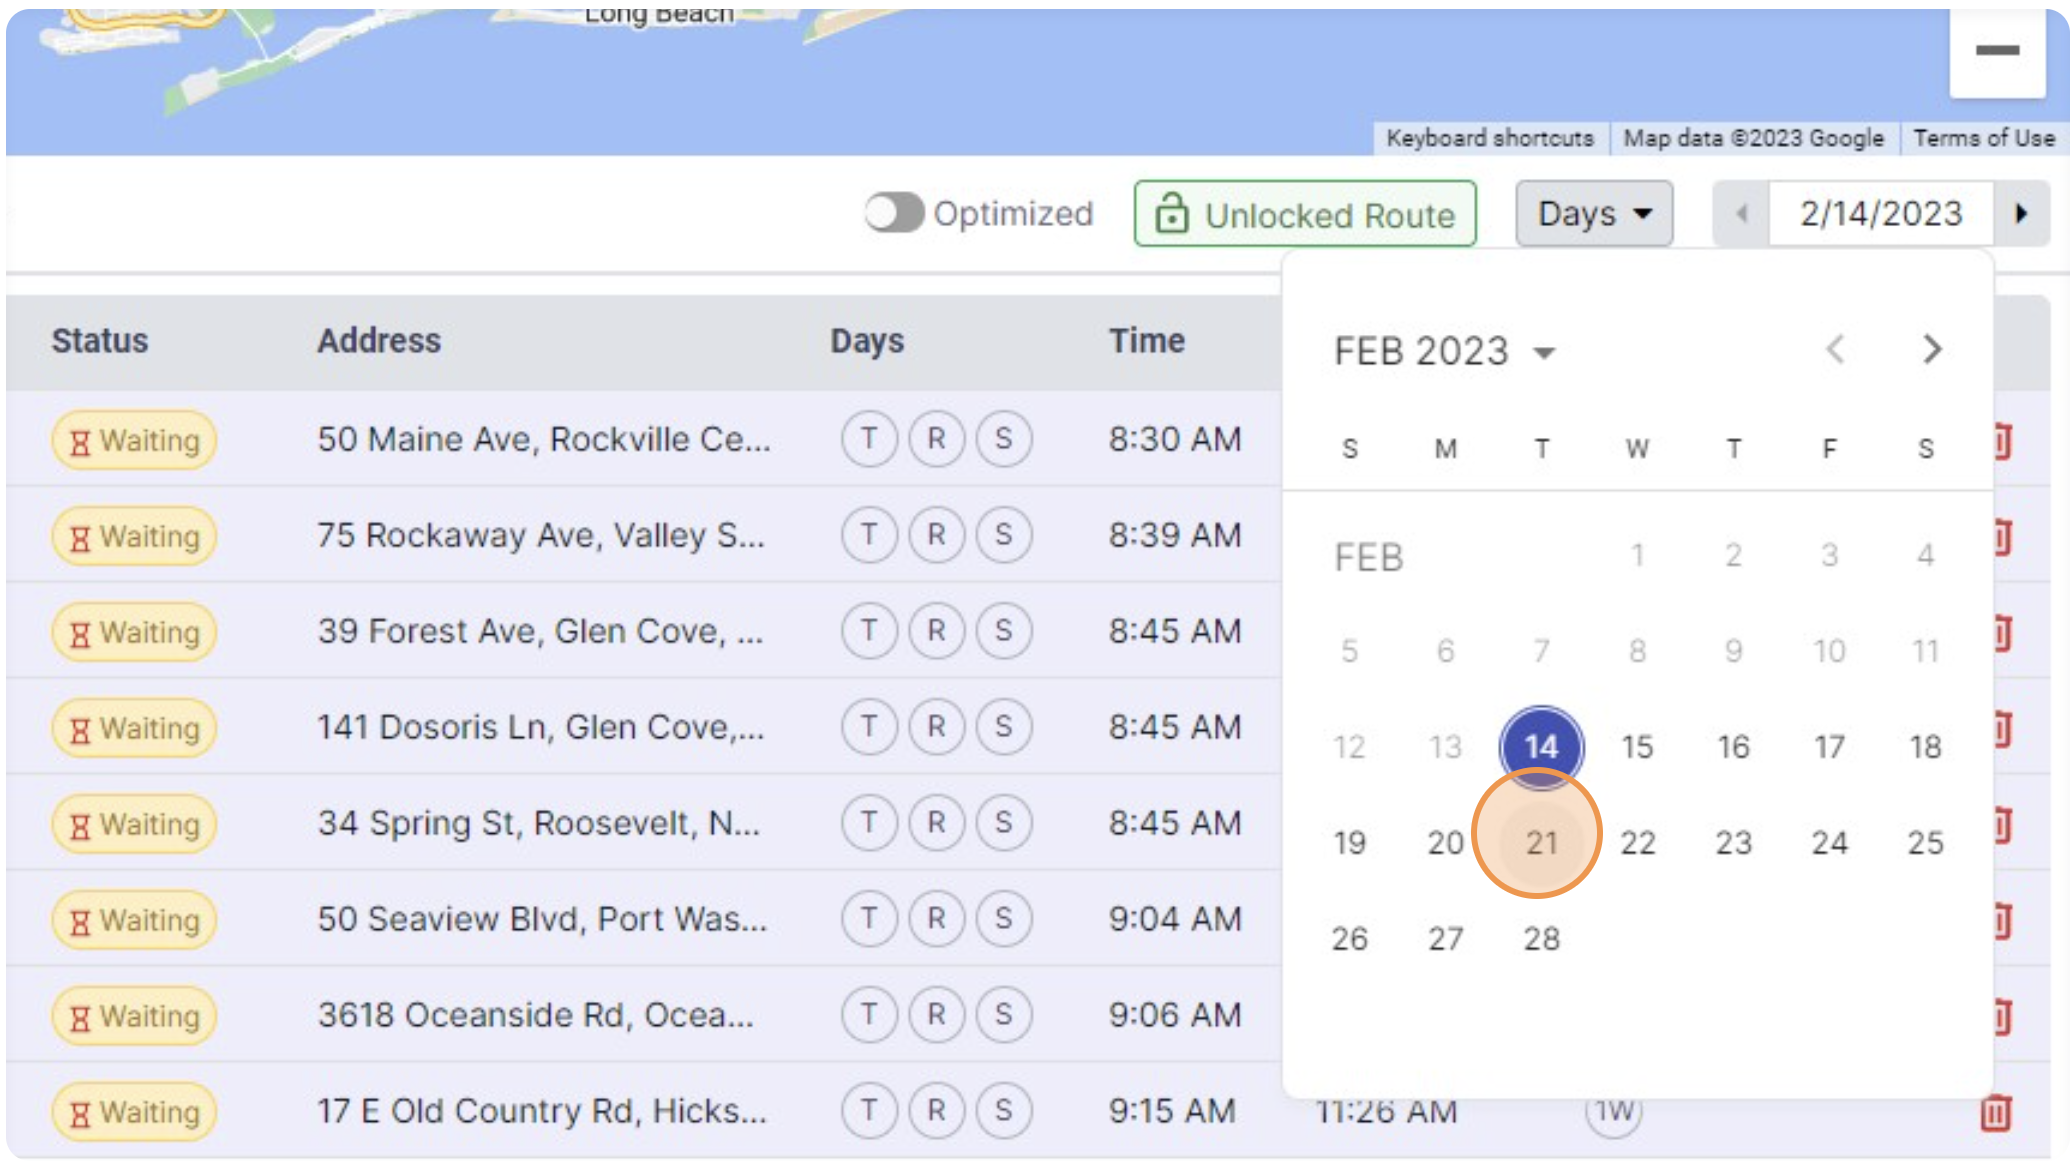
Step 9: Click the arrows for the previous and next day and review the routes.
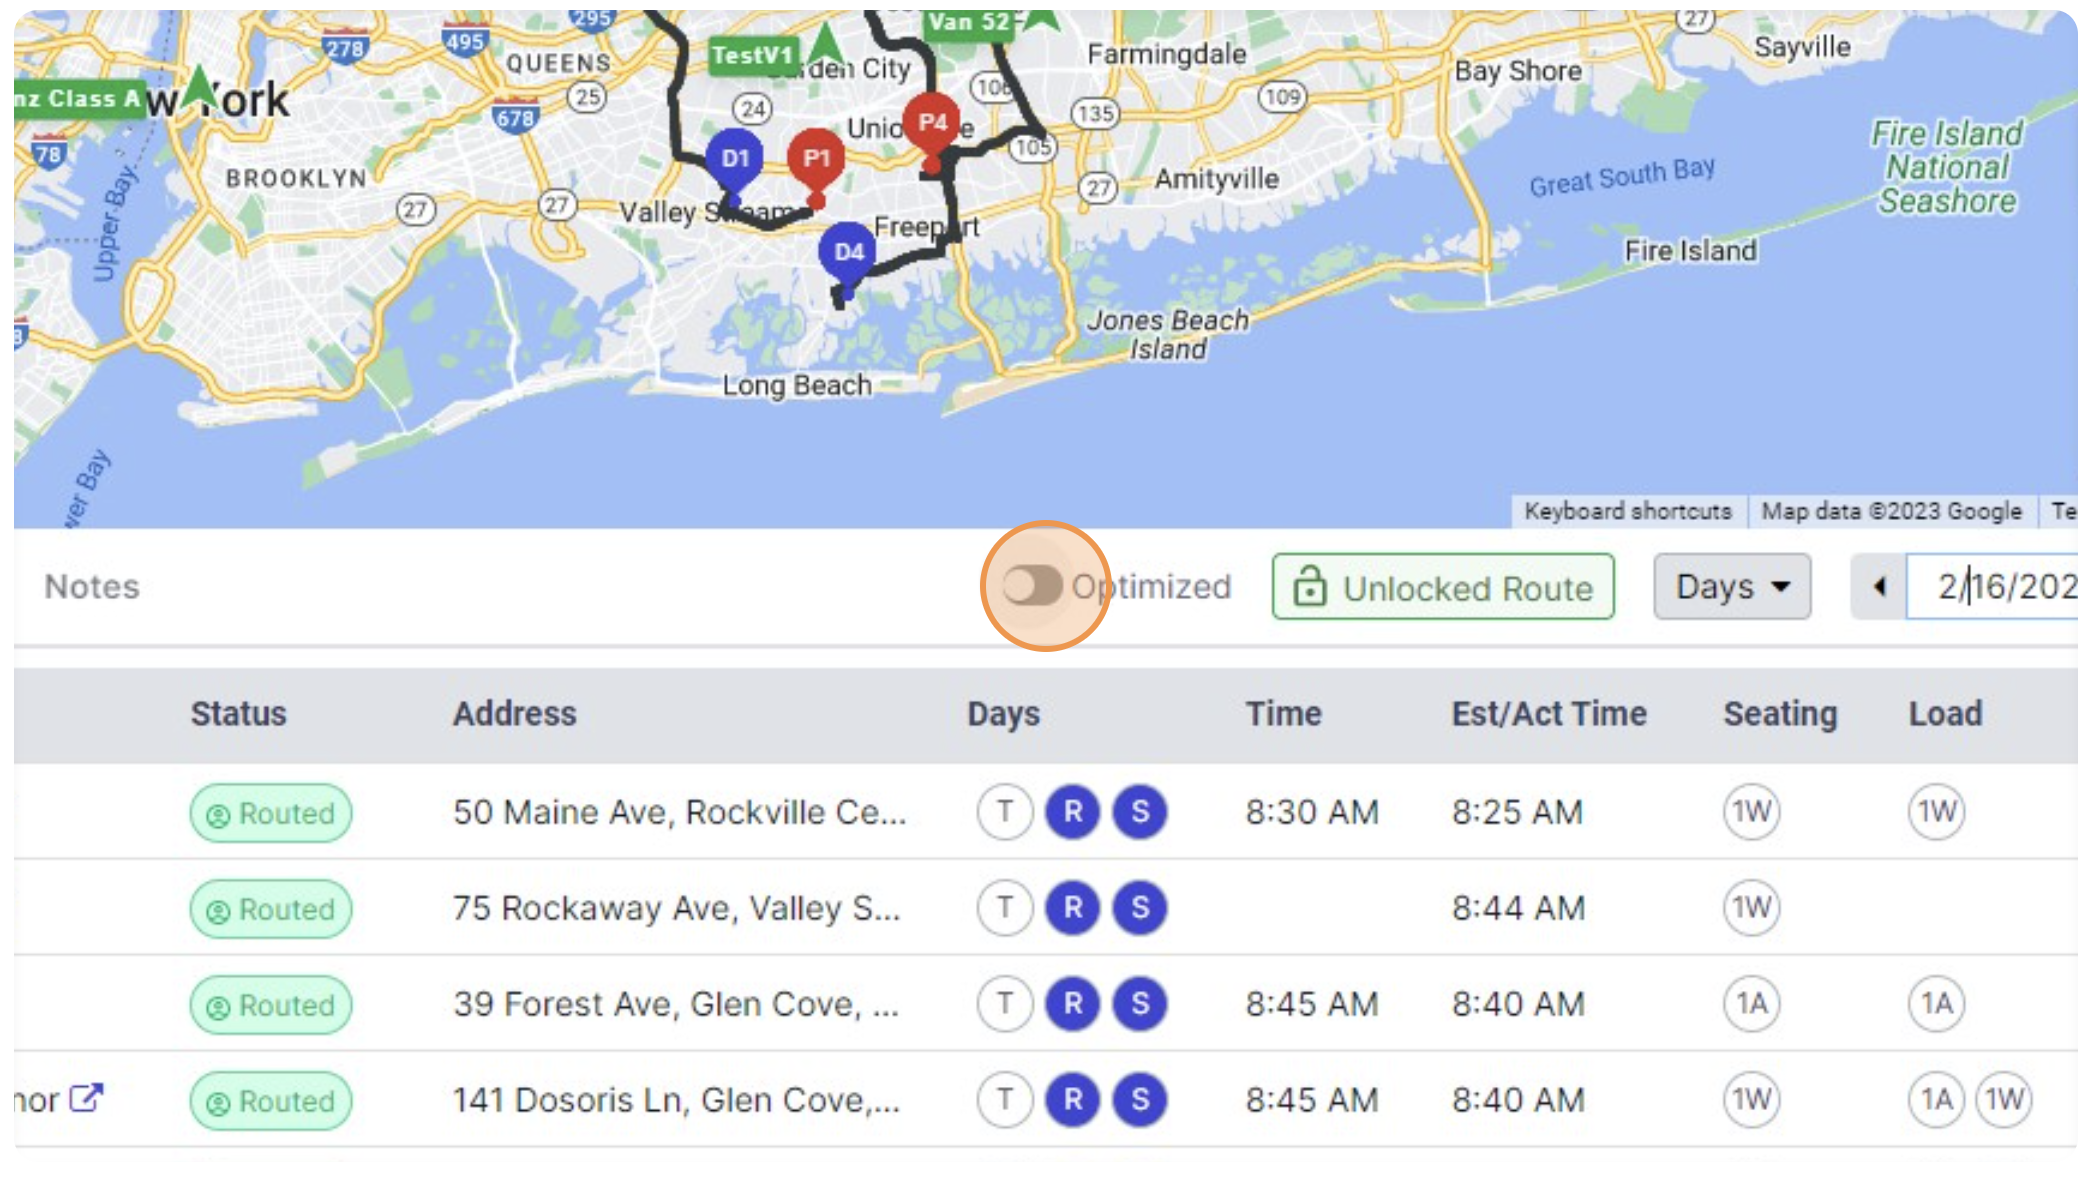
Step 10: Click on the optimized route for an optimized run based on the trip's pickup time and location.
Optimize and Lock Itinerary
Step 1: Go to “Operations > Route Planner.”
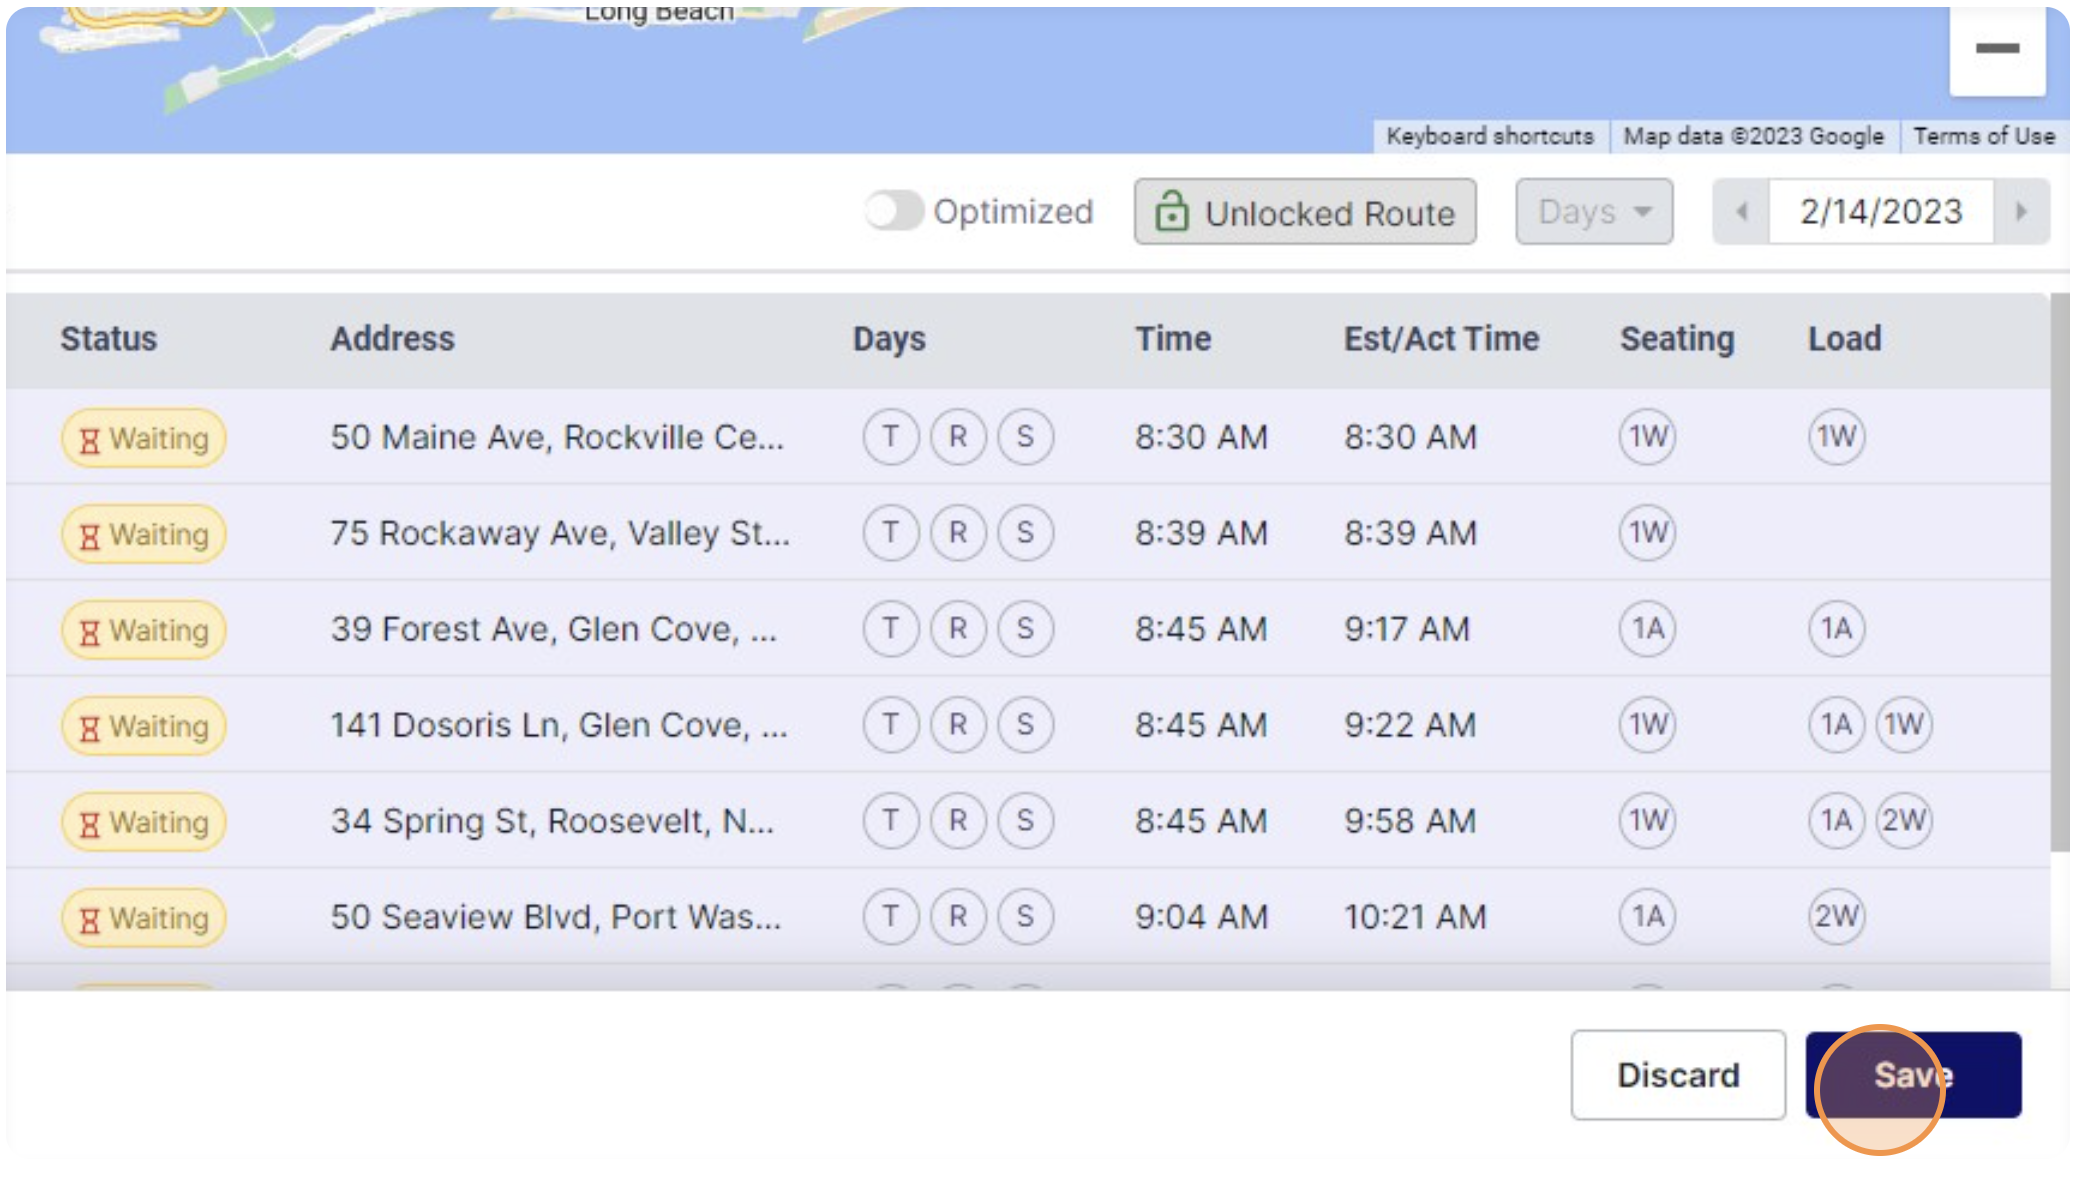
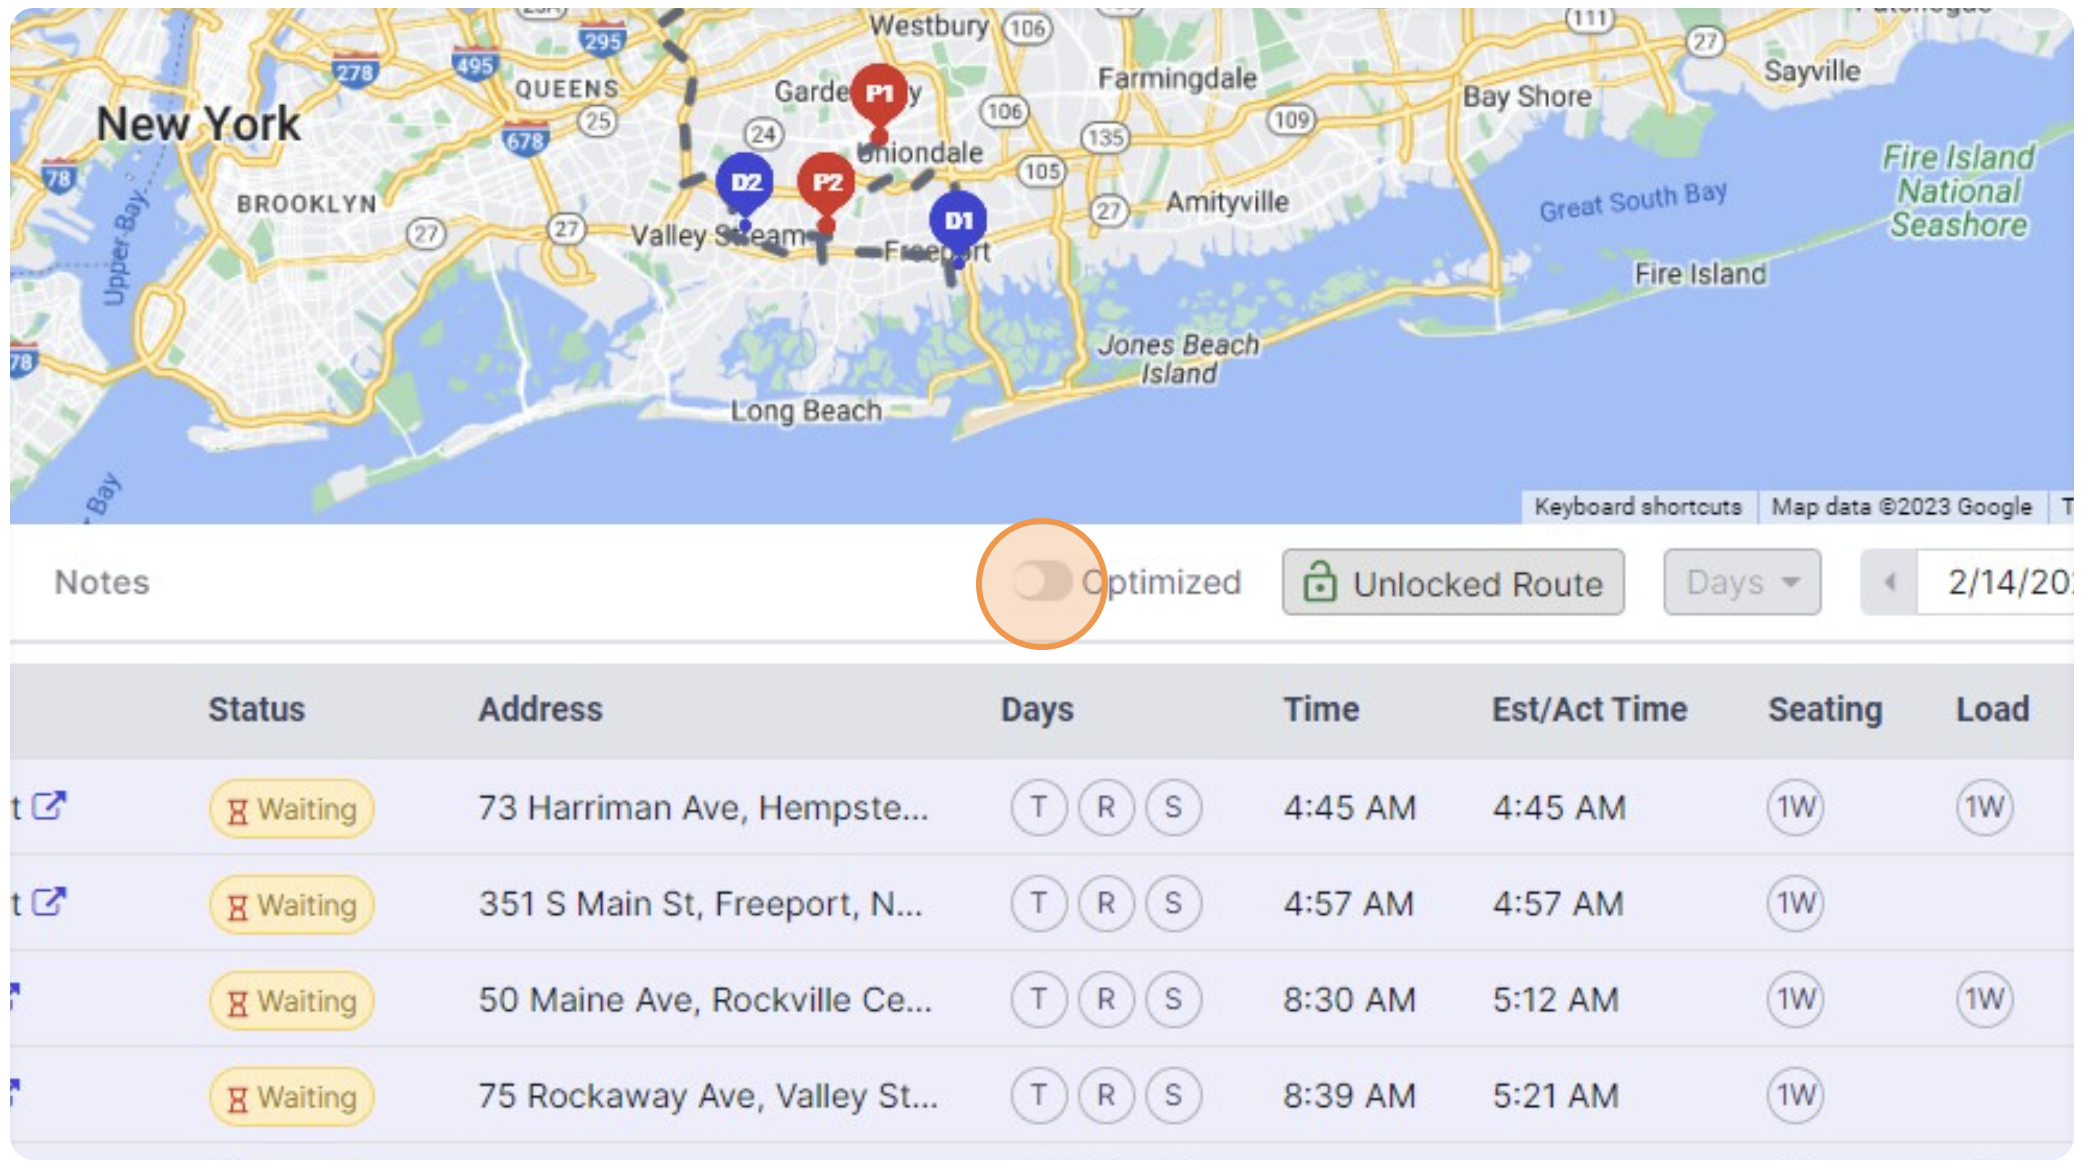
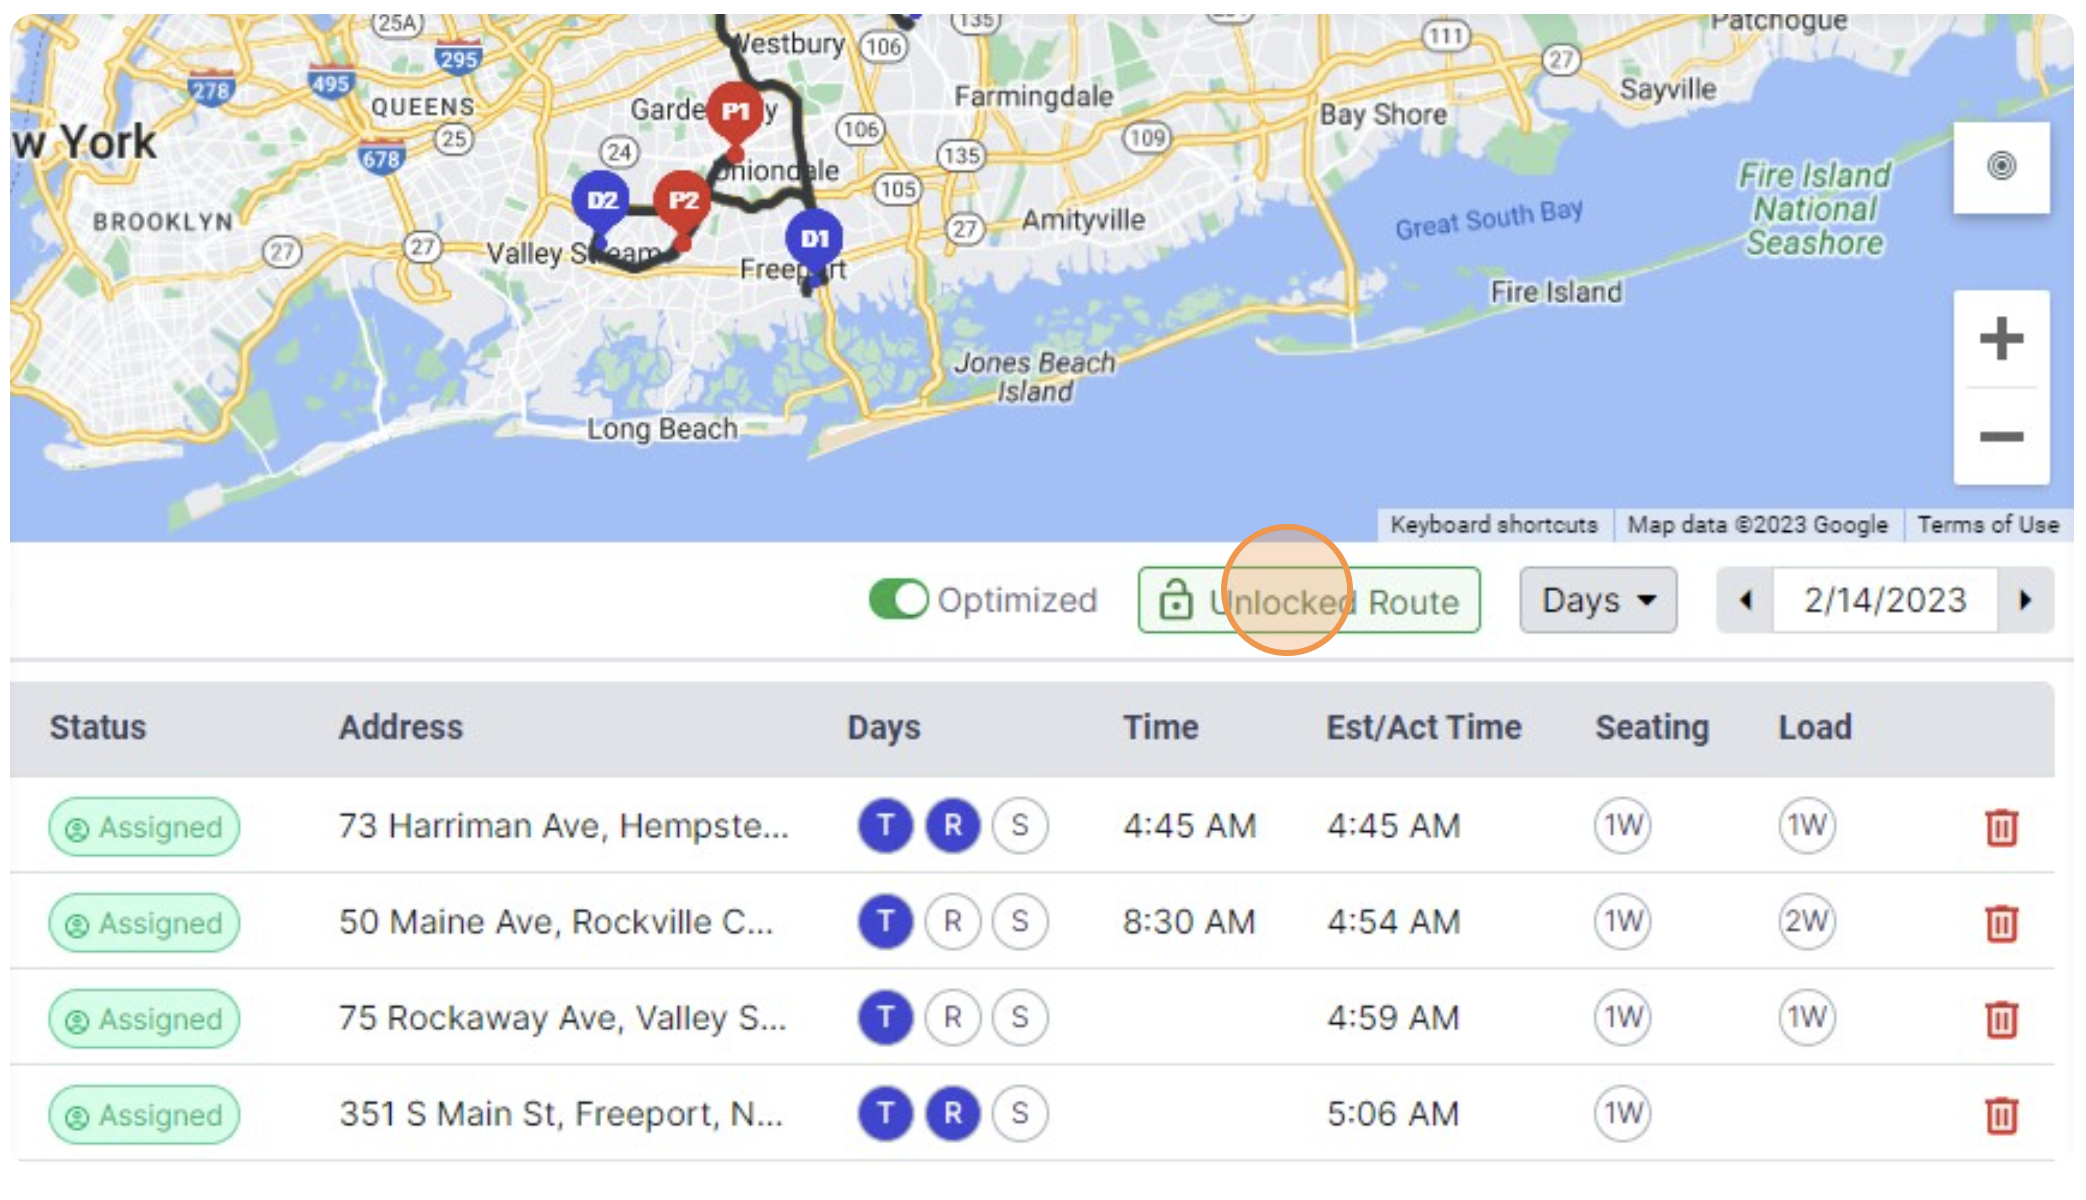
Step 2: Click “Optimized,” and the system will optimize the itinerary based on the time and location of the pickup.
Step 3: Click “Save Changes.”
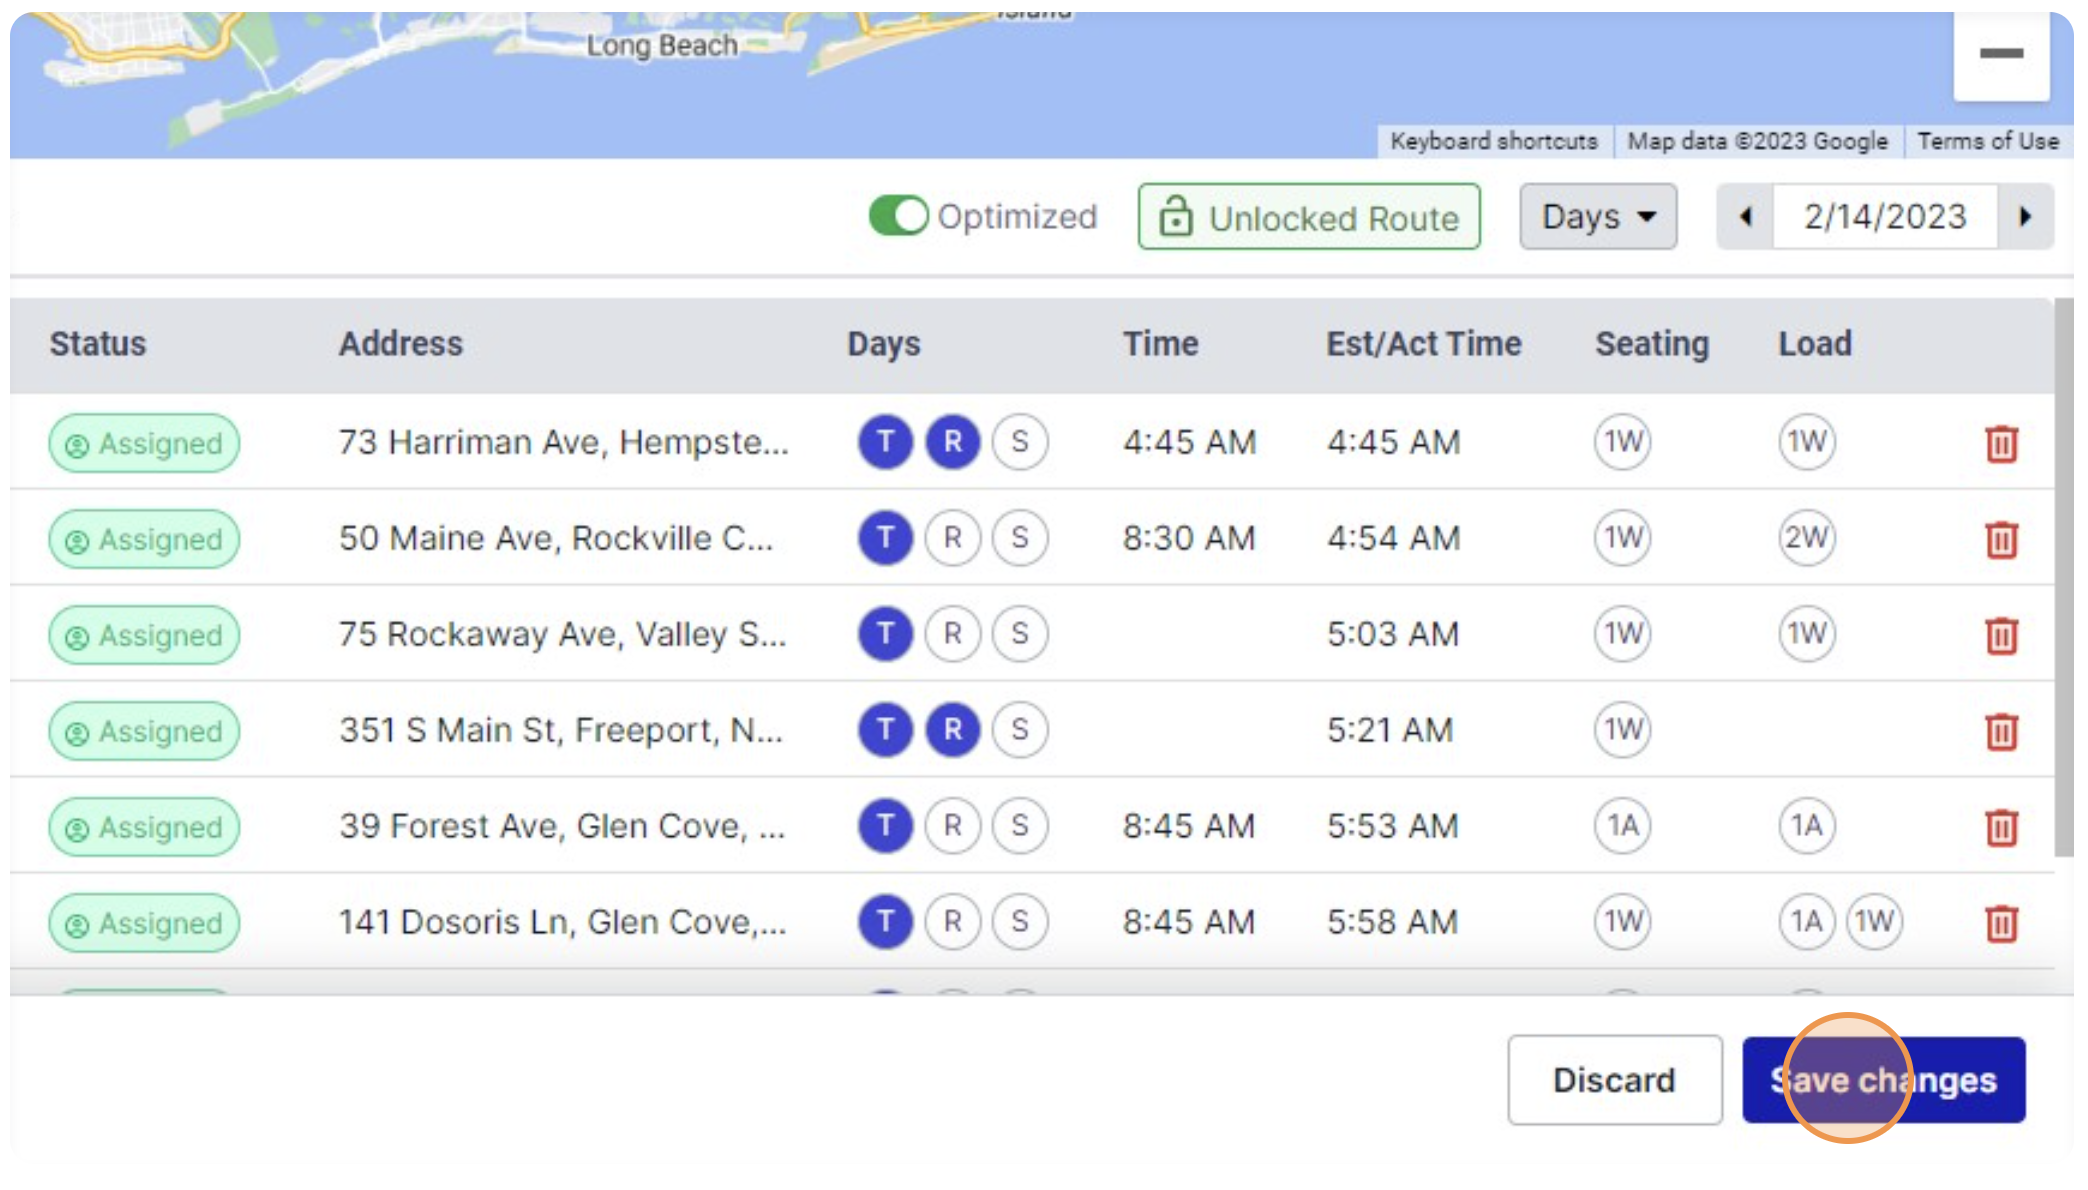
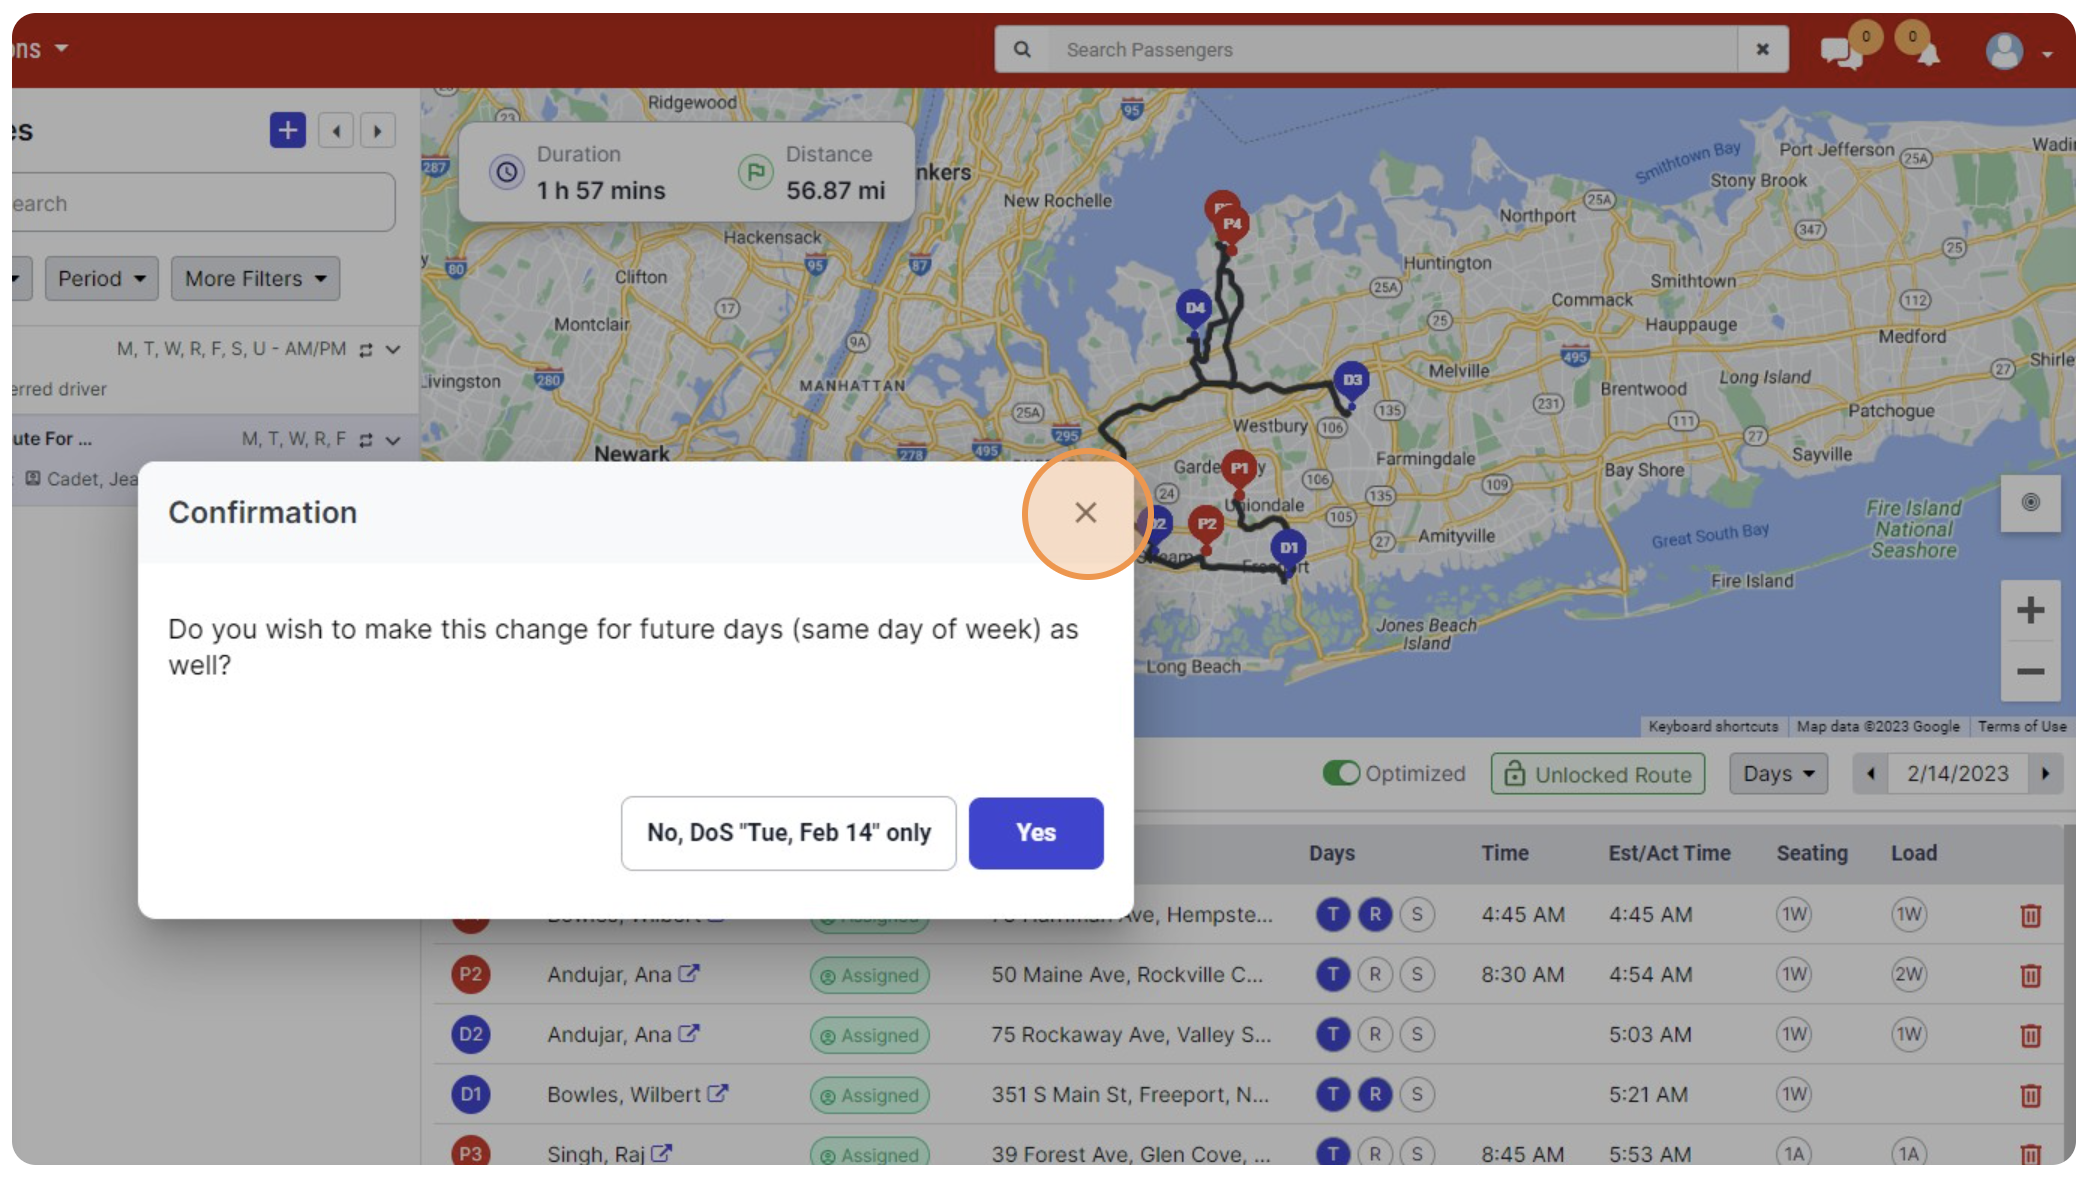
Step 4: Select if you want to optimize the itinerary only on the service date OR future repeat days. Once the itinerary is optimized, the system will decide route itinerary.
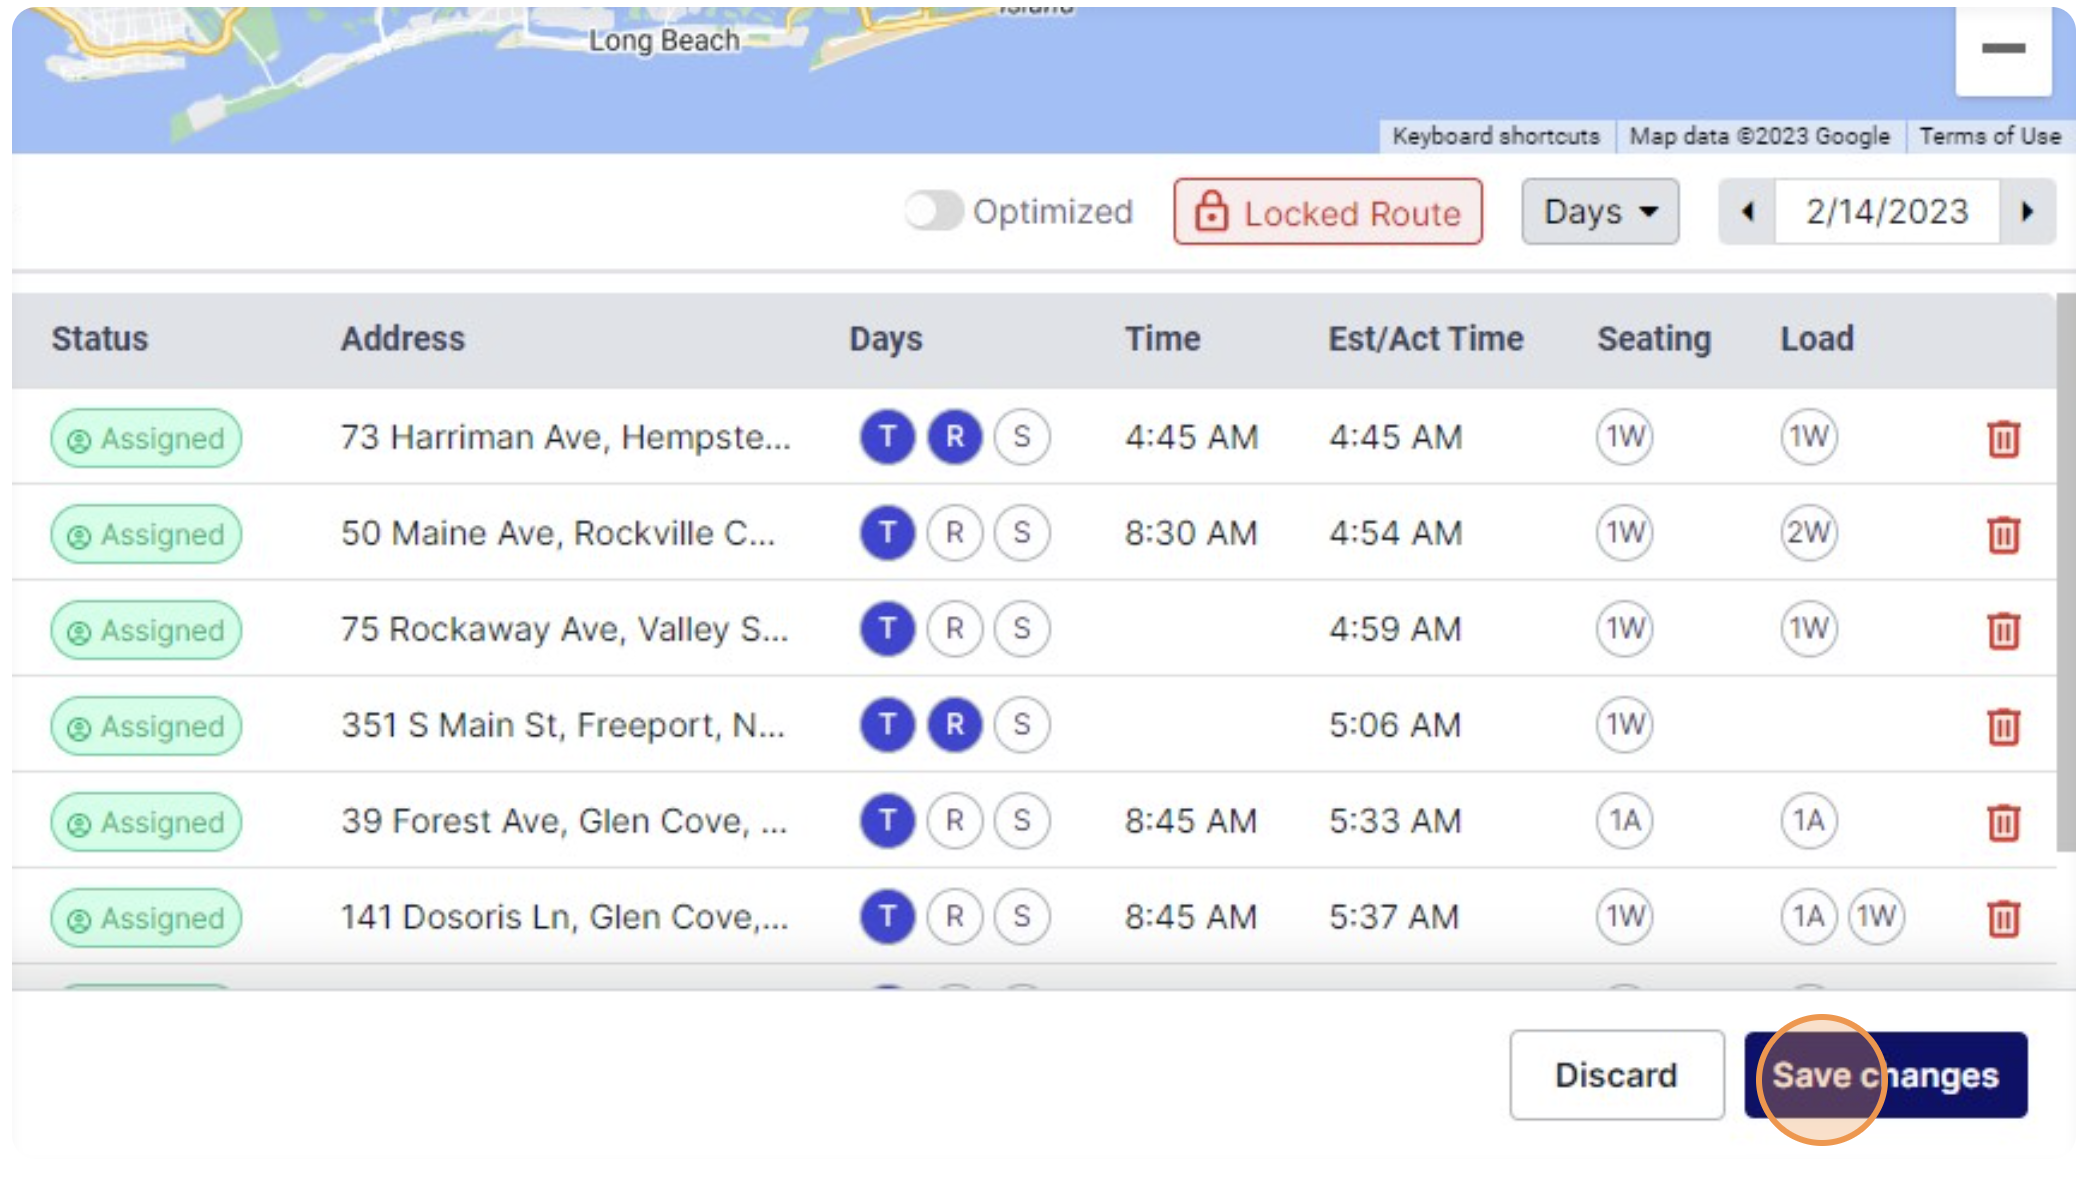
Step 5: Lock Itinerary: The user can manually re-arrange the itinerary and lock the same. This way, neither the system nor another user can update the itinerary. The user has to unlock the itinerary to re-arrange it.
Step 6: Click "Save Changes" to save the lock action.
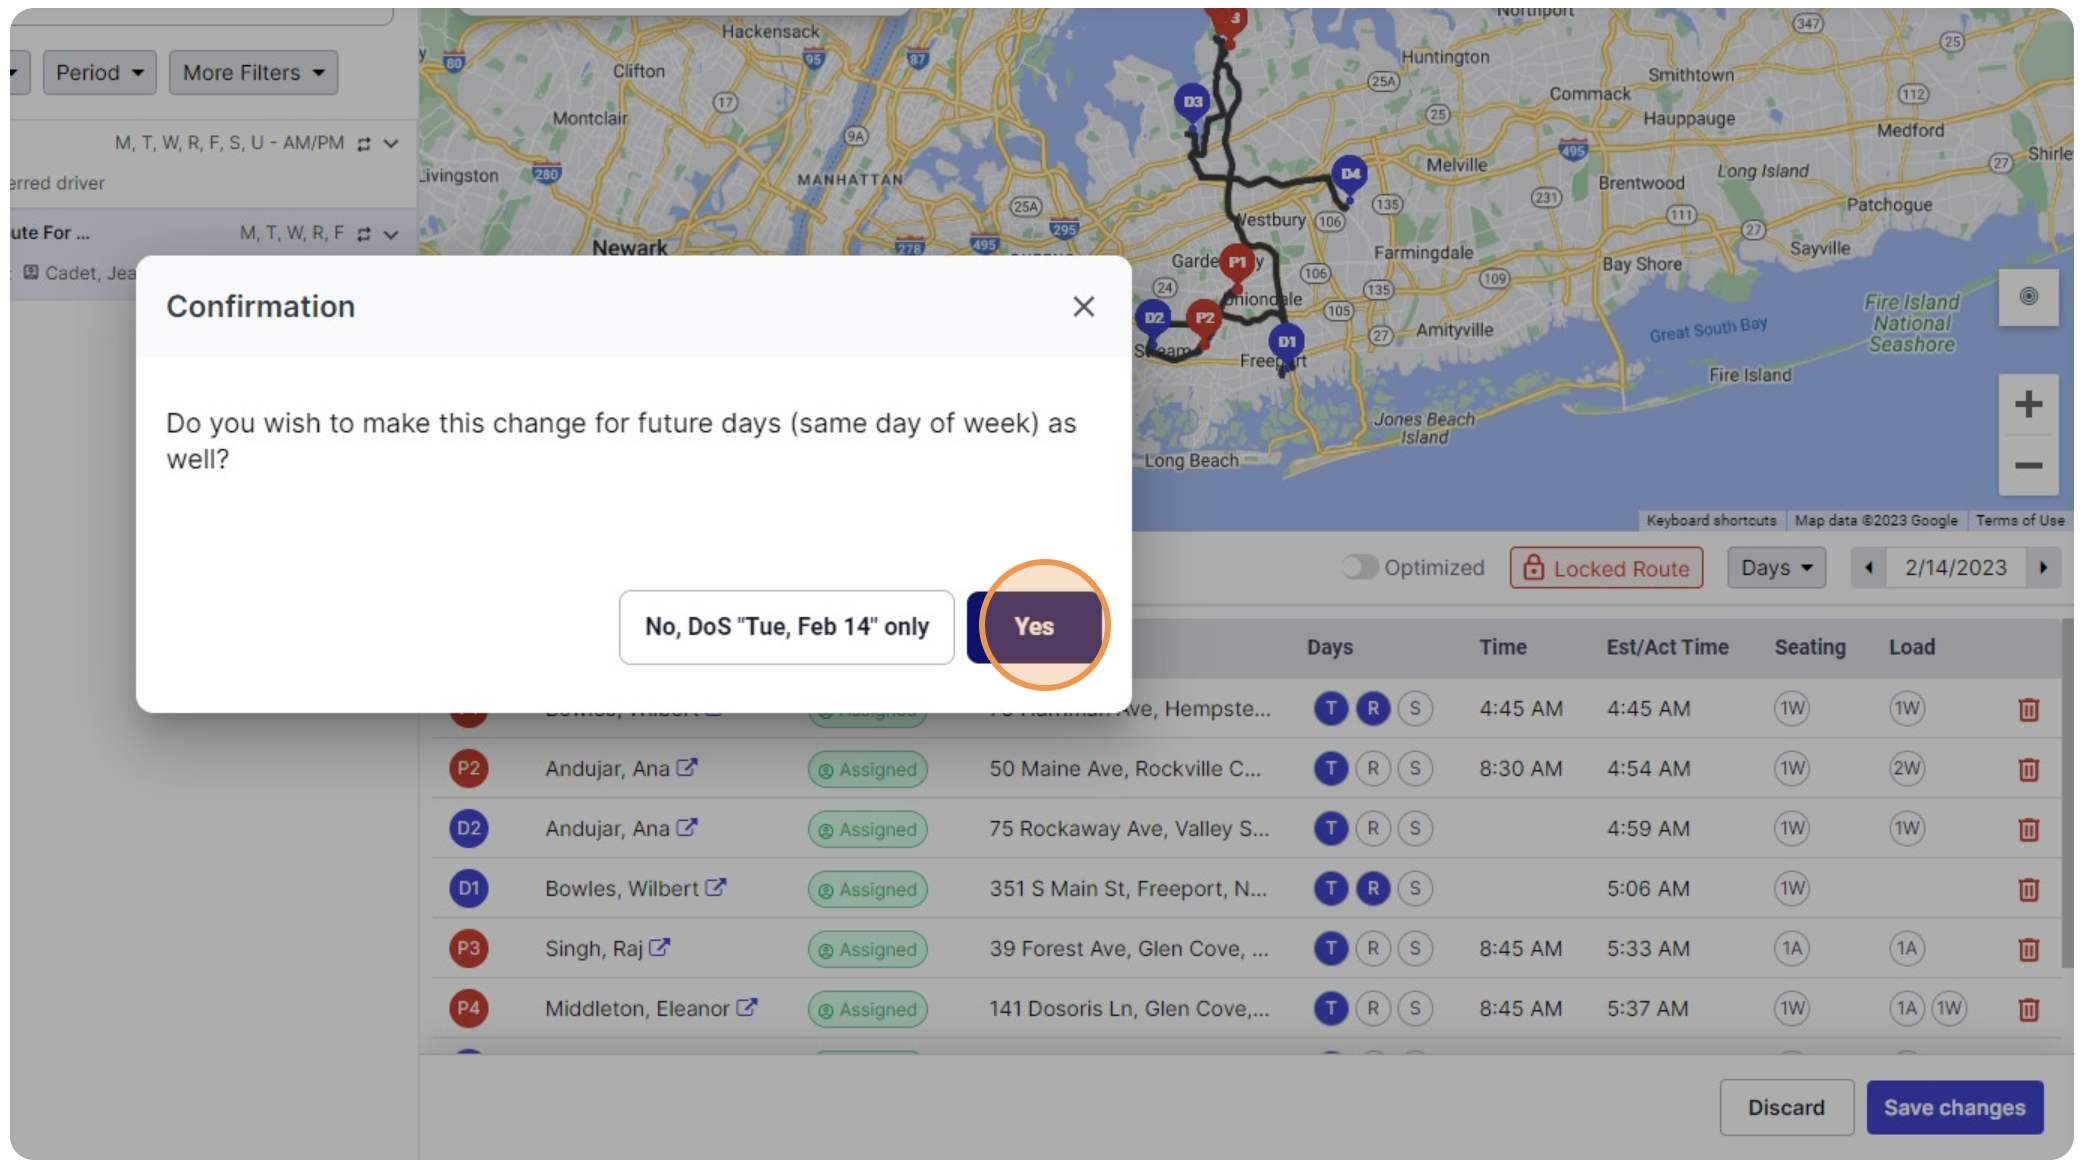
Step 7: Select whether you want to lock the itinerary only for the same service date or for all future repeat days.
Filter and Adjust Route Options
Step 1: Go to “Operations > Route Planner.”
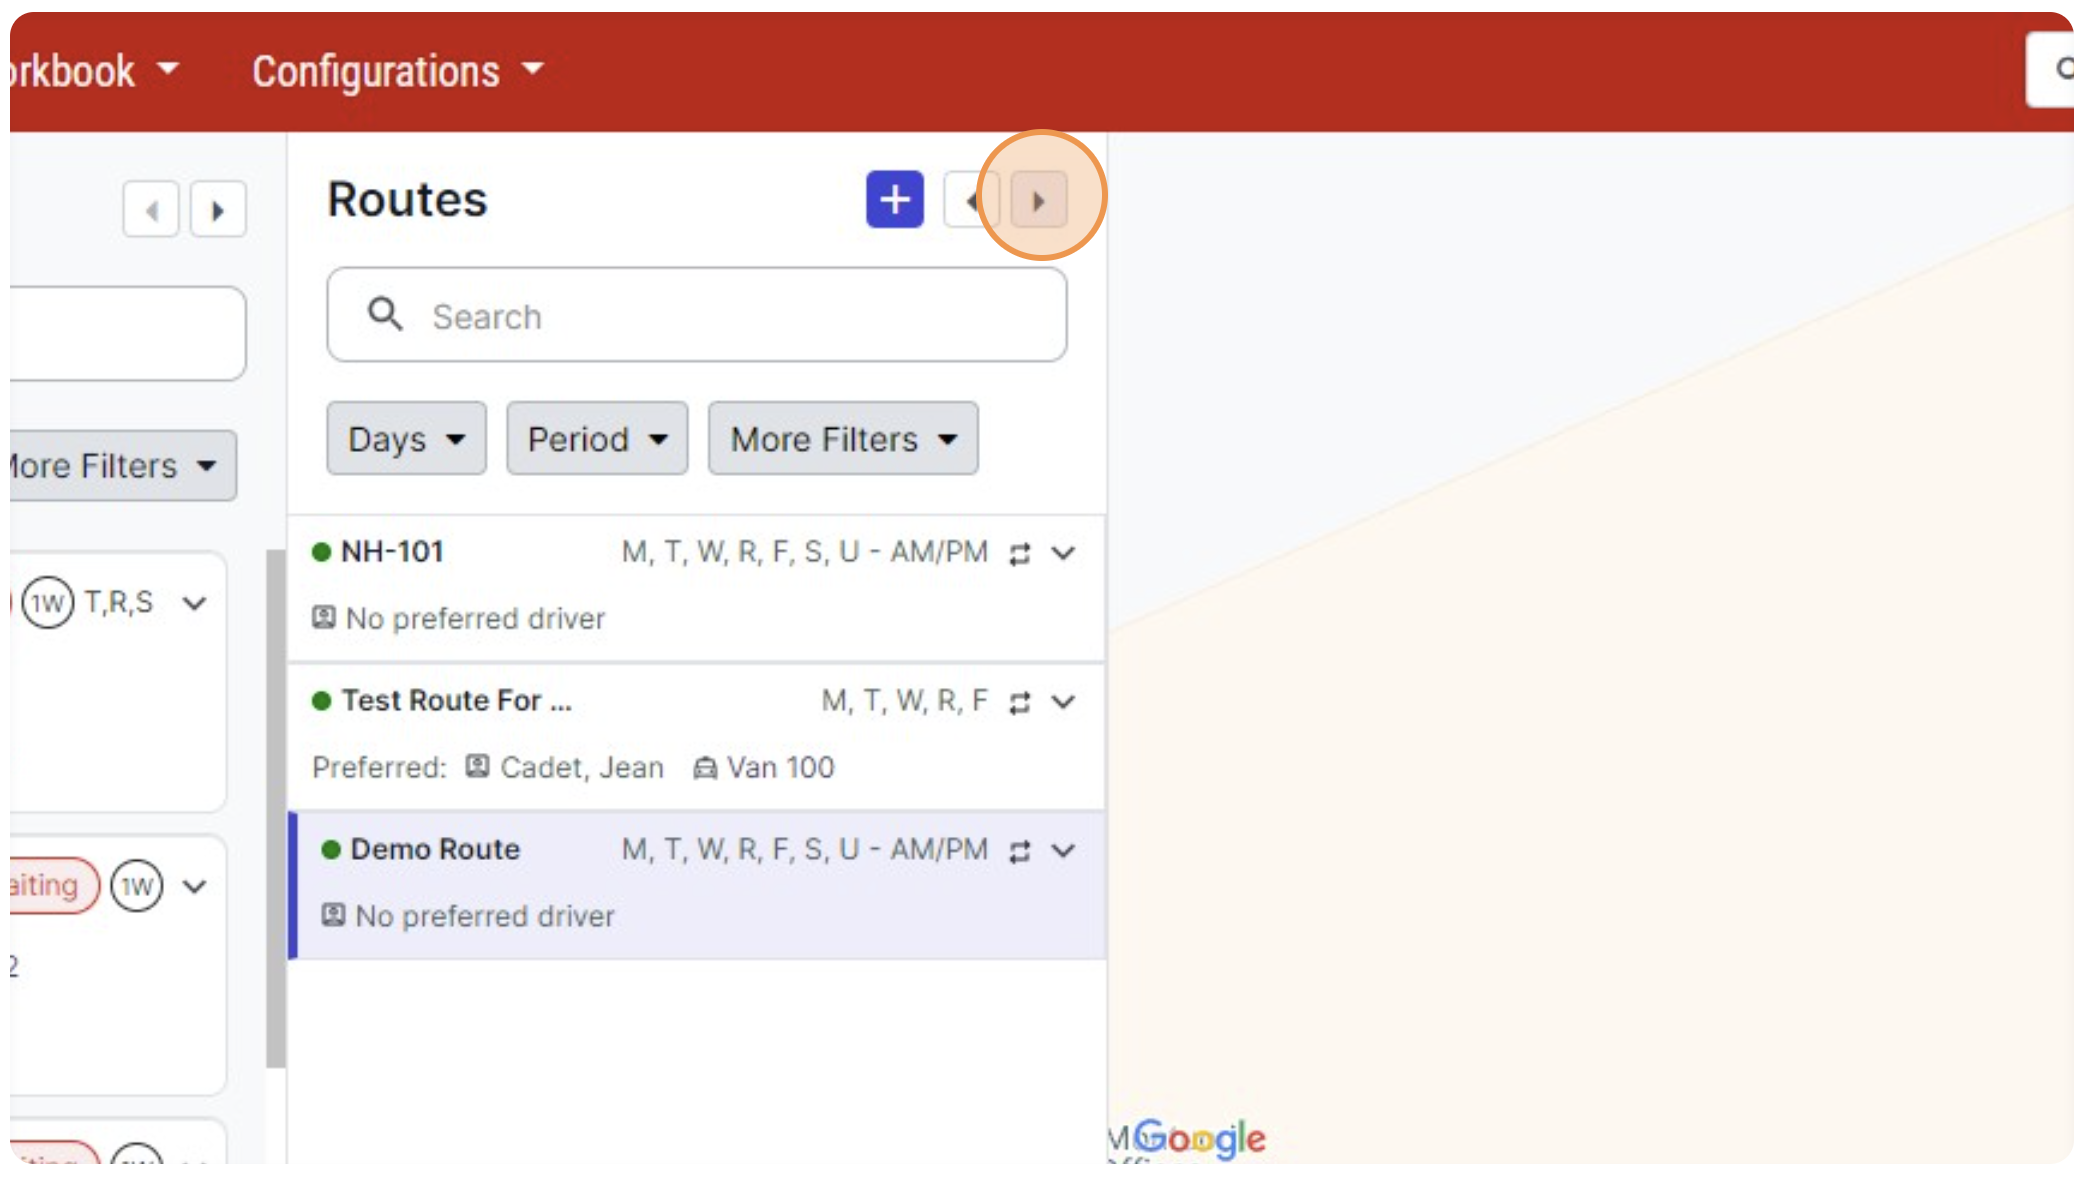
Step 2: Click the right arrow to dock the pane on the right. You can dock both unrouted trips and route panes at your convenience.
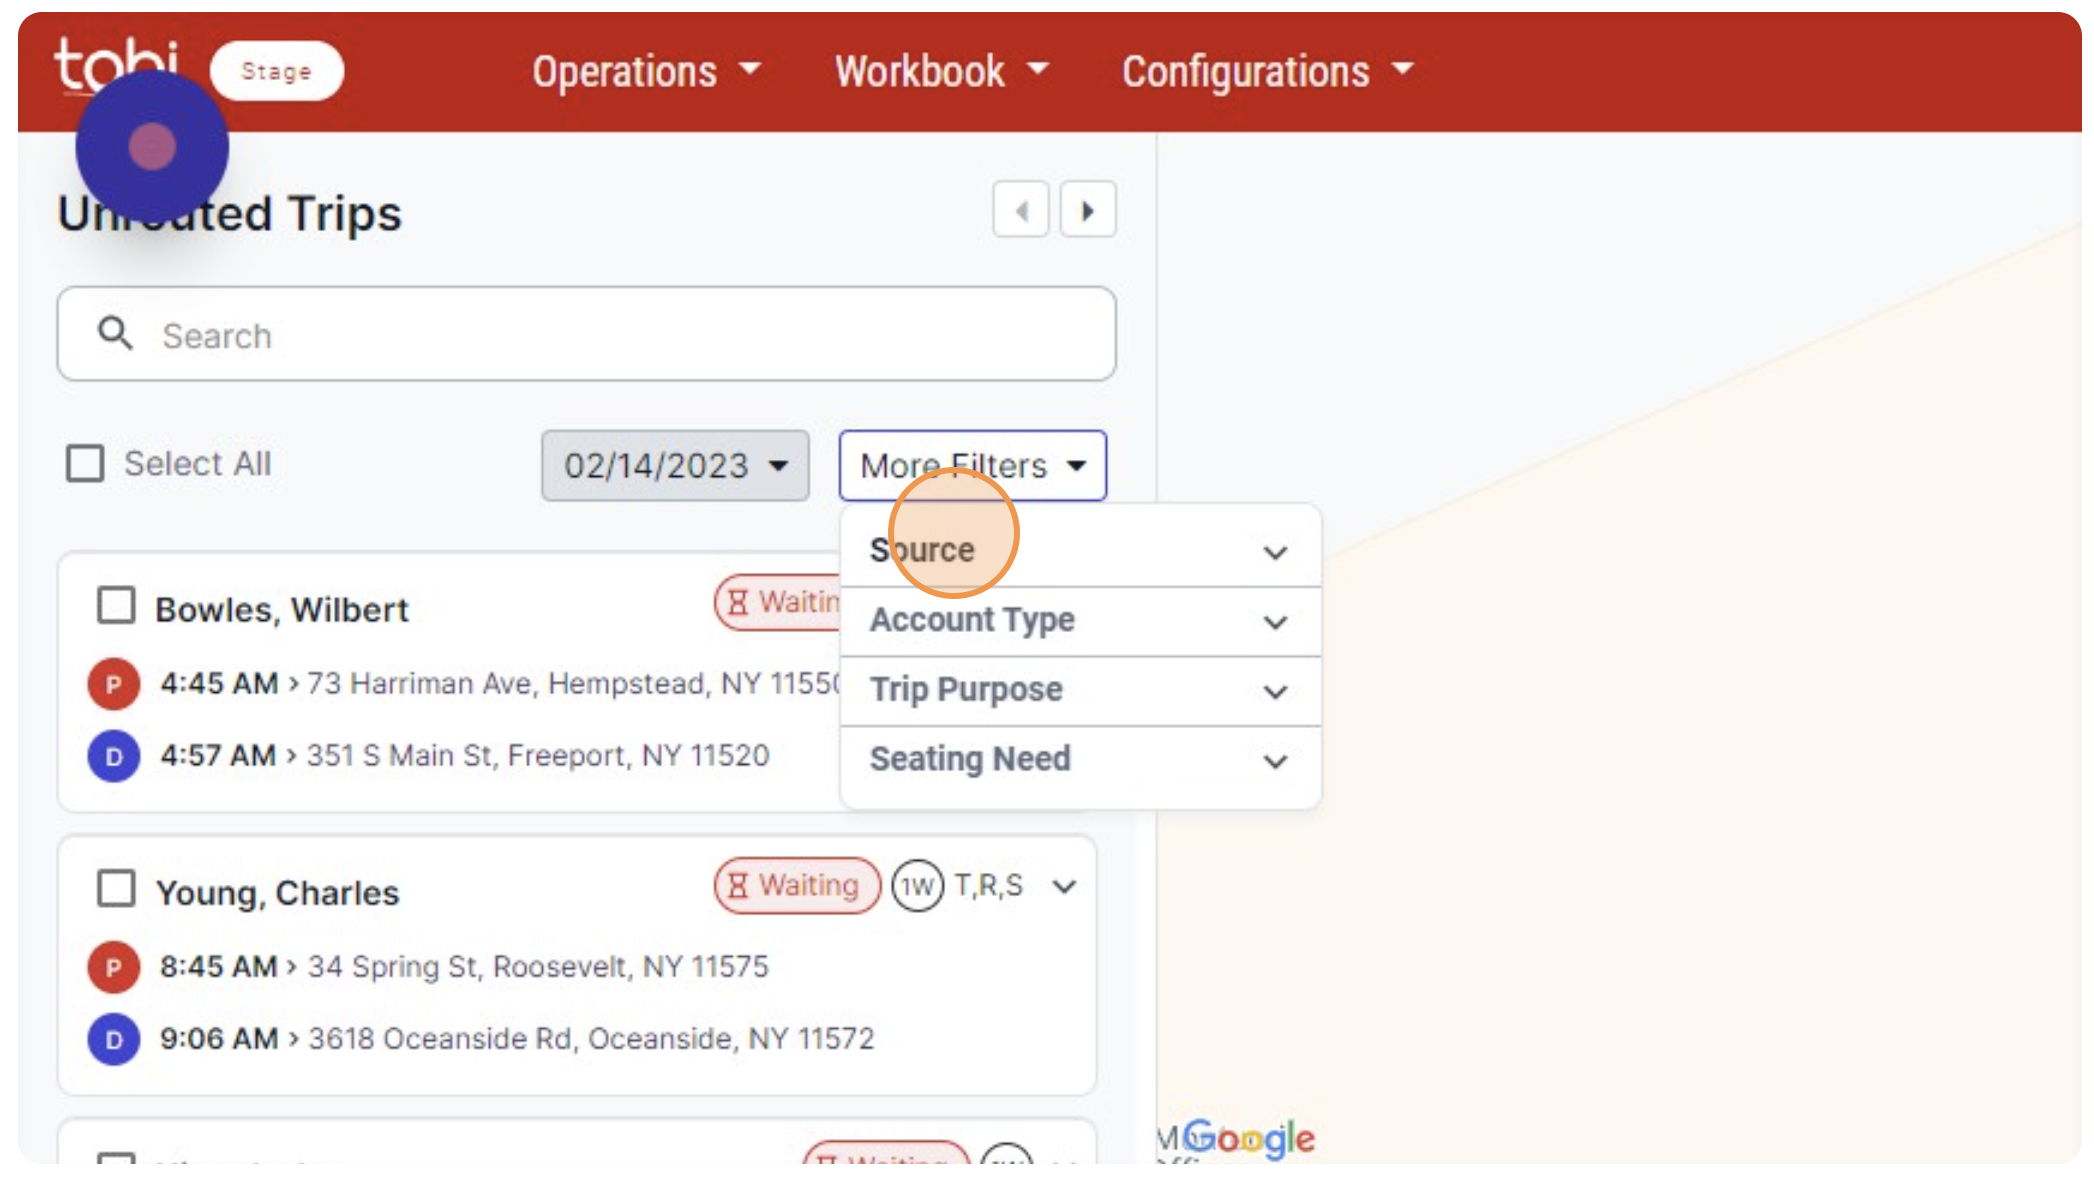
Step 3: Filter unrouted trips by account, trip purpose, or seating need.
Step 4: Disable route- The user can disable the route if it is no longer needed. All tagged trips will be removed from the route.
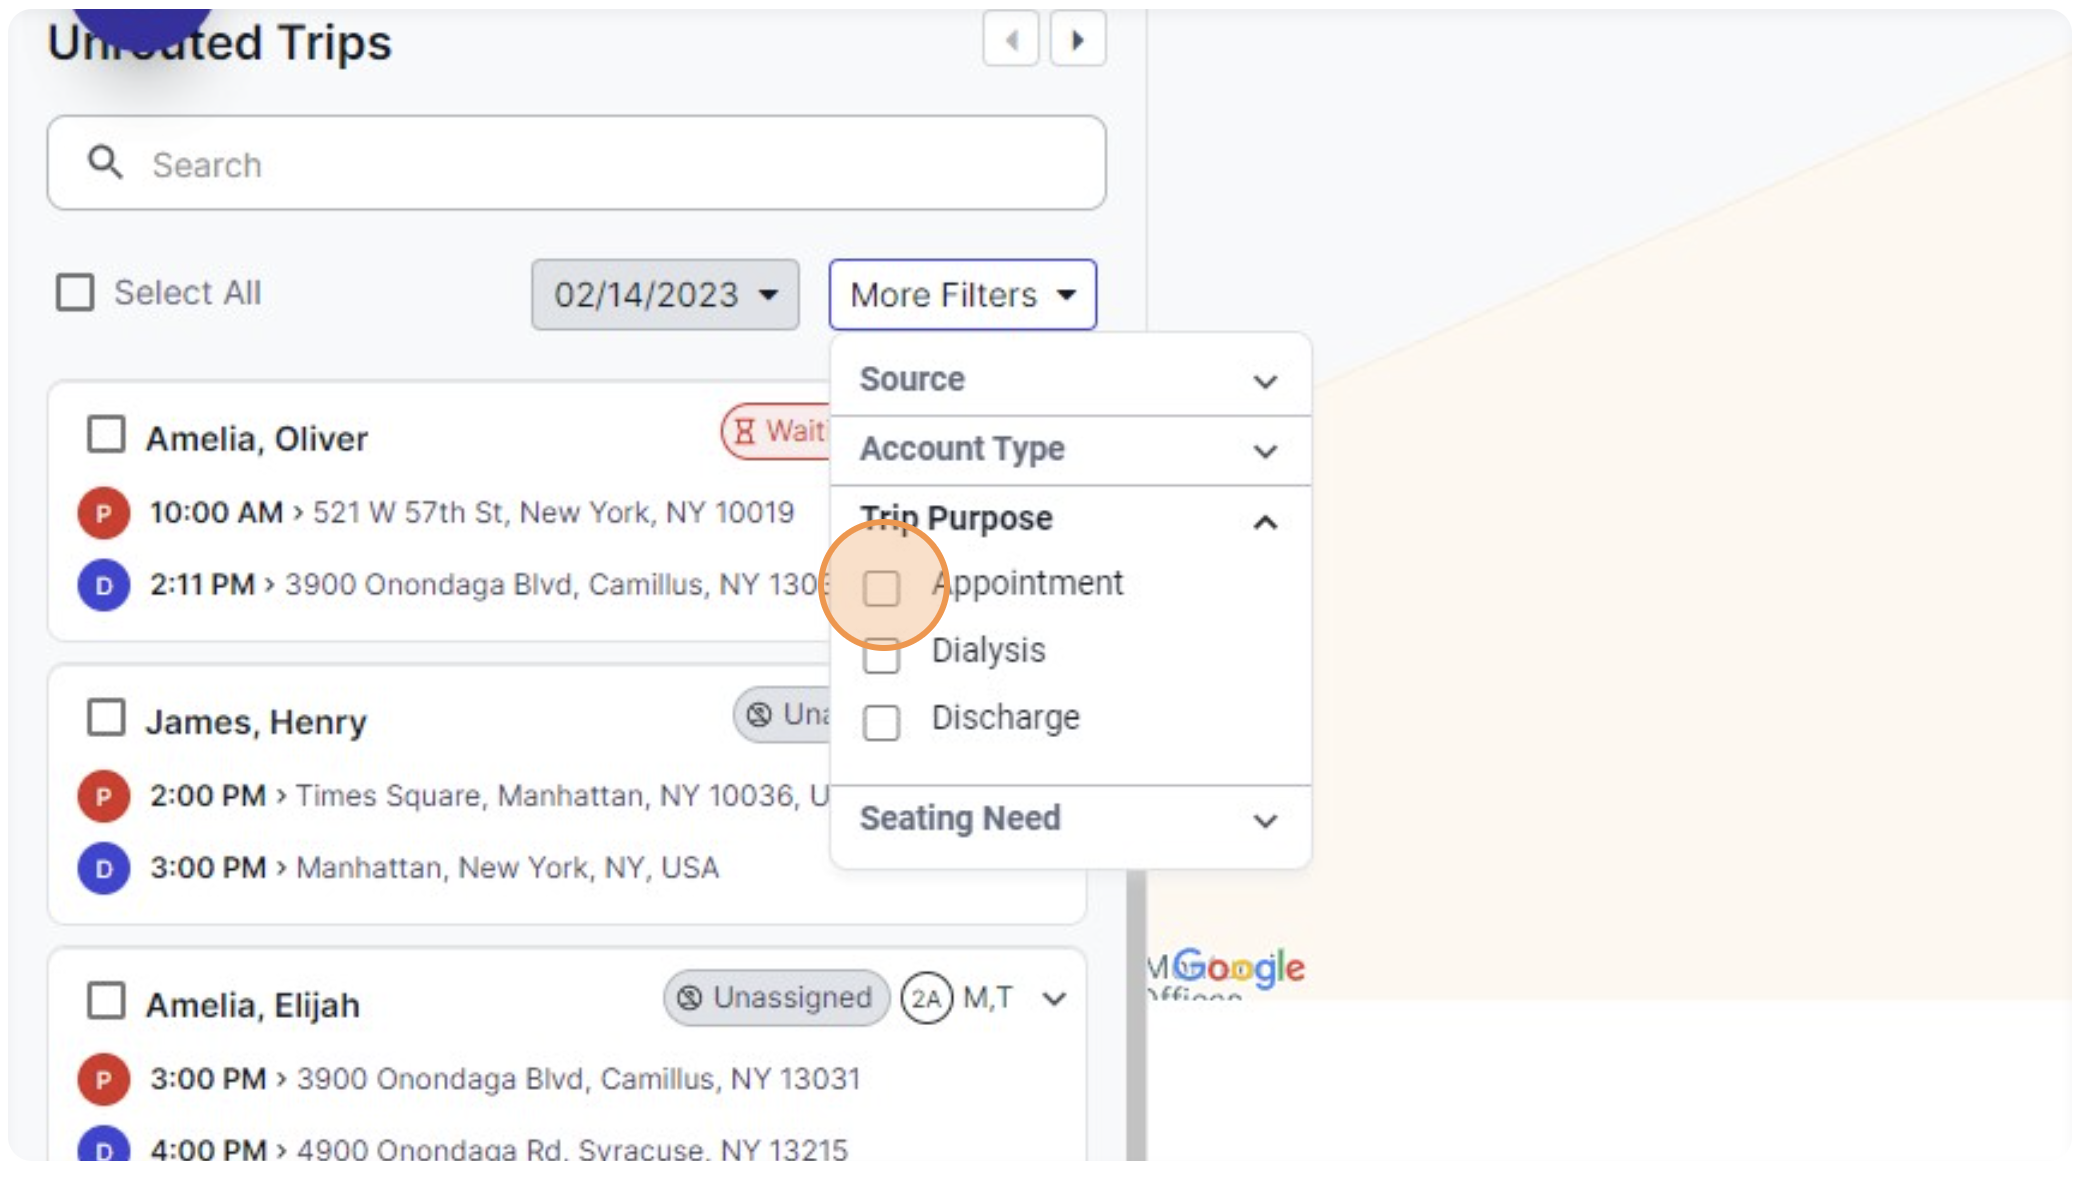
Step 5: Select the trip purpose(s); all trips will be filtered based on the selection.
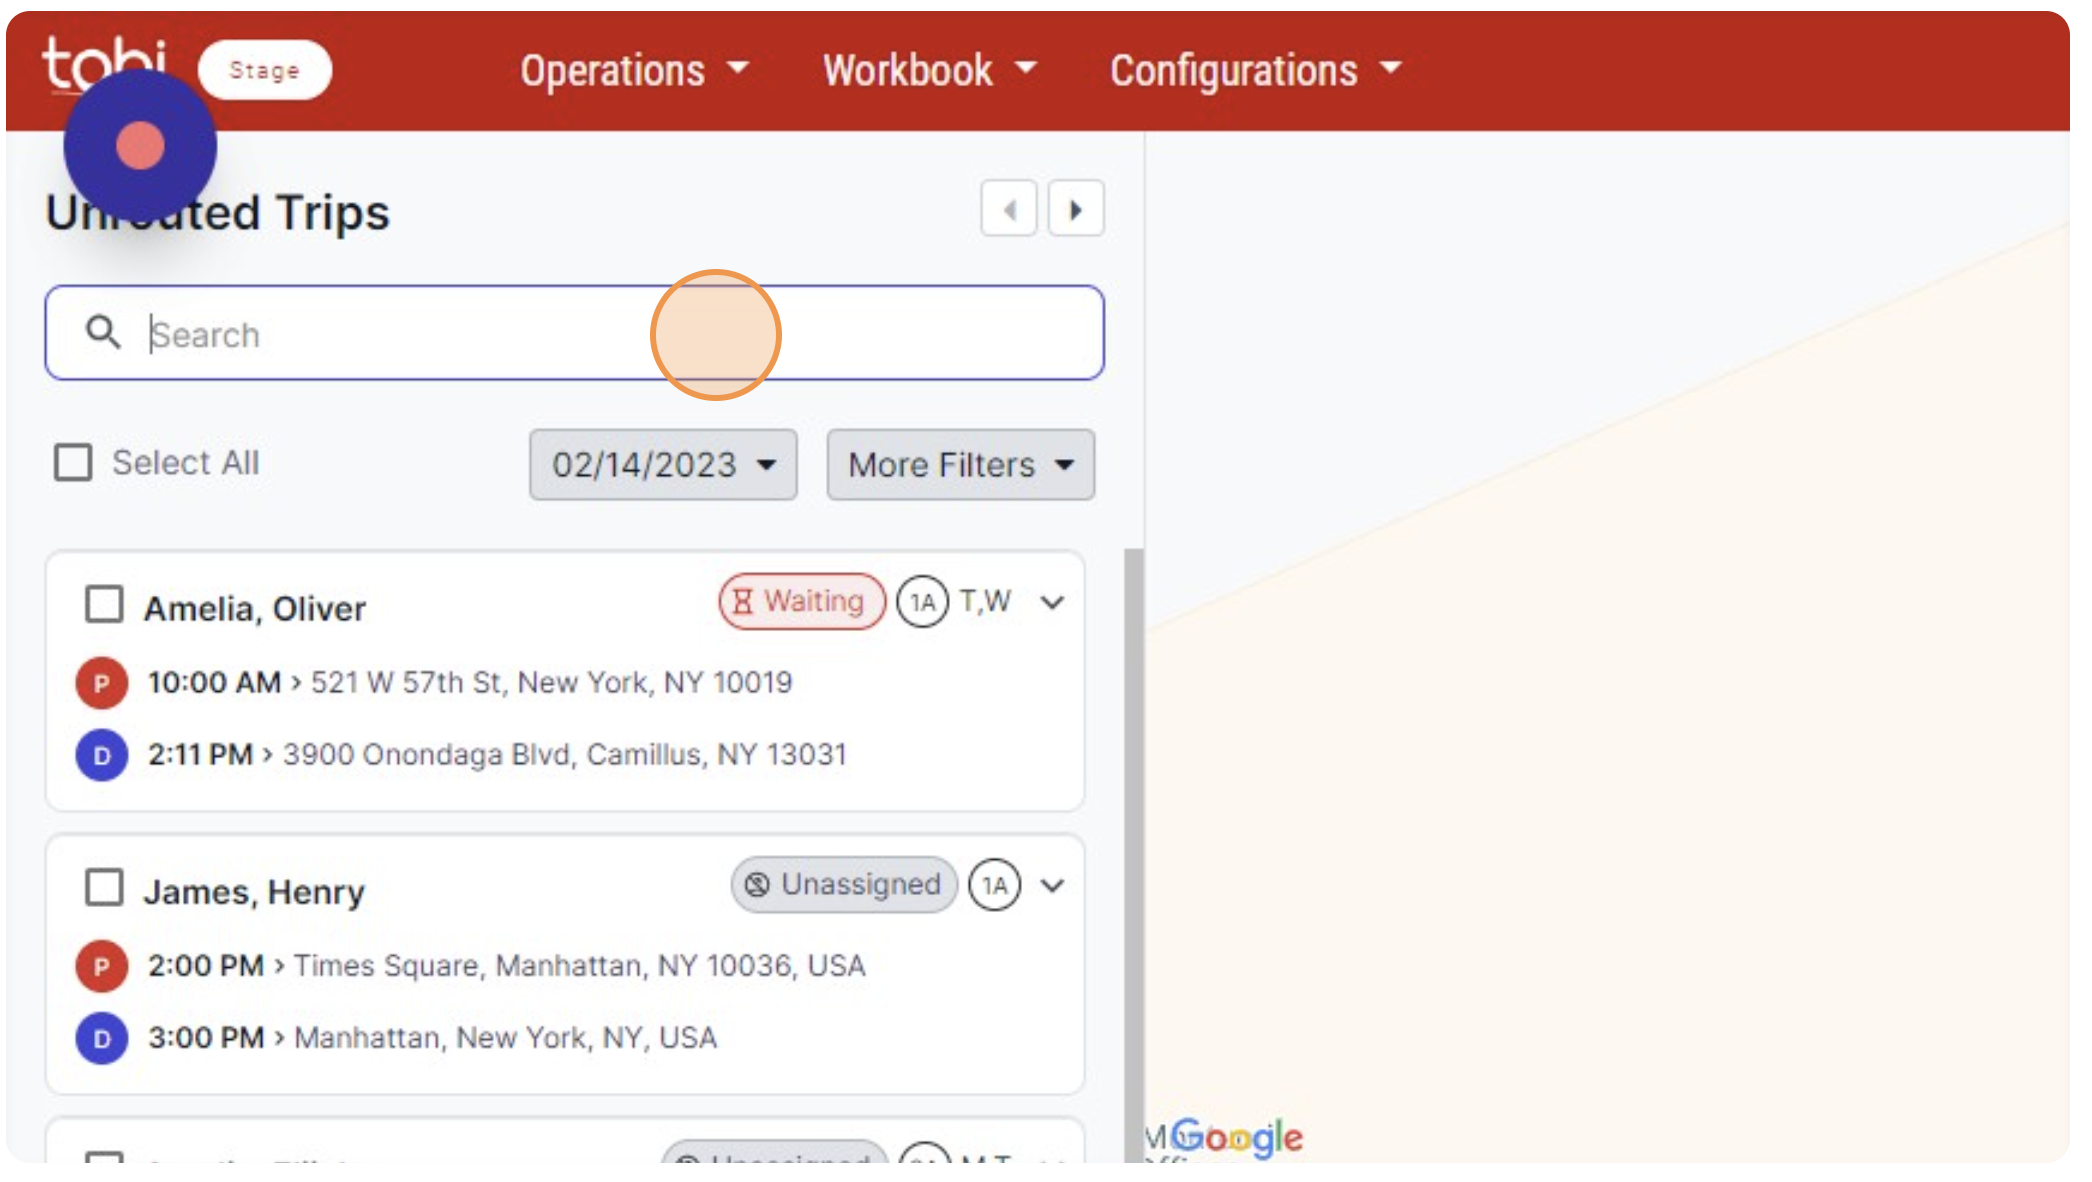
Step 6: Search trips by name, address, or Trip ID.
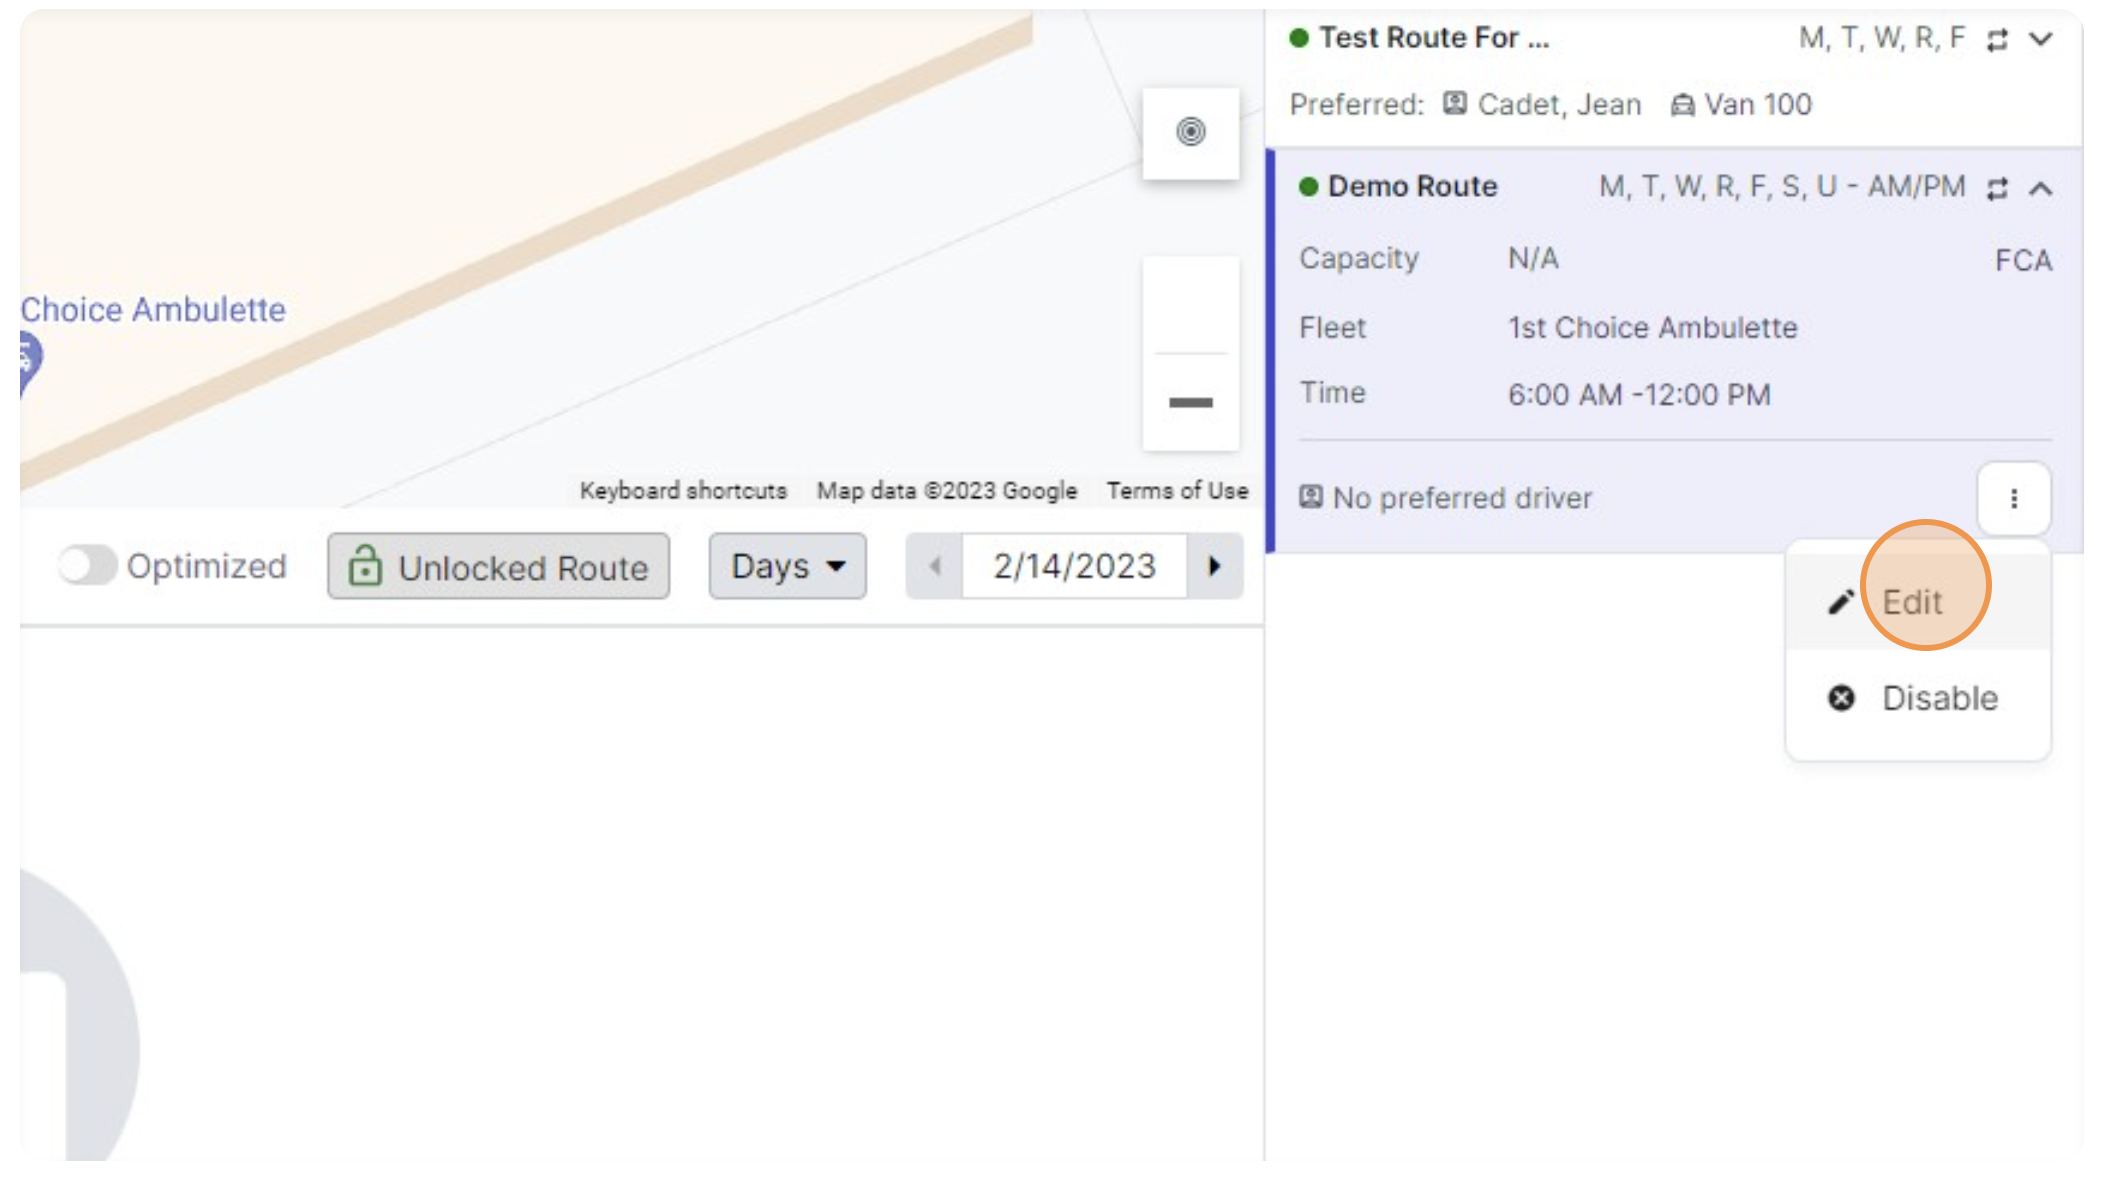
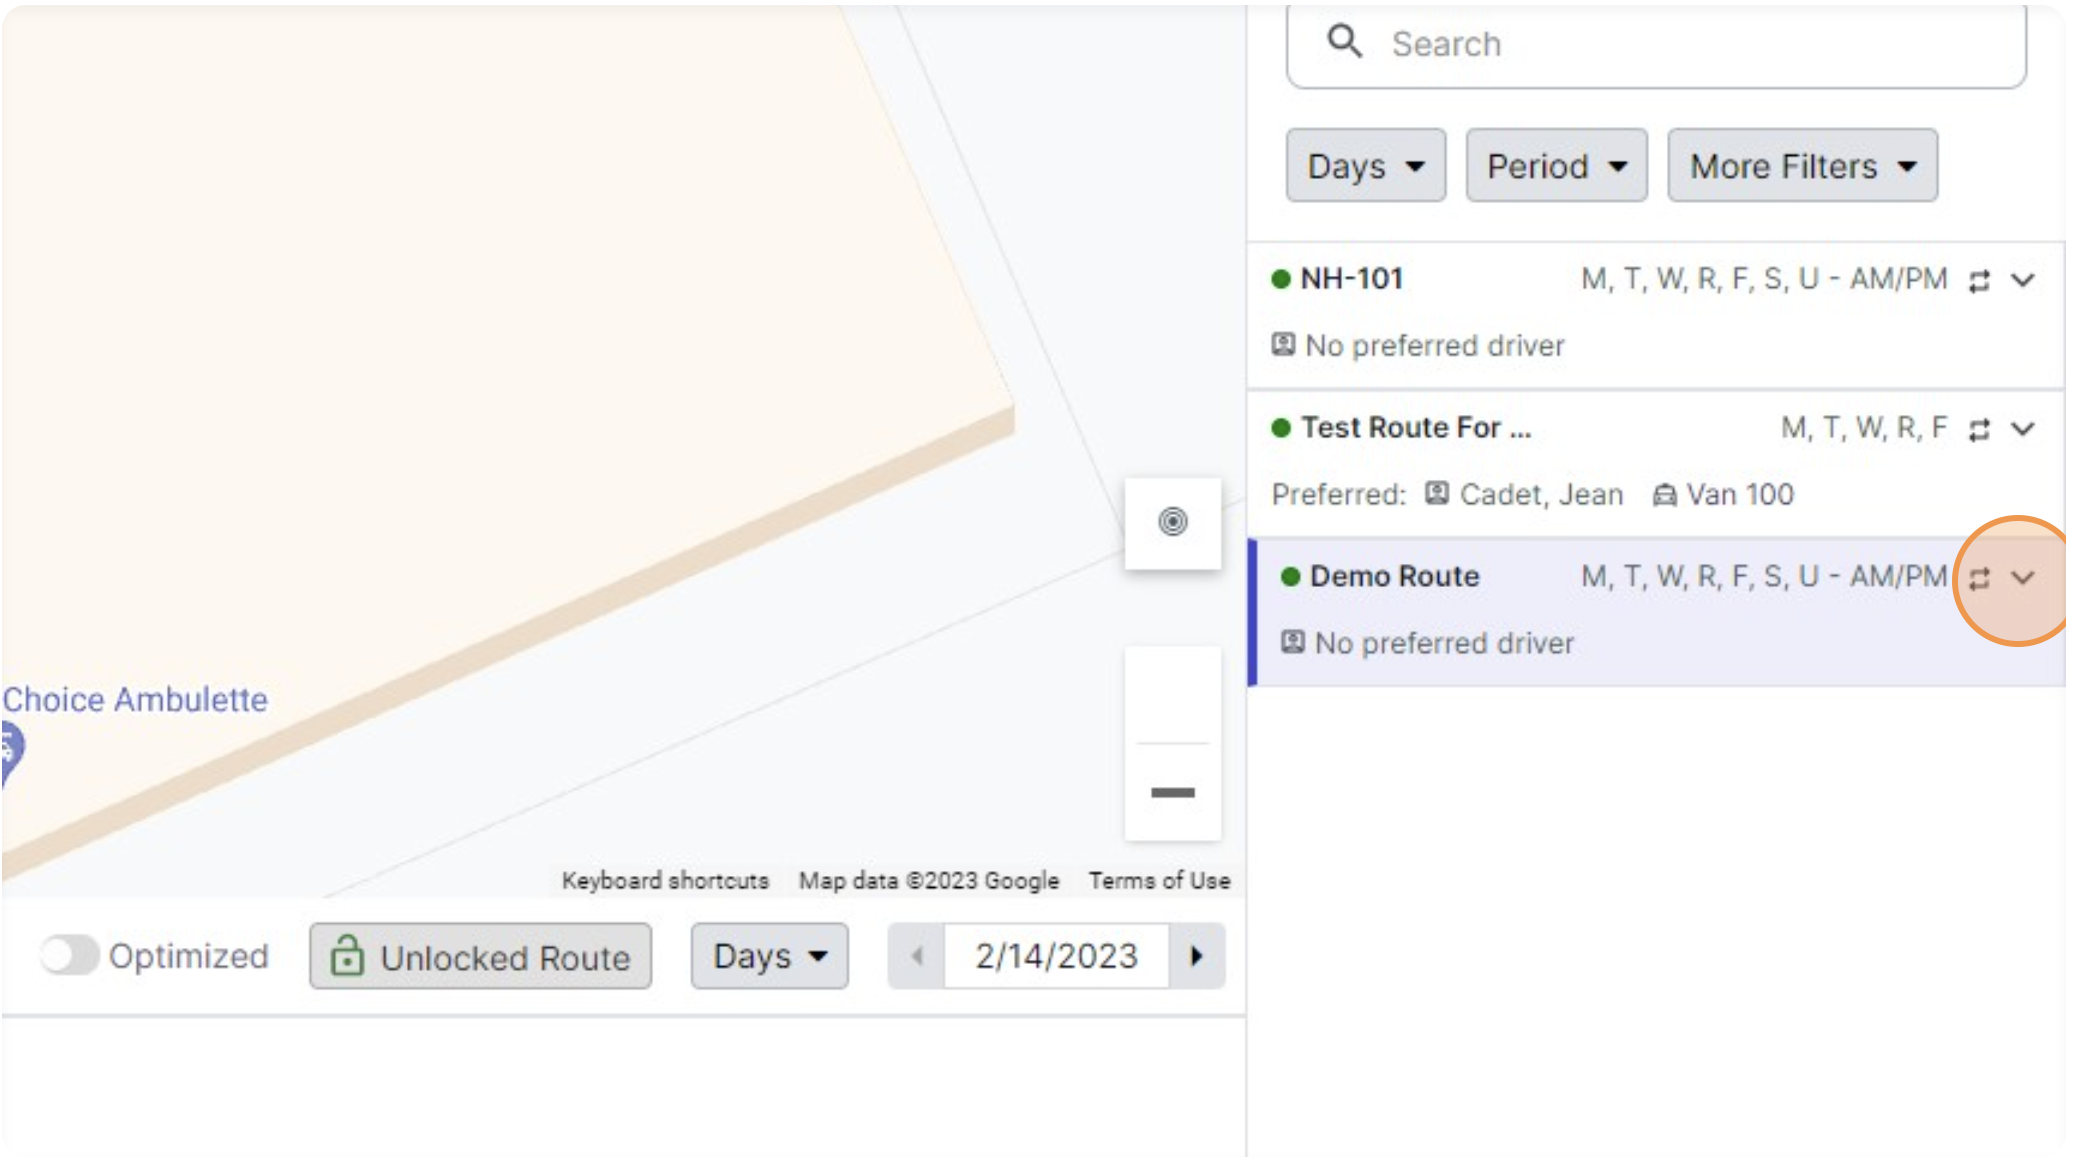
Step 7: Actions on the Route- edit or disable the route.
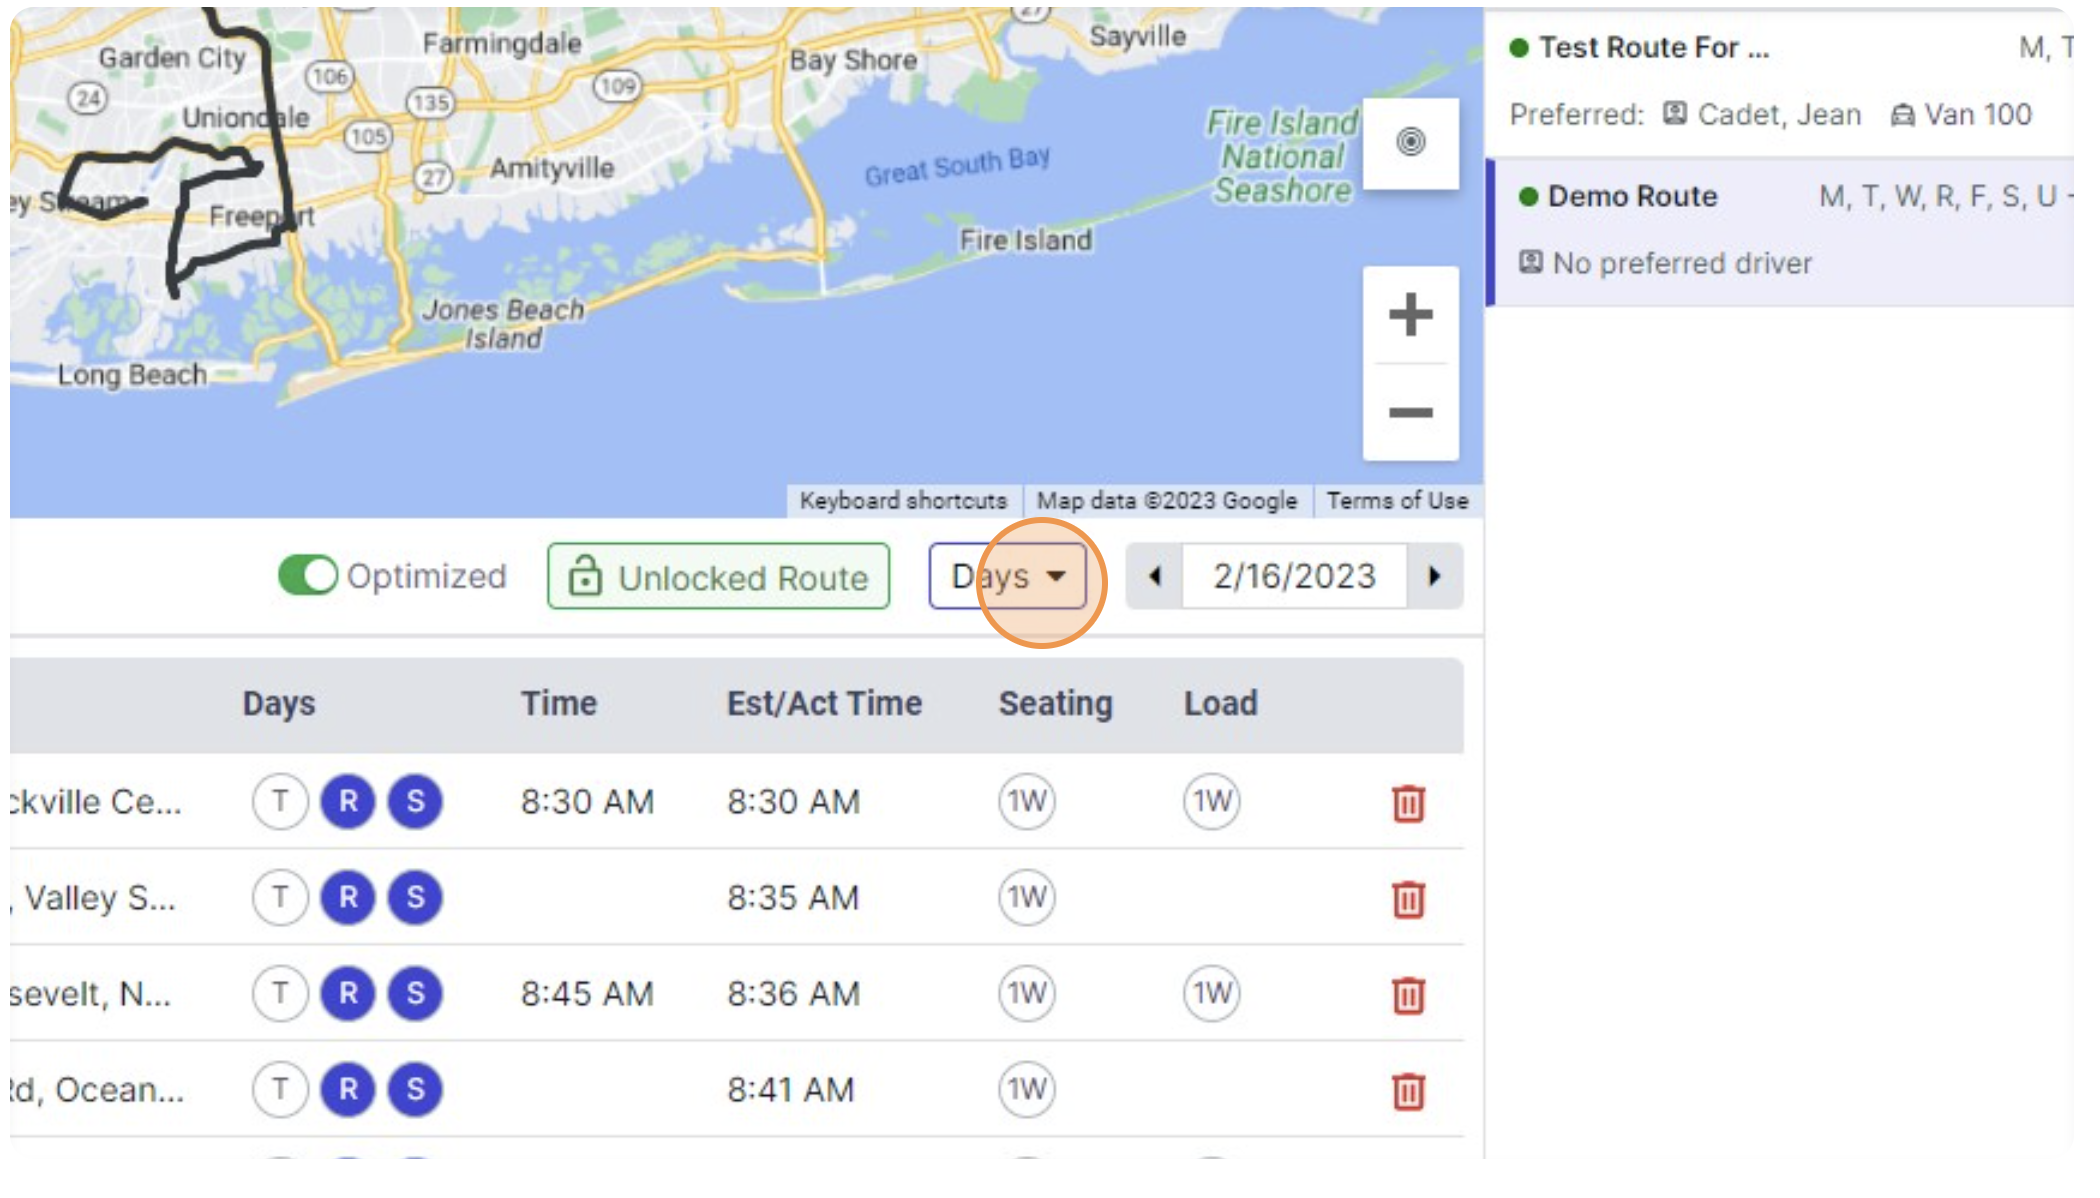
Step 8: Route Itinerary Filter- filter by days and date.
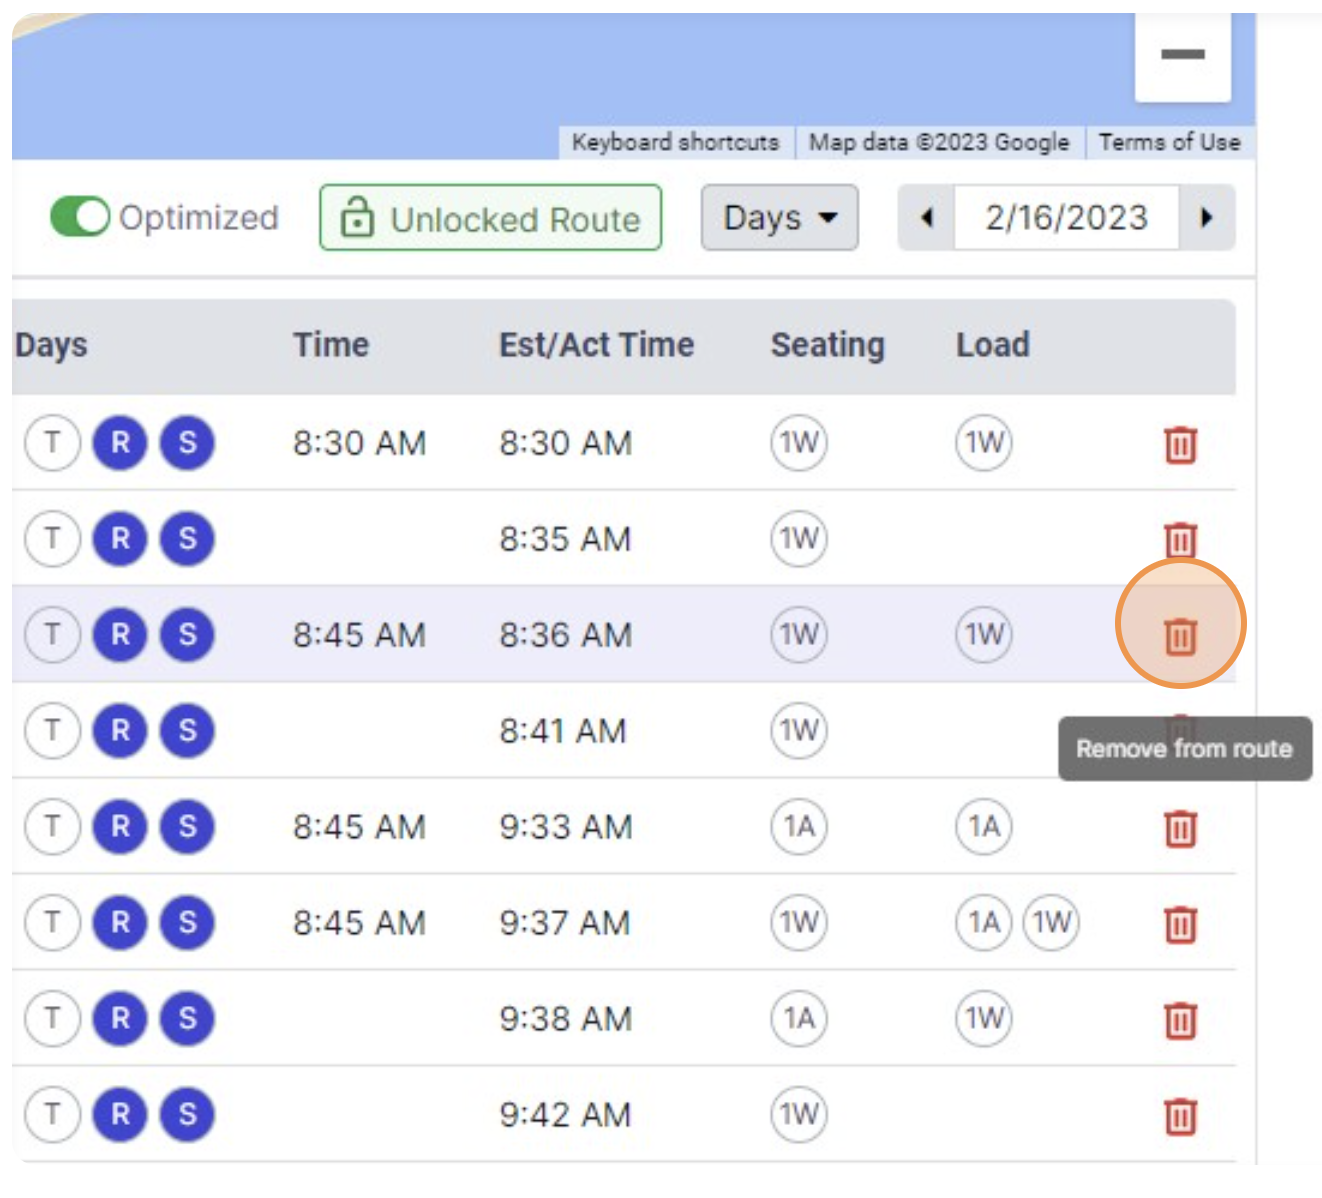
Step 9: Remove the trip- the user can remove the trip leg from the route by clicking the trash icon.
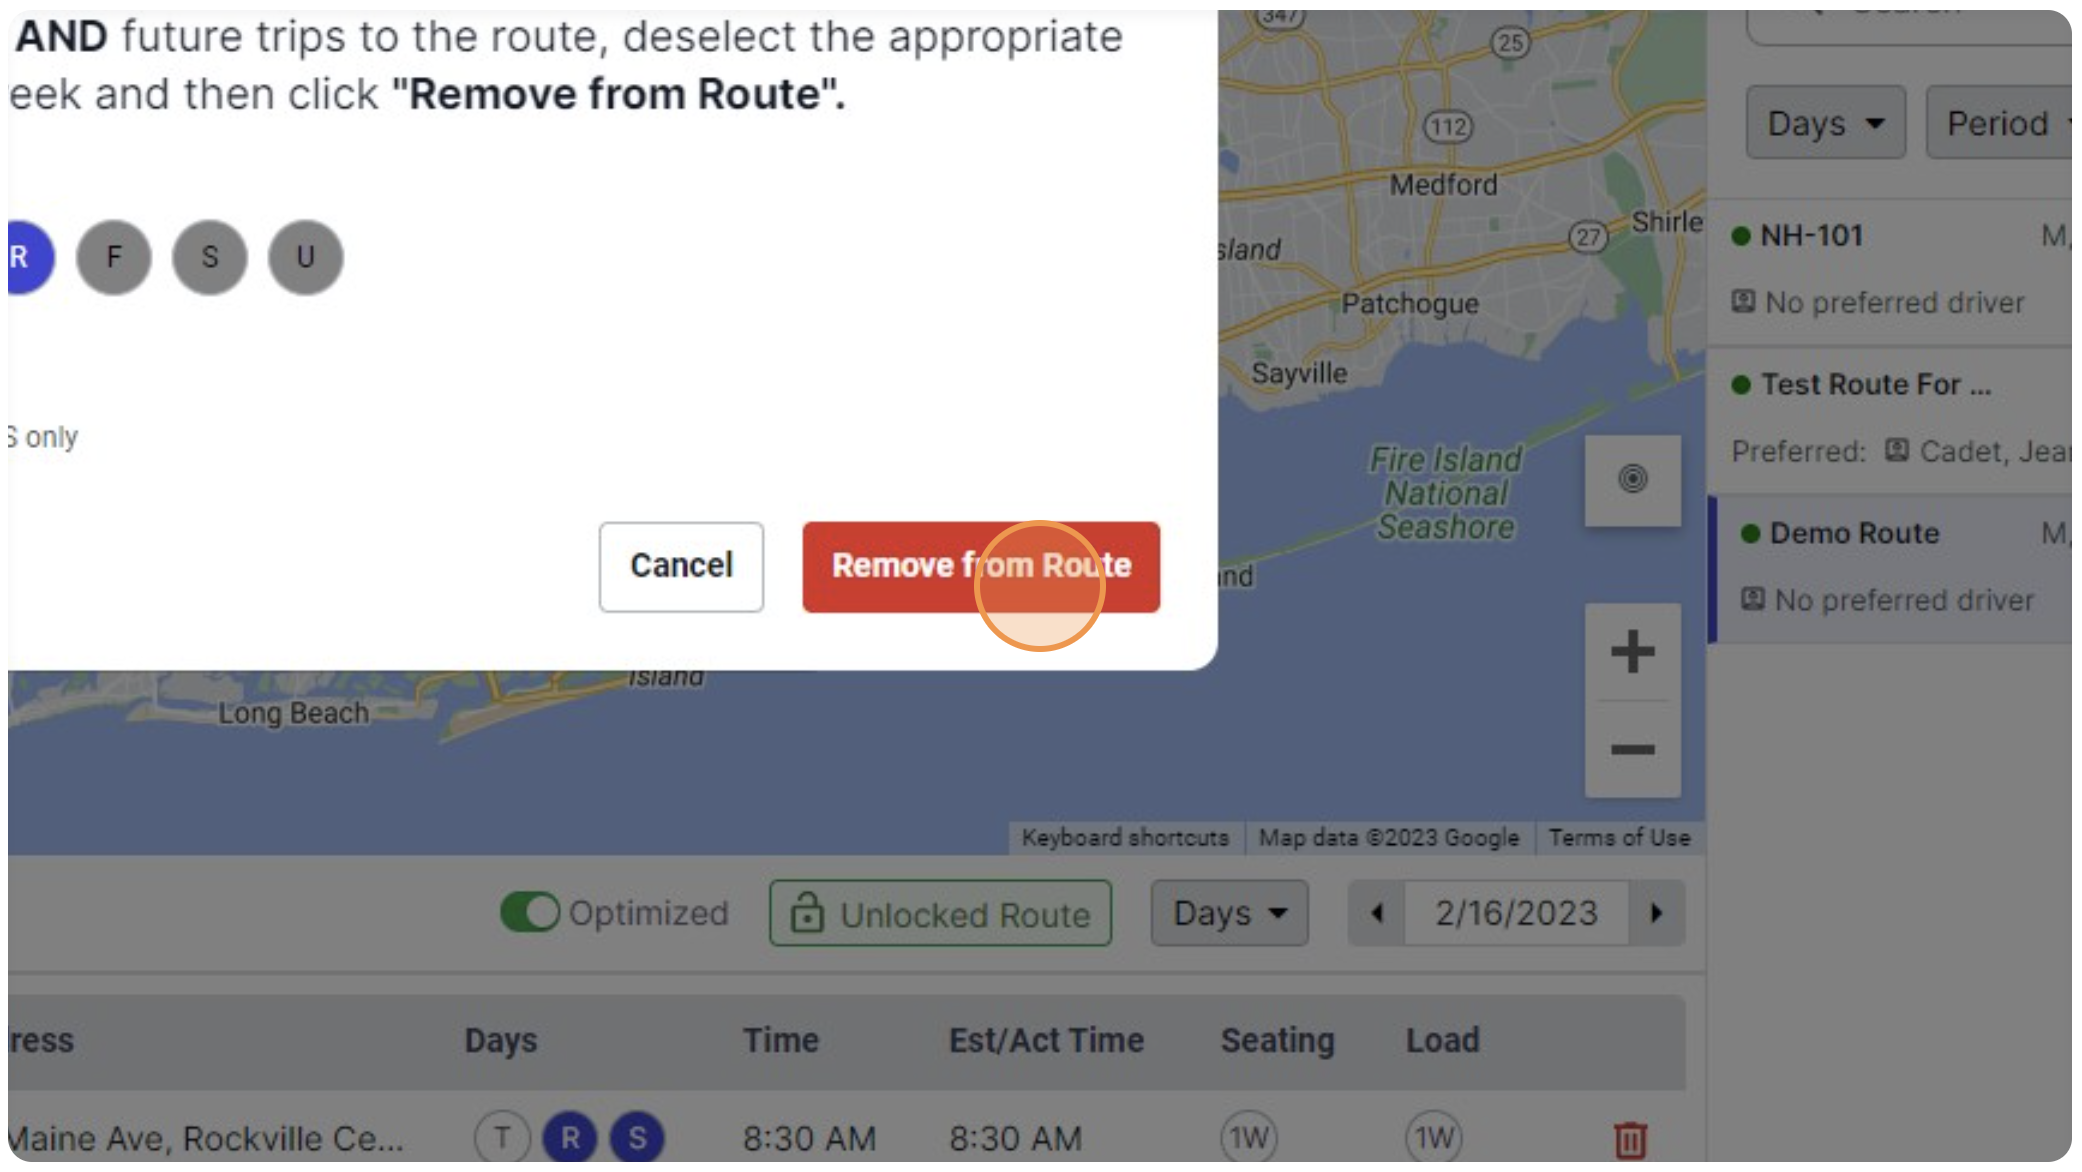
Step 10: Select if you want to remove the trip from the selected service date or the entire recurring route.
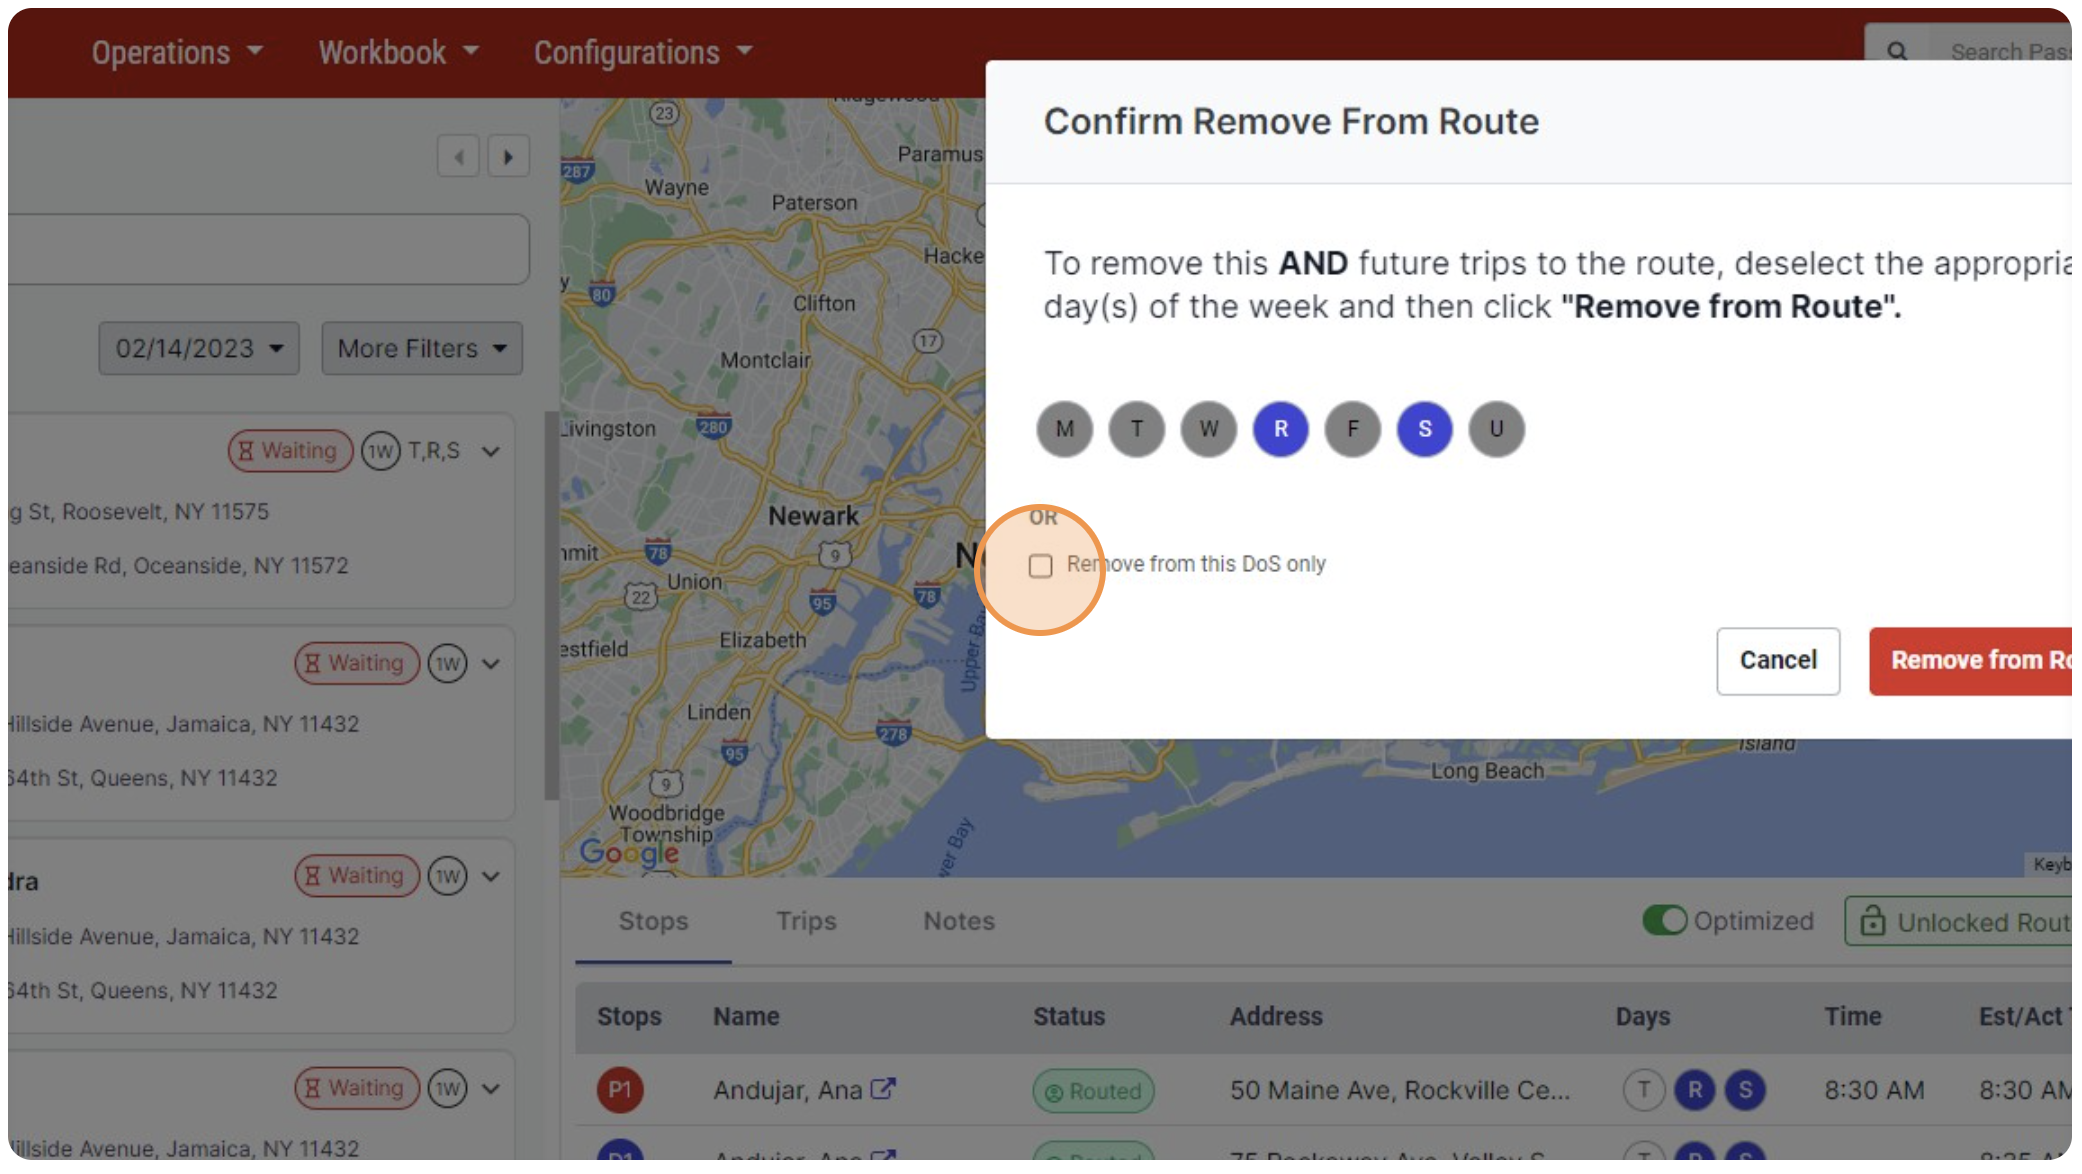
Step 11: Click “Remove from Route.”
Step 12: Trips view- view the trips form of clients whose trips are tagged in the route.
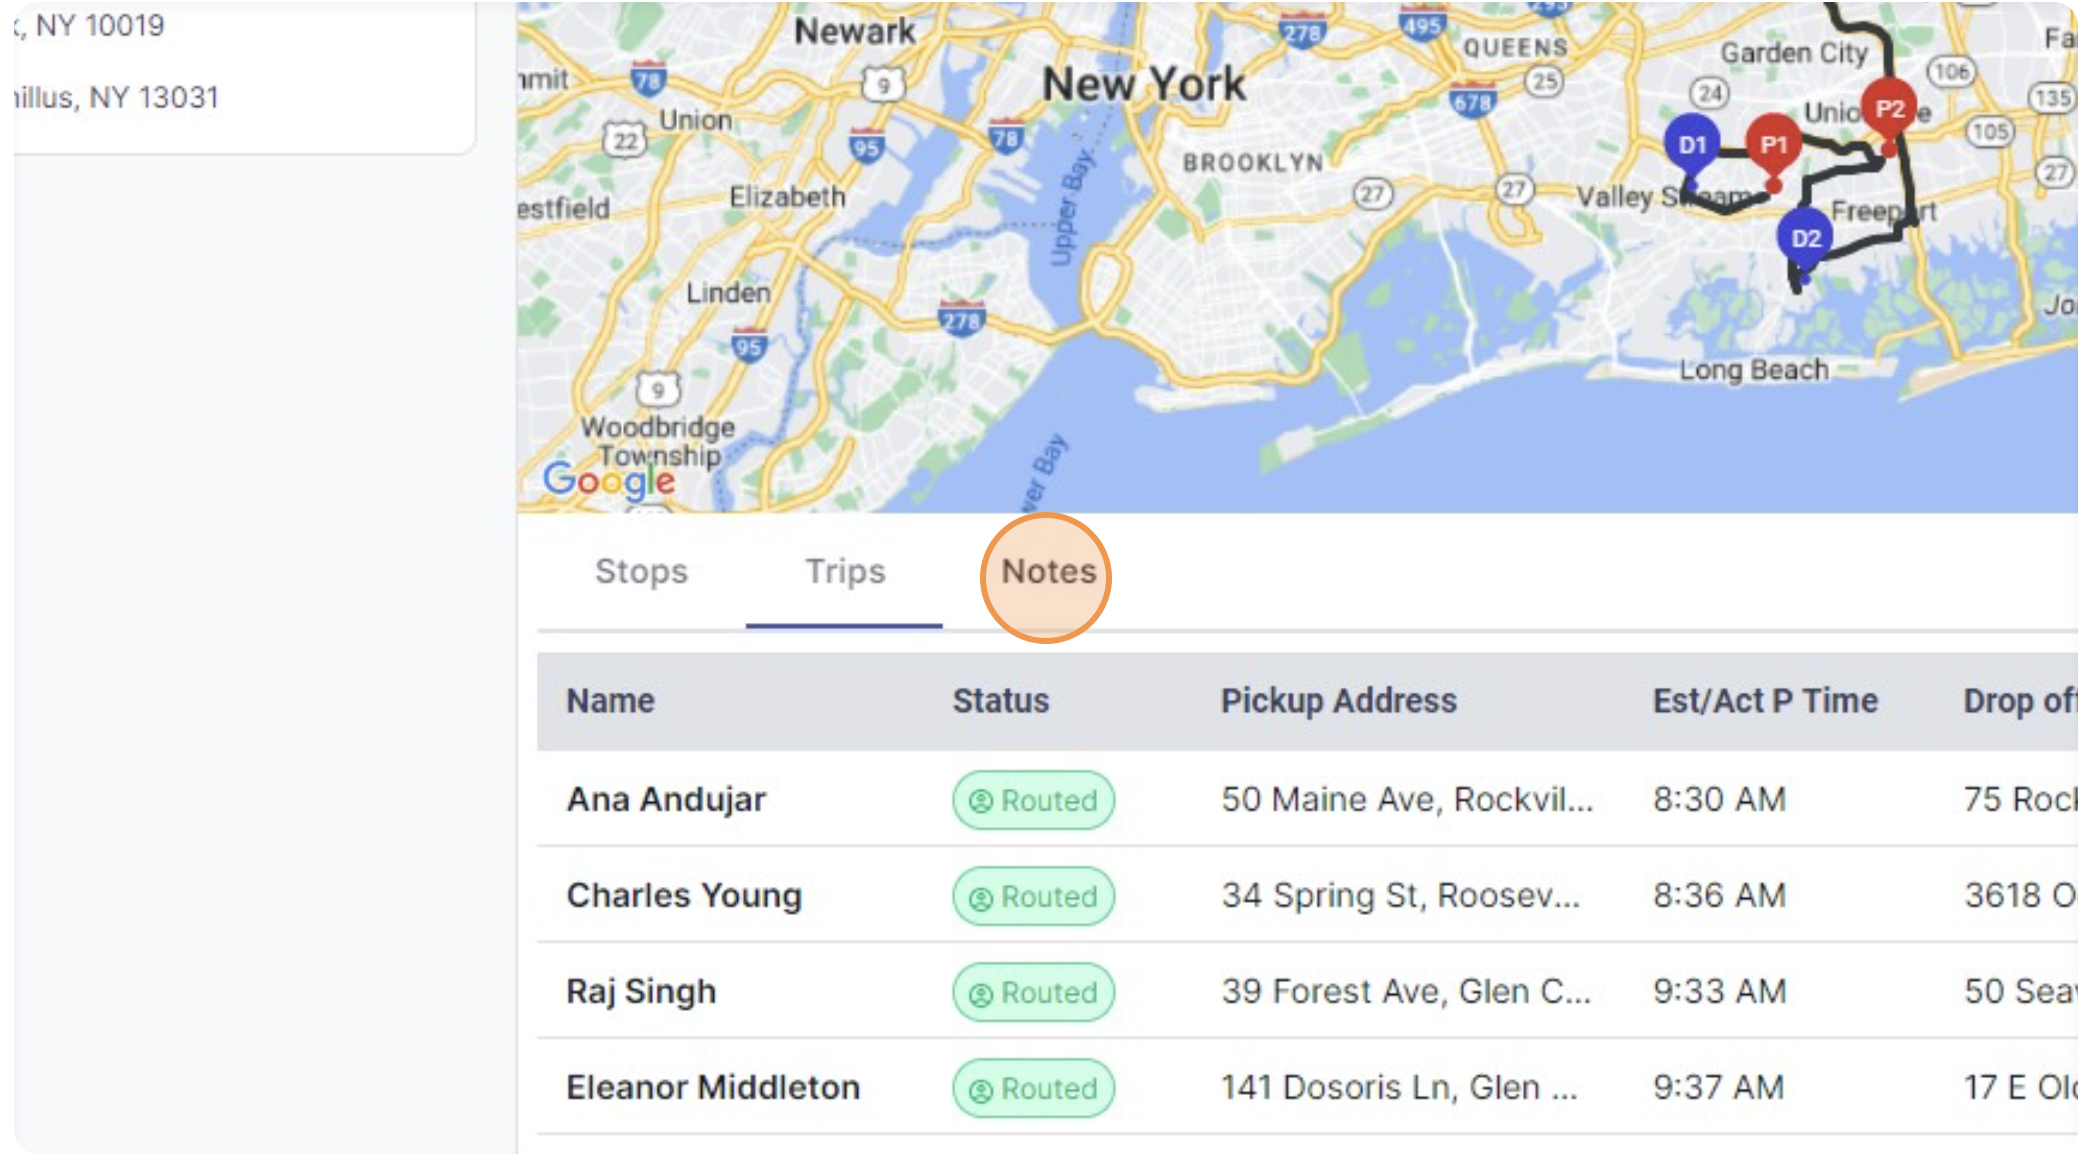
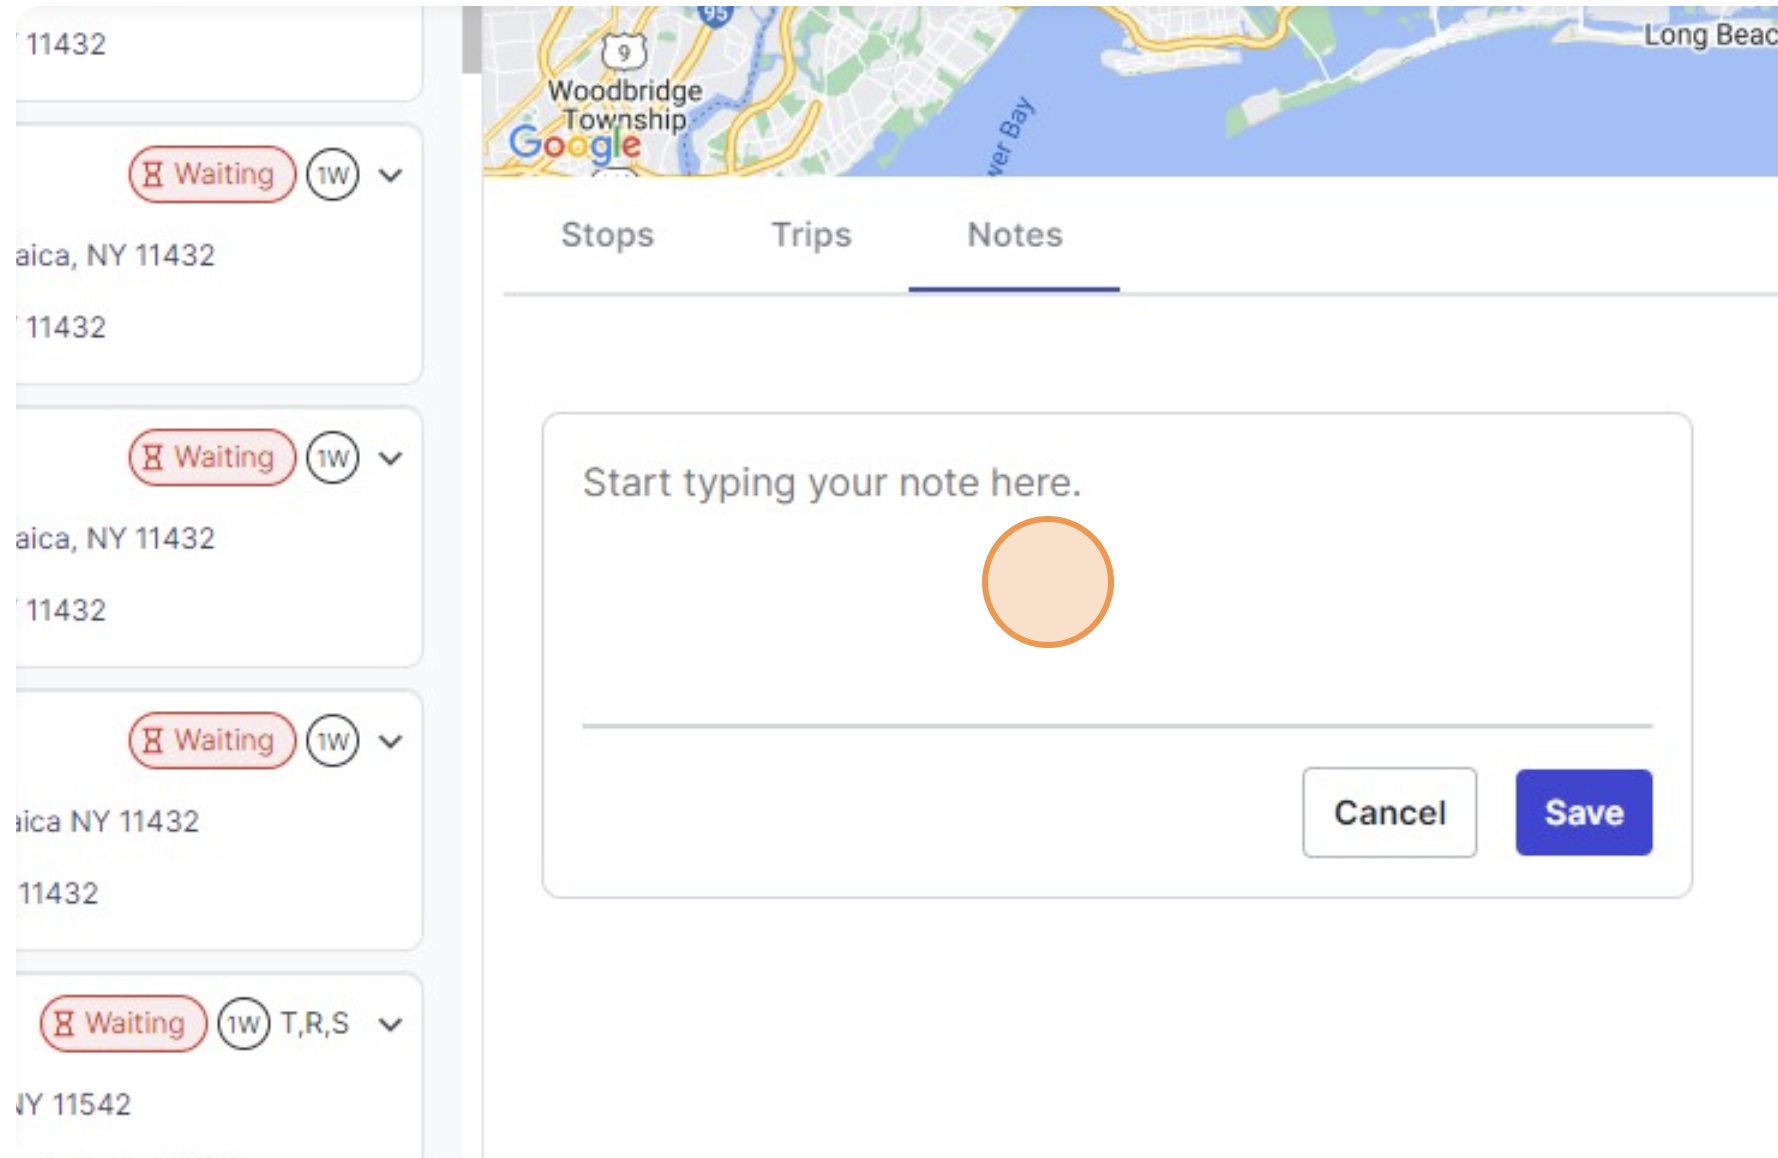
Step 13: Navigate to notes tab if you want to add notes to the route.
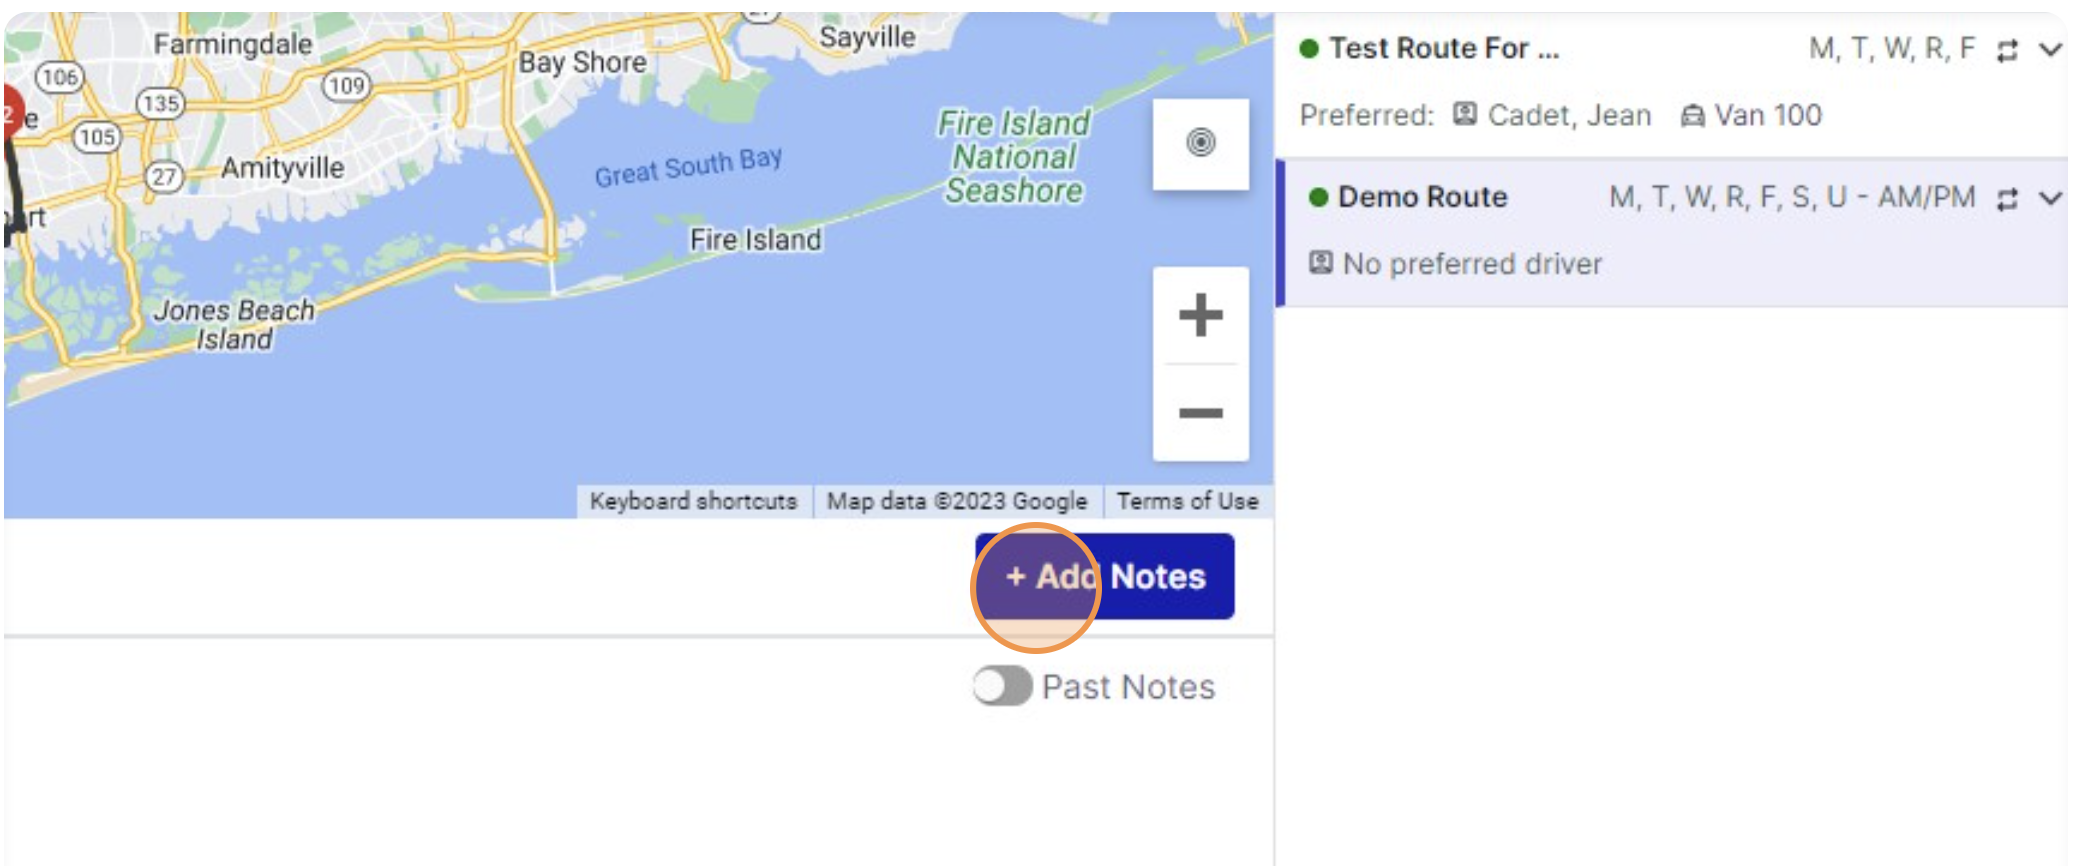
Step 14: Add notes for your route.